


Woohoo, if you haven’t heard it’s National Sewing Month! It’s Katrina from Paper, Scissors and Glue here today as a new sewist to share a project with you for the celebration all month long!
A little backstory to this project. Back in April, I bought a new sewing machine but hadn’t really played with her just yet. I recently was lucky enough to carve out an area in an extra room to make a crafting area where I could keep my things out, instead of overtaking the living room and kitchen! Right then, I decided one of the first things on the agenda to make was a cover for my sewing machine (she has yet to get a name!) and I wanted a fun, pretty one!
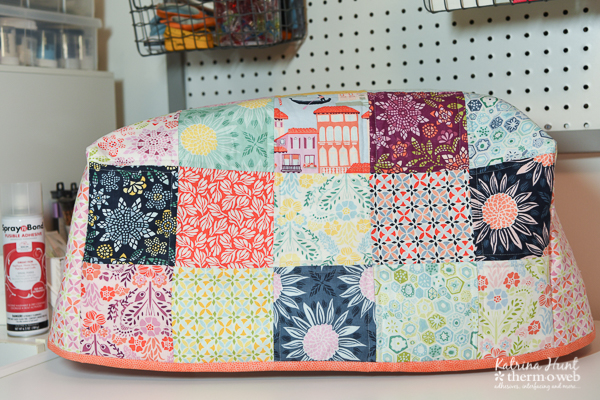
Sewing Machine Cover with Therm O Web Fusibles
Therm O Web Supplies:
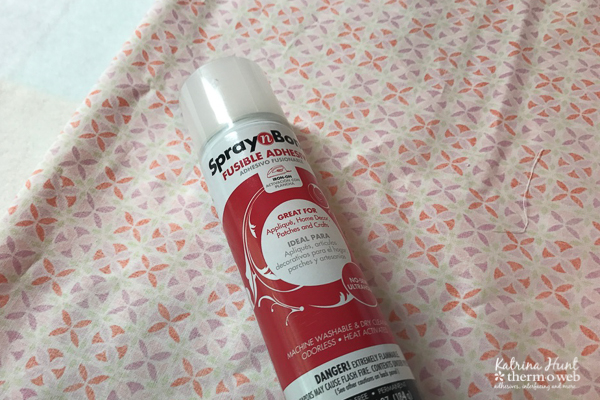
Therm O Web SpraynBond® Fusible Adhesive
Therm O Web HeatnBond® Fusible Fleece
Other Supplies: Grand Canal Charm Pack by Moda, Fabric for binding from Andover, Thread, Bernina Sewing Machine
Sewing Machine Cover Instructions:
Since I started sewing a little over a year ago, I have mainly sewn knit clothing. But I have always wanted to learn how to quilt, so what a perfect project to start the learning curve, right?! I gathered ideas, how-tos, and knowledge from everywhere I could find it. The basic instructions I followed are on the Sew Delicious blog HERE. I did tweak, modify and then went way off course, but the blog post was my starting point.
Some things I learned along the way as a newbie…..
Usually, the project will be more complicated than you think it looks!
You are the only one that will know what mistakes are in there or how many you had to fix!
Don’t give up, there are ways to fix things or you can start over!
Youtube and the internet are a WONDERFUL source!
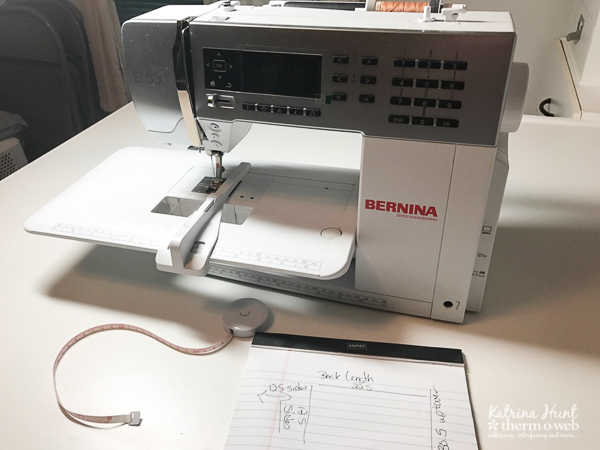
Start by measuring and writing down the measurements of your machine. You can see below what I measured.
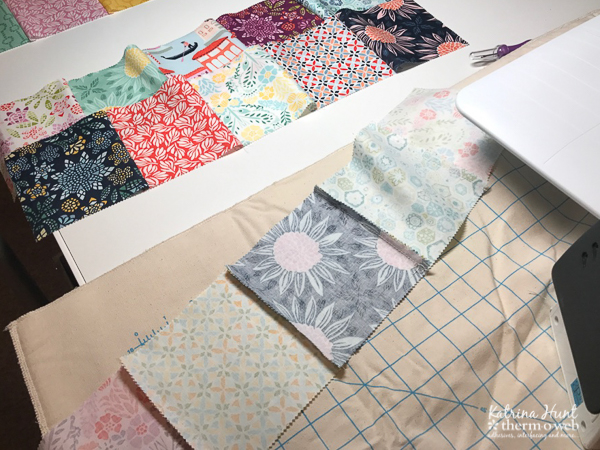
Lay out your charm pieces to get the placement that you like and the size you need to go over your machine. Mine took 5 across and 7 down (she’s a bigger girl!) I also had to cut one piece the same size as my outside fabric for the inside and then 4 pieces for the sides. I used the same lining fabric for the sides of the cover.
 TIP: To be able to use both outer sides as a front, if you have directional pieces, make sure to turn them the right way. Note the boat/building squares in the middle, one is up and one is upside down, this will allow you to use either side on your machine without an upside-down square. My “top row/fold over row” is the fourth row with the circles/leaves pattern squares.
Piece your rows together one row at a time. Alternate the directions you iron your seams so that they lay opposite every other row. I started at the bottom and worked my across and up.
Once you have two rows done, you can join those two rows together. I nested my seams and by ironing in opposite directions on the rows, the seams will lay nicely, without a lot of bulk. You can see I pinned each seam (the two pins close together) and then pinned in the middle to keep shifting to a minimum.
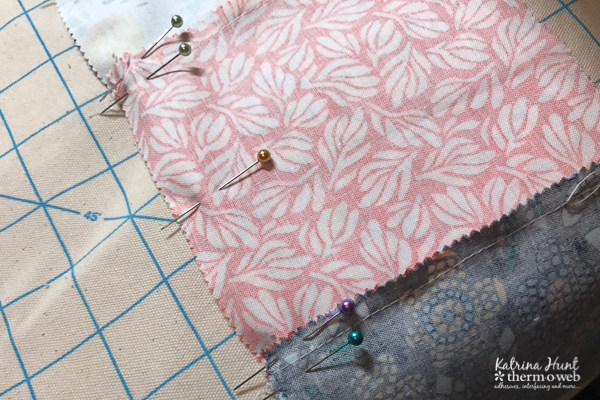
The step above will also help with that pesky joining of the corners! Remember, this is the first time I have attempted to piece together and sew! Keep joining rows and alternating seams until you have the outer layer done. Iron seams flat.
Cut HeatnBond® Fusible Fleece to the size of your top/outer layer. Follow directions on packaging to attach fleece.

On the cut piece for the lining, use SpraynBond® Fusible Adhesive on the back of your fabric according to the directions on the can. To make it a little easier, I laid my lining on top of the fleece, right side up. Then I just folded half of a side back, then sprayed and let dry. Repeat. This kept my wrinkles from forming too much.
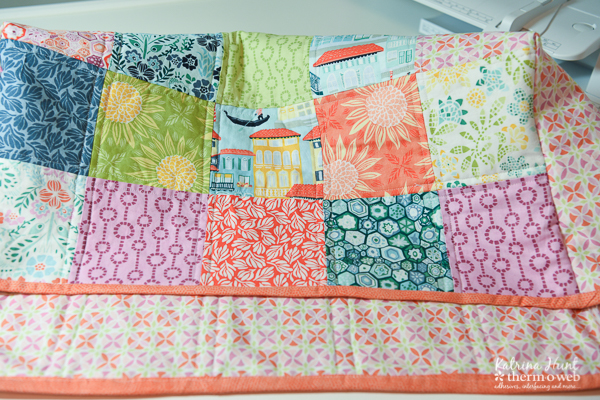
Here you can see the lining fabric.
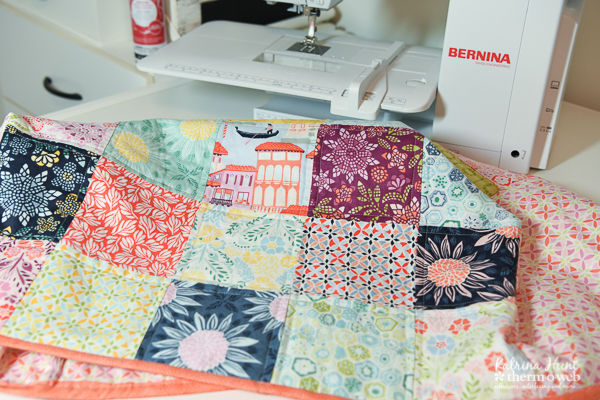
Once your have your outer layer and inner layer fused together, then you can quilt your cover. I opted to just use straight lines and my presser foot against the seams of the squares as a guide to keep my lines straight. 
Once done with the main cover, you can work on your sides by adhering the HeatnBond fleece and using the SpraynBond like you did above. I choose not to do quilting on the sides, but you can if you want. Attach to your cover.
Now you want to bind your cover. I didn’t take any step out photos of the process, but I did follow a great video on youtube by Heirloom Creations “How to Bind a Quilt-6 Easy Steps”. I did cut my strips at 2.5 inches and I don’t think I would want them at 2.25 inches, it just seems like it would be too small and harder to catch your binding at the back of your fabric.
So the moral of the story is get out there and SEW!!! If I can do this, I know you can too! Have a great day!
You read right! We had such a response to our Flash Sale yesterday we decided to extend it a day! Through midnight CST shop and save 25% on all of our HeatnBond Soft Stretch product line. Think Halloween costumes, those fun knit fabrics you love, denim, fleece, flannel…just wait till you try this product. It’s exceptional in quality and today the price is too!
SHOP NOW!