


 Splash Resistant Phone Pouch with HeatnBond Iron-On Vinyl
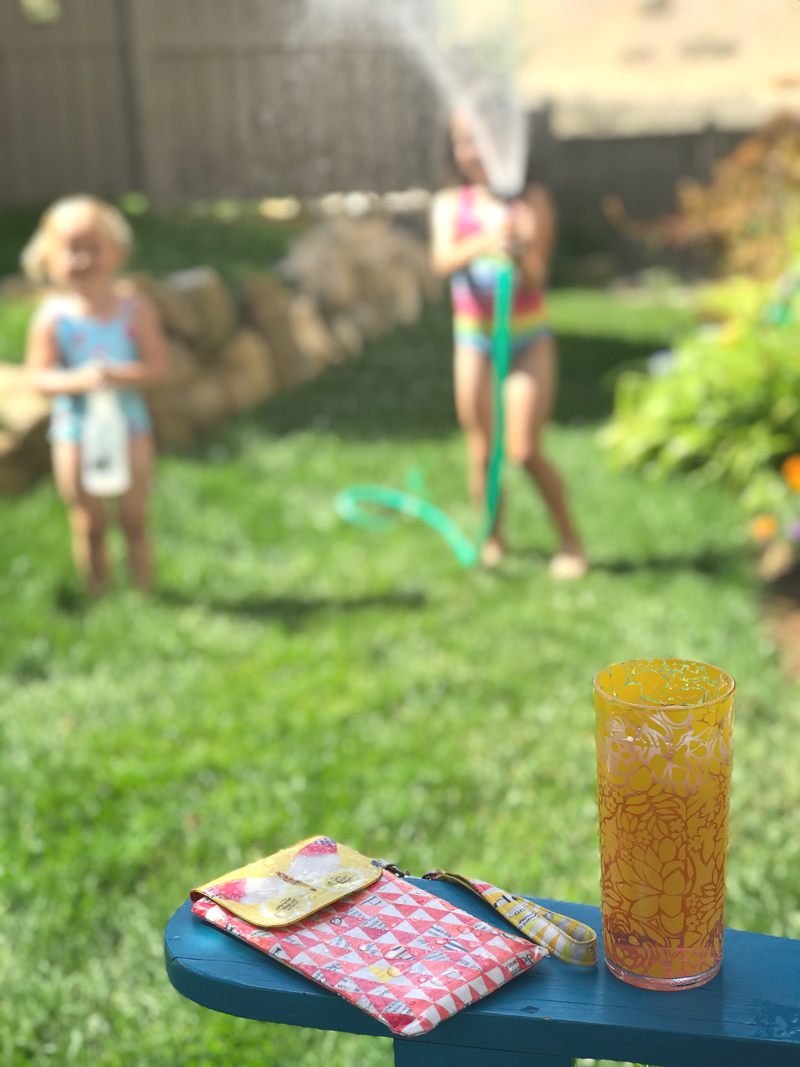
Life can be sticky, messy and unpredictable. But, you don’t have to let that ruin your beautiful phone pouch! Adding HeatnBond Iron-On Vinyl will make your project water and spill resistant- allowing you to wipe it clean with a damp cloth, or simply dry off those errant water sprays. Today I’m going to share the pattern for this slim and useful phone pouch, along with some tips and tricks for working with vinyl coated fabrics!
Supplies Needed: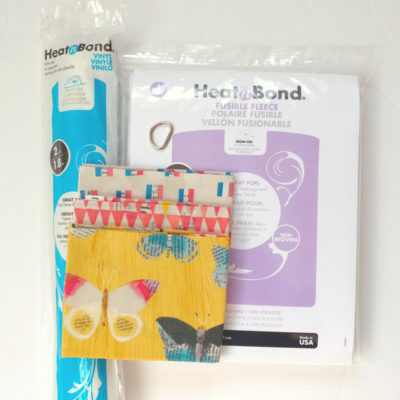
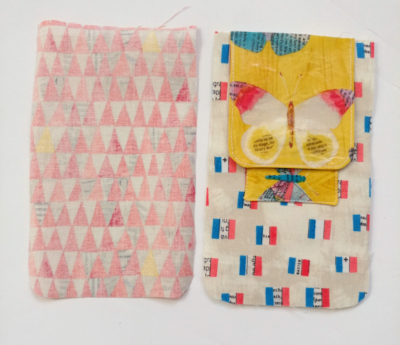
Fabric for exterior of phone case, lining and accents- a min of 2 prints is best- up to 4- this is a great chance to use up small pieces of fabric, or those scraps you can’t part with! I am using these lovely prints from the Wonder line by Windham Fabrics.
HeatnBond Fusible Fleece
HeatnBond Iron-On vinyl
1” d-ring (if desired)
Magnetic snap closure
Pattern Pieces- you can find the pattern pieces and a pdf version of the pattern here.
Sewing supplies- including Auriful thread.
Splash Resistant Phone Pouch with HeatnBond Iron-On Vinyl Instructions:
Cutting: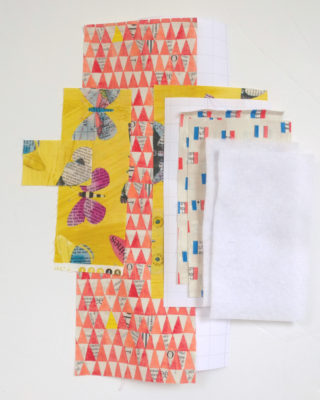
1- 5 ½” X 9 ½” piece of accent fabric for flap
1- 9 ½” X 10 ½” piece of main exterior fabric
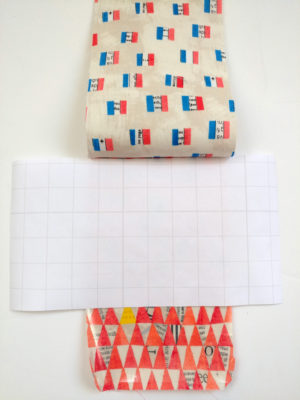
1- 5” X 9” piece of Iron on Vinyl
1- 9” X 10” piece of Iron on vinyl
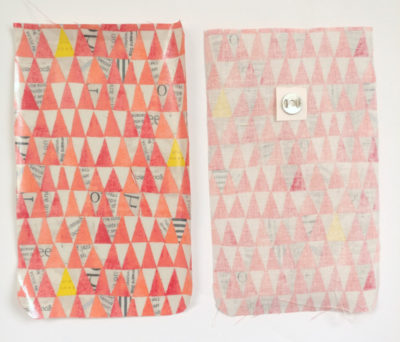
Follow directions on Package to fuse vinyl to accent and main exterior fabrics- DO NOT discard the paper backing!
**TIP: make sure your work area and fabric is clean of lint and threads- these stray bits will be fused to your fabric along with the vinyl if you’re not careful!TooltipTextUse pattern pieces to cut:
2 pieces for the interior lining
D-ring holder
2 pieces for interior pocket
2 pieces for flap- from vinyl coated accent fabric- transfer markings on wrong side of 1 piece
2 pieces for exterior from vinyl coated main fabric- transfer snap markings on wrong side of 1 piece
Cut 2 pieces 4 ¼” X 7 ¼” fusible fleece
Assembly:
- Fuse fleece to lining body pieces
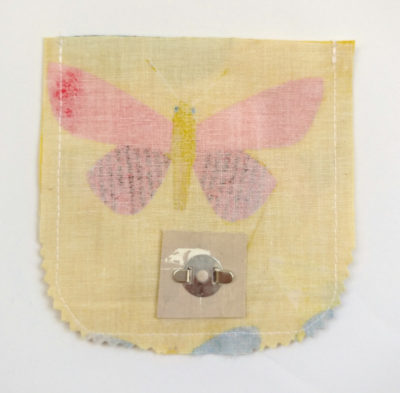
- Use washer included with the magnetic snap to mark slits for prongs using the markings on the wrong side of flap and exterior pieces *I recommend adding a scrap of medium weight interfacing here to reinforce the fabric where the snap attaches to both pieces- fuse the interfacing over the marking and then re-mark the dot for the center of the snap, do this before marking for the prongs. (not shown in picture)
- Use a pair of sharp scissors to cut the slits for the prongs. *I also cut the cardboard backing the snap comes on into two pieces- for the top and bottom- that way the slits are already in place, if there is not a cardboard backing, I additionally recommend using a piece of cardstock to reinforce where the prongs go in to keep the fabric from being cut by the metal prongs. Slide the snap piece through from the right side of the fabric, place the cardboard piece then the metal washer that comes with the snap on the prongs then fold the prongs down to hold in place.
- Take the two flap pieces and put them right sides together, sew around the two short sides and the rounded end using a ¼” seam allowance, leave the straight longer side open. **TIP- when working with vinyl coated pieces, pin marks do not disappear the way they do on regular fabric- I recommend either pinning in the seam allowance, or using binding clips to hold your pieces of fabric together.
- Take the two interior pocket pieces and place them right sides together. Sew around all 4 sides, leaving an opening on one of the long sides to turn right side out.
- Trim the seam allowances on the curves and corners of both pieces. **TIP: I like to use pinking shears to clip curves- if you don’t have pinking shears, clip small v’s out of the curves to allow it to turn smoothly.
- Turn both the flap and pocket right side out and press. Tuck the seam allowance of the opening on the pocket into the pocket to make the side square. **IMPORTANT: DO NOT touch the iron to the vinyl coated fabric!! Use the paper backing from the vinyl (shiny side toward the vinyl) to cover any areas coated with vinyl as you press. You can press right on the paper, but MAKE SURE you cover all the vinyl!
- Top stitch one short side of the interior pocket piece and around the sewn edges of the flap piece.
- **TIP- if you have trouble feeding your vinyl coated pieces through the sewing machine here are some helps: increase your stitch length to give the feed dogs more time to move the fabric. Use a walking foot or teflon foot. If you don’t want to invest in a new foot- I find that placing a piece of matte clear tape on the bottom of my presser foot works just as well. Use sharp scissors or a pin to cut out the area for the needle to come through
- Center the interior pocket ½” down from the top of one of the interior lining pieces with the top stitched edge at the top. Stitch as close to the edge as you can around the two long sides and bottom, making sure to close the opening for turning as you do so.
- Take the lining piece with the pocket and place it pocket side up. Take the flap piece and center it on the top edge of the lining piece, magnetic snap down. Take the exterior vinyl coated piece and place it on top of the flap, lining it up with the edges of the lining, right side down. Pin or clip these layers together and then sew along this top edge, using a ¼” seam allowance
- Place the second lining piece and the exterior piece with the snap right sides together, again sewing along the top edge with a ¼” seam allowance.
- Press the lining away from the exterior- again make sure to NOT touch the iron to the vinyl- use the paper backing! Press the seam allowance toward the exterior.
- Edge stitch along the seam between the exterior and lining on the exterior side. Make sure the flap is toward the lining and the seam allowance is flat.
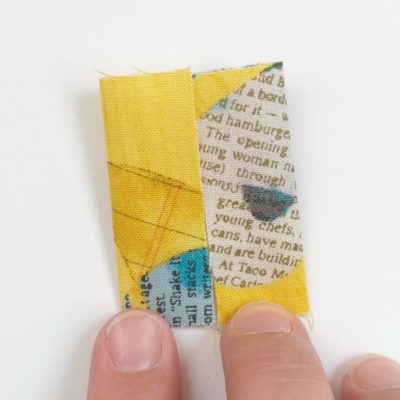
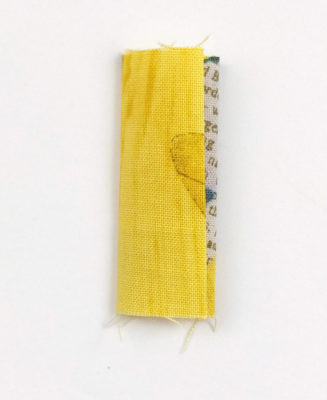
- Take the D-ring holder piece and press in half on the short side to make a 1 ½” X 1 ½” piece. Open up this piece and bring the raw edges into this center press line (you should end up with a ¾” X 1 ½” piece of fabric) and press the edges. Edge stitch along both of the 1 ½” long sides.
- Lay the lining/exterior piece with the flap right side up. Fold the d-ring strap in half along the length and slide the flat side of the d-ring into the fold. Line up the raw edges on the exterior side of the fabric piece ½” away from the seam between the lining and exterior, the d-ring should be laying on the vinyl coated fabric.
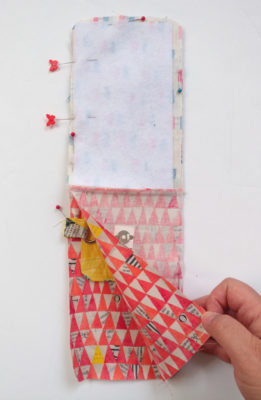
- Place the second lining/exterior piece right side down on the first piece. Line up the lining sides together and the vinyl coated sides together. Pin or clip the sides together. Sew around the entire piece leaving an opening in one of the long sides of the lining for turning. (between the red butterfly pins in the picture)
- Clip the curves. Turn the piece right side out. Push out the edges using a blunt turning tool. Press well.
- Turn under the seam allowance of the opening in the lining and press. Edge stitch this opening closed.
- Push the lining into the exterior of the case. Use your turning tool to push the corners into the pouch.
- Press one last time.
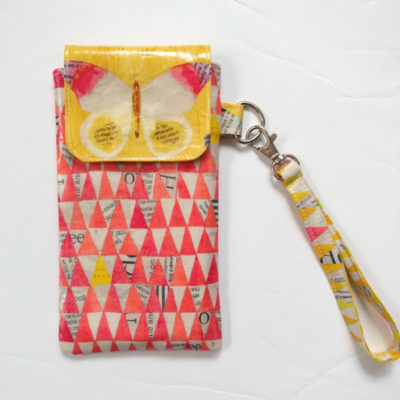
And finally, Enjoy your pouch!

Now you can have your phone close by, and enjoy your summer reading!
For more projects and ideas you can follow me on Instagram at @AmeroonieDesigns.
xoxo,
Amy
[…] tutorial is really easy to follow, it is from Ameroonie Designs, here is the link to the tutorial: Splash Resistant Phone Pouch. I like how each step is outlined without missing a detail. The original pattern says to use […]