


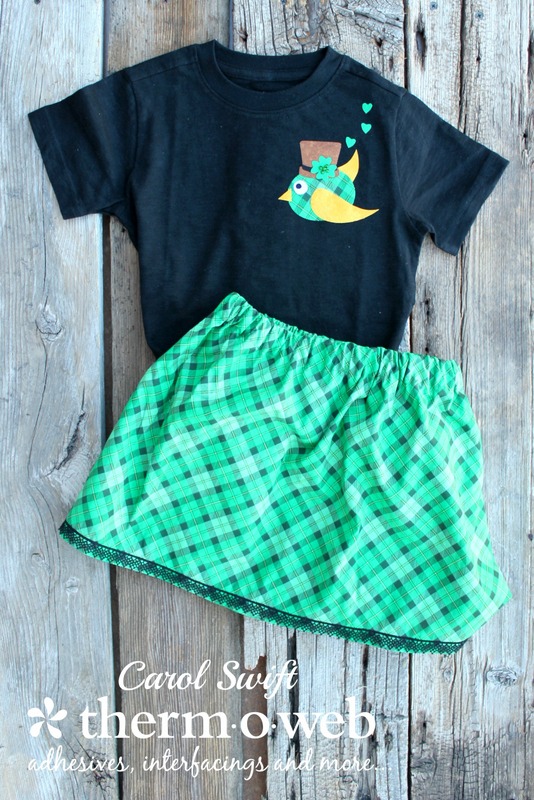
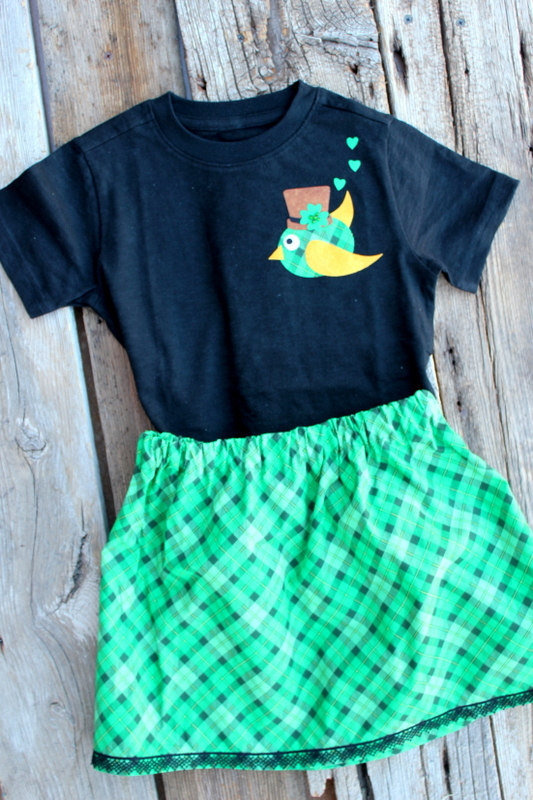
I remember many Saint Patrick’s Days where I worried about what to wear that had green in it. I was so afraid of being pinched! For some reason, saying my eyes were green just didn’t stop the pinching. Ouch! To stop that from happening to someone else, I created a quick applique design to apply to a t-shirt that won’t require any sewing because it uses one of my favorite products, HeatnBond Ultrahold Adhesive, NO-SEW. Add a little green plaid skirt and there won’t be any pinching going on, that’s for sure! The skirt can easily be adapted to fit any size.
St. Patrick’s Day Skirt and Appliqued T-Shirt Featuring HeatnBond Ultrahold Fusible Adhesive, by Carol Swift, Just Let Me Quilt
What you’ll need for the skirt and t-shirt:
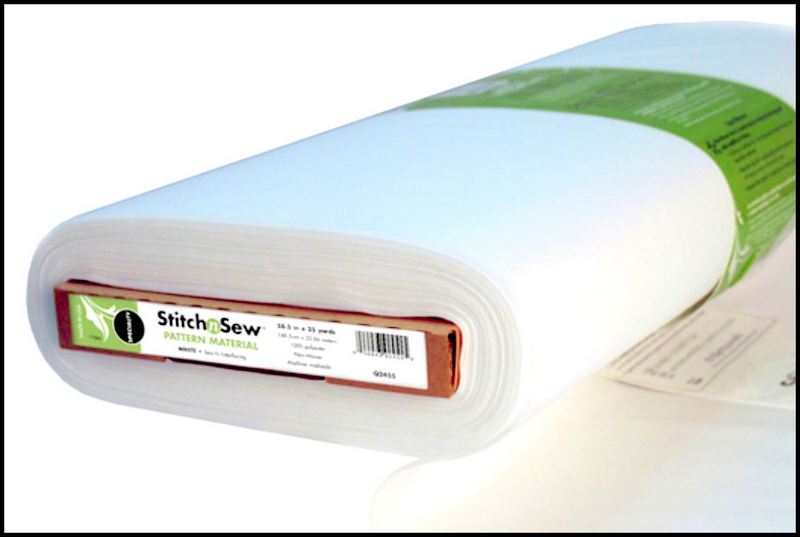
ThermOWeb Stitch n Sew Pattern Material
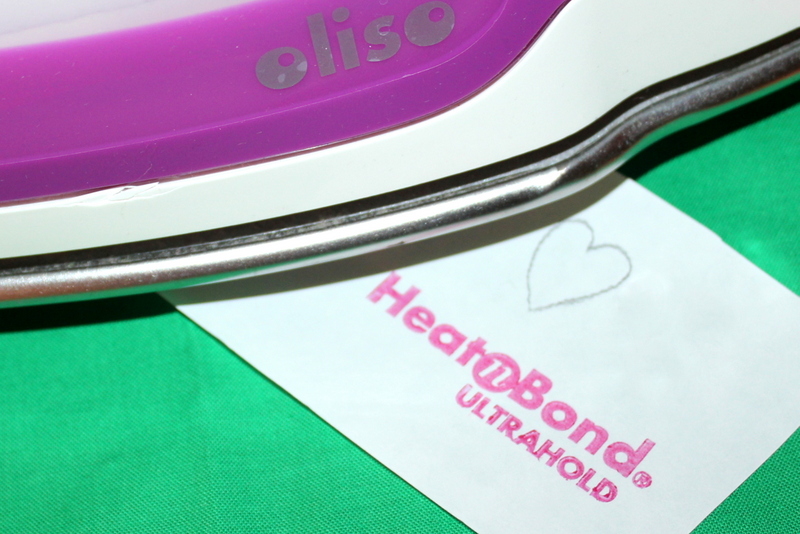
HeatnBond Ultrahold Adhesive, NO-SEW
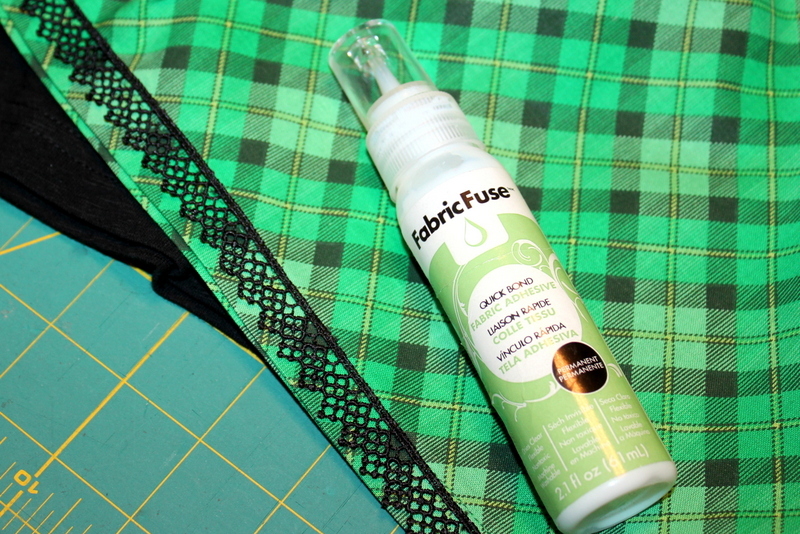
Therm O Web Fabric Fuse Liquid Adhesive
HeatnBond Soft Stretch Lite
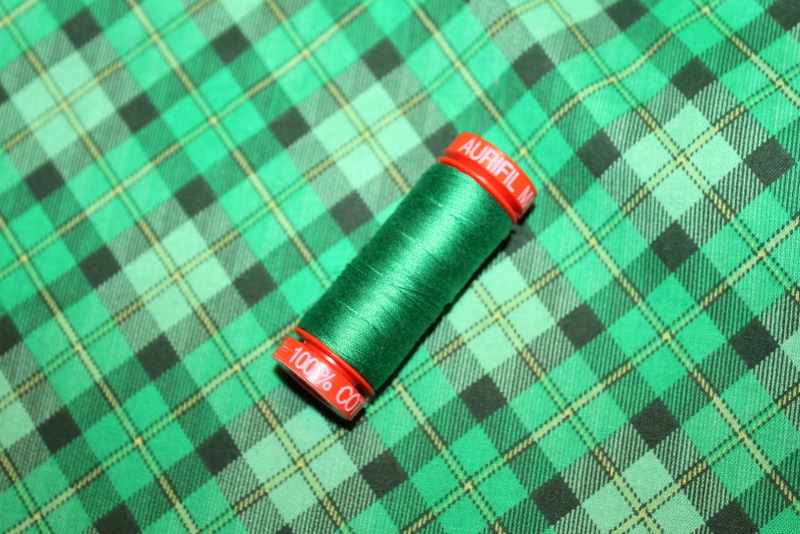
Aurifil Thread
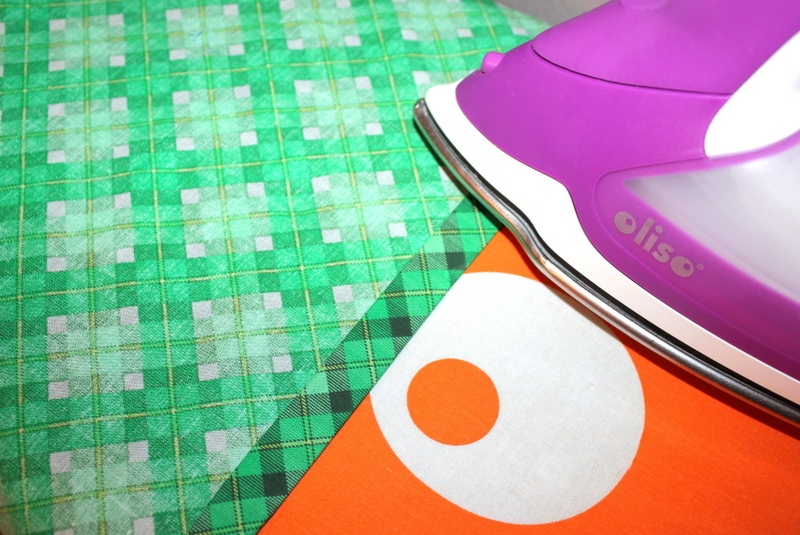
Oliso Purple Iron (purple makes ironing more fun!)
Fabric, 1” wide elastic, t-shirt, Optional: lace, pearls, and/or rhinestones
Aurifil Thread, 50wt, #2070, is a perfect green for St. Patrick’s Day!
*It’s recommended that you wash fabric and t-shirt before sewing and appliqueing.
Important: Read all instructions before beginning.
St. Patrick’s Skirt Instructions: Fabric/cutting measurements for skirt (can be adapted to fit any size):
Draw skirt measurements on ThermOWeb StitchnSew Pattern Material to make different sizes and prolong the life of the pattern. The pattern material comes in different widths, including one that is 58½” and is sold by the yard. It’s perfect for tracing patterns because it is so wide! Be sure to add any markings on the pattern material like the size and directional arrows.
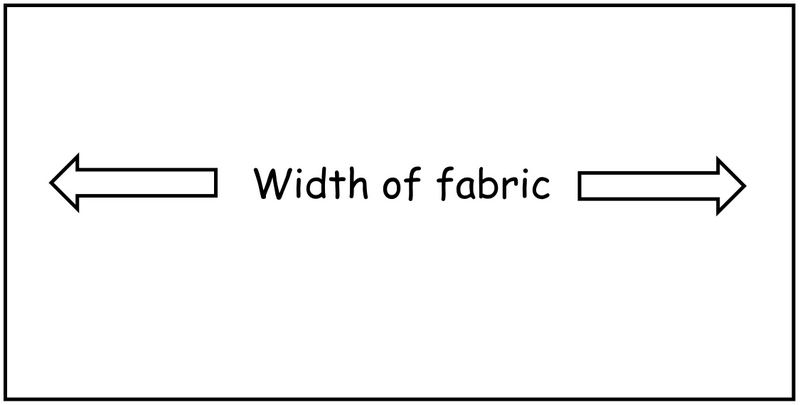
Width of fabric: Measure waist and double measurement of skirt fabric. If you want less gathering at waist, make it only 1 1/2” wider. Example: If the waist is 21”, the fabric will be 42” wide. (Fabric width is usually 45” wide including selvage. If the waist is wider than 22”, sew extra fabric to ends to extend width.)
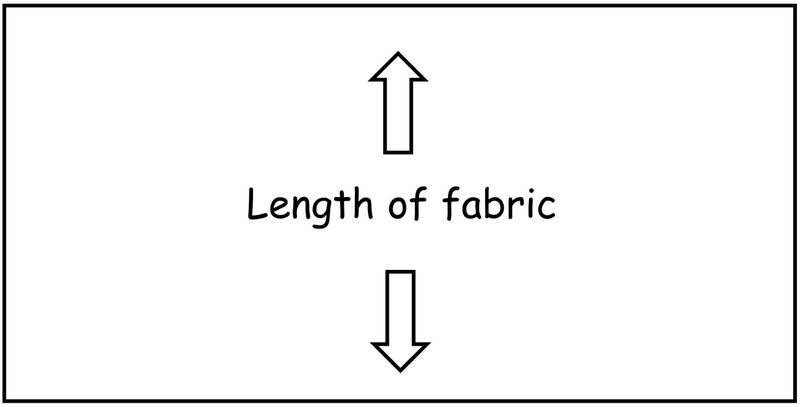
 Length of fabric: Measure waist to length desired (above or below knee) and add 1 3/4” for elastic casing and 1” for hem (total 2½” extra.) Example: If the length is 12”, the fabric will be 14 3/4” long.
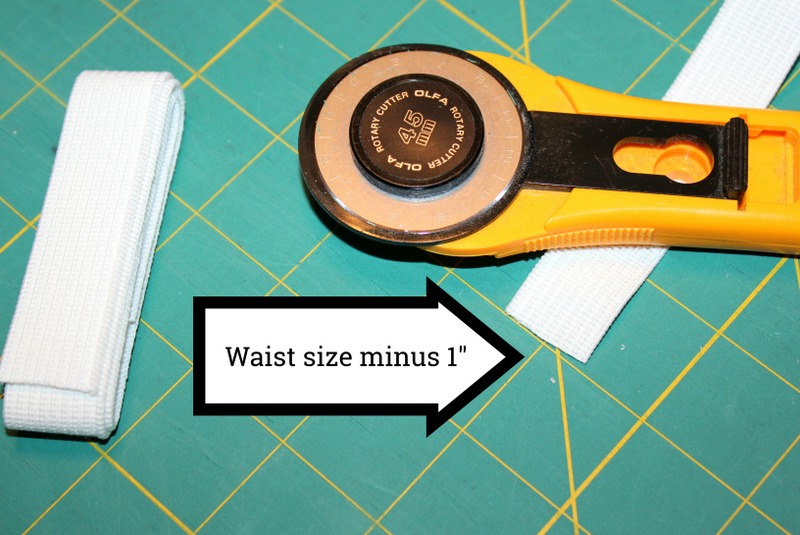
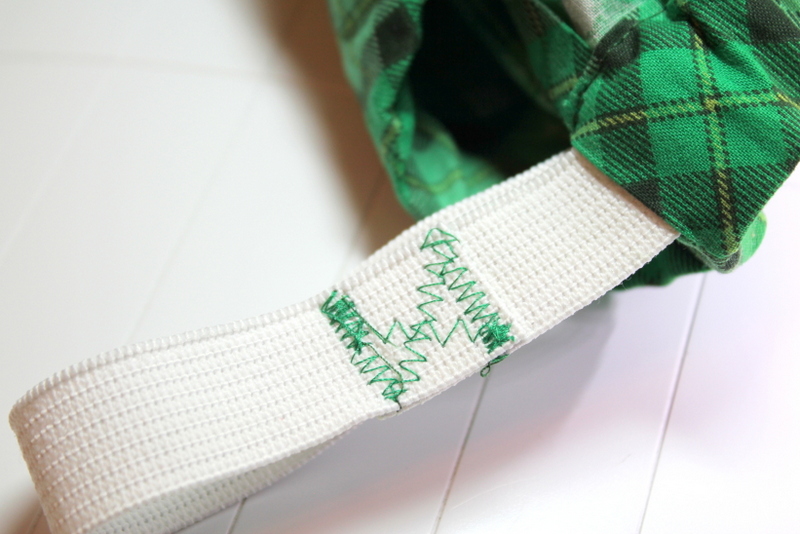
 Elastic: Measure waist and subtract 1” from measurement for elastic.
 Sewing instructions: Sew seams 1/2” unless otherwise specified.
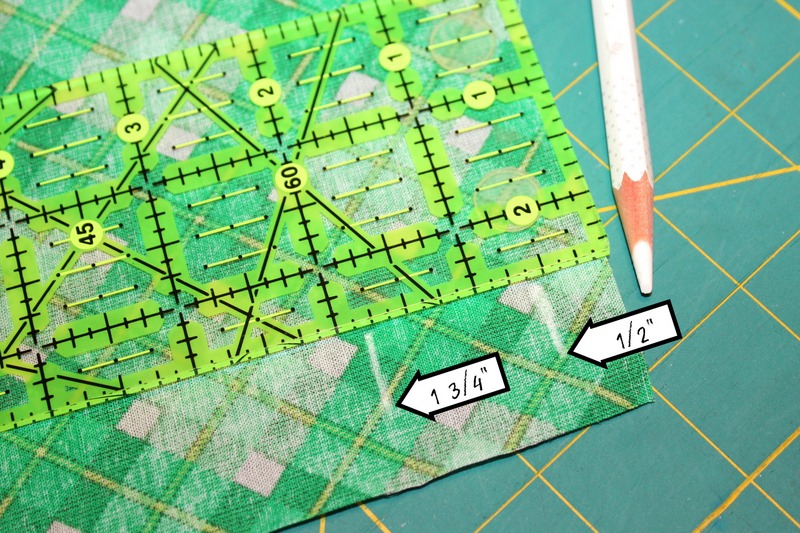
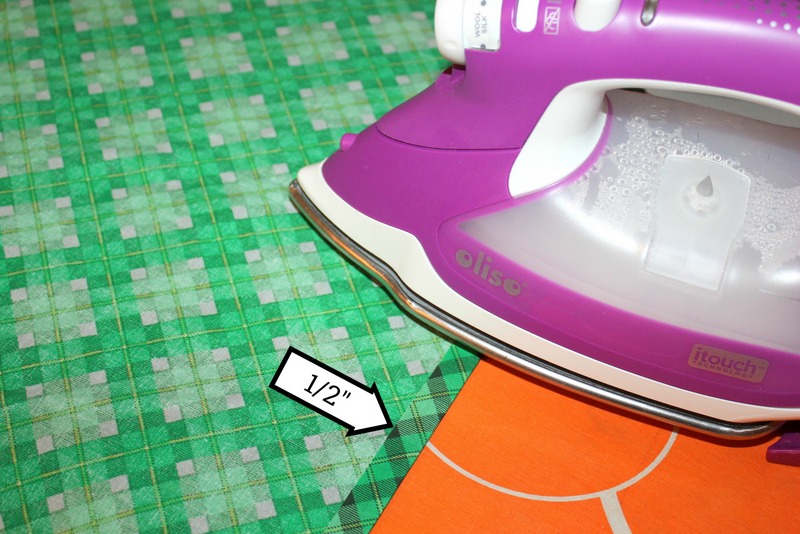
Step 1: On the wrong side of the fabric and at the waist of fabric, use a washable pencil or marker to mark 1/2” down and 1 3/4″ down.
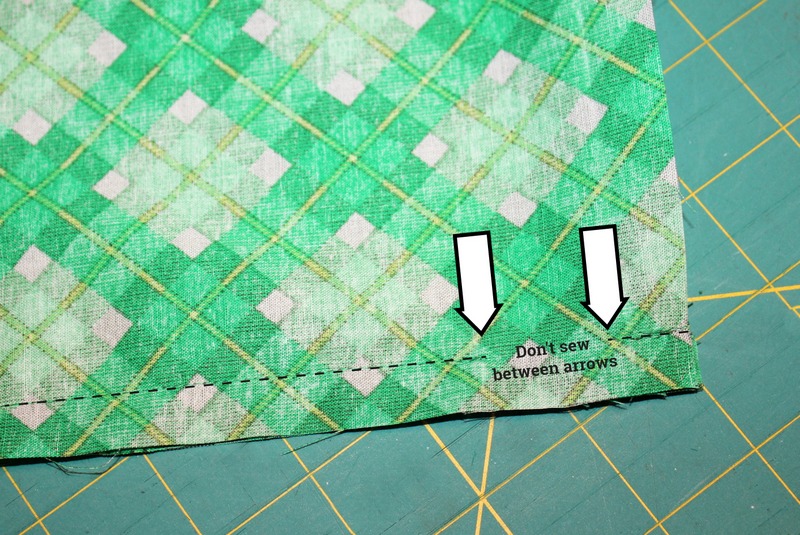
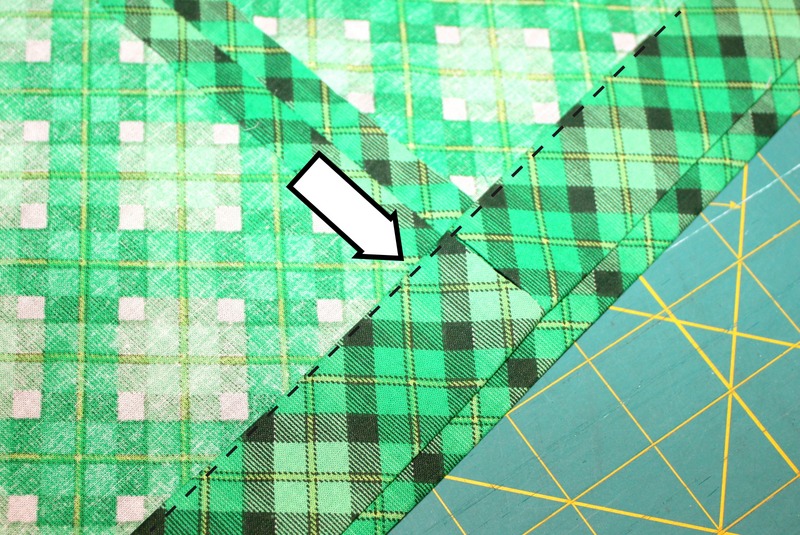
 Step 2: With right sides together, sew short ends of fabric, leaving seam open as shown below. Press seams open.
Step 3: Fold and press right side of fabric 1/2” to wrong side of fabric the length of waist.
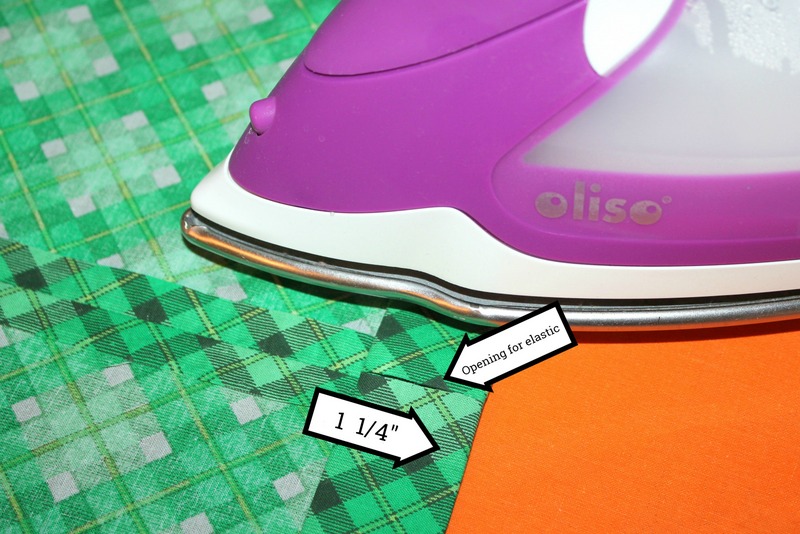
 Step 4: Fold under again, 1 ¼” to wrong side of fabric to create casing and press. Match seams along back seam. Opening should be between both pressed folds.
 Step 5: Stitch entire length of casing close to fold along lower edge.
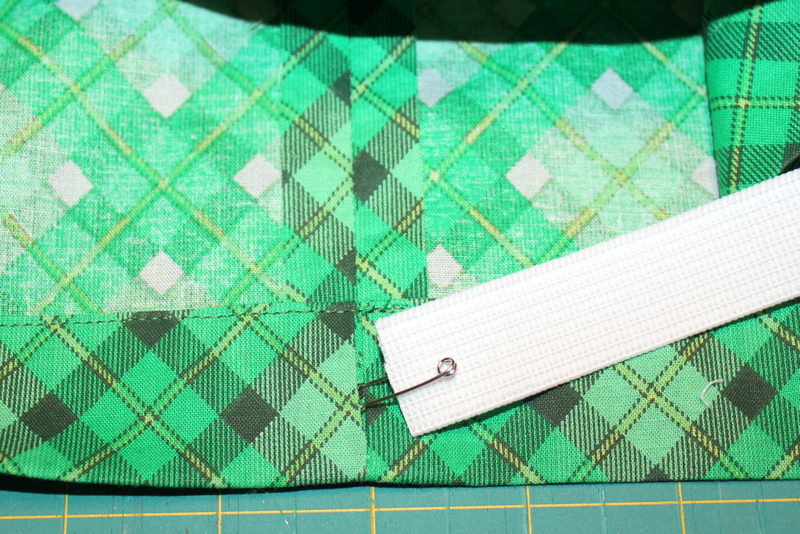
 Step 6: Insert elastic through casing using a safety pin or other desired method. Be careful not to lose the other end in the casing when you’re pulling it through!
 Step 7: Sew elastic ends together and sew opening closed, if desired. It can be left open, if desired, to adjust waist size.
 Spread gathers out evenly.
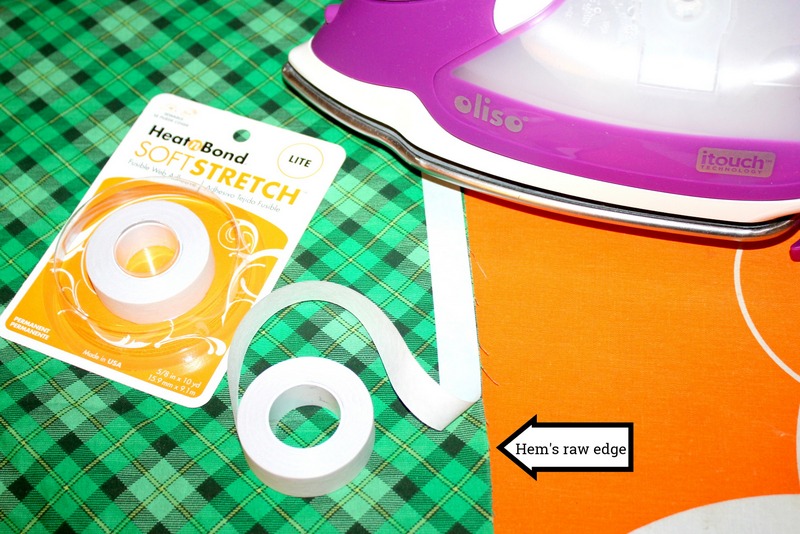
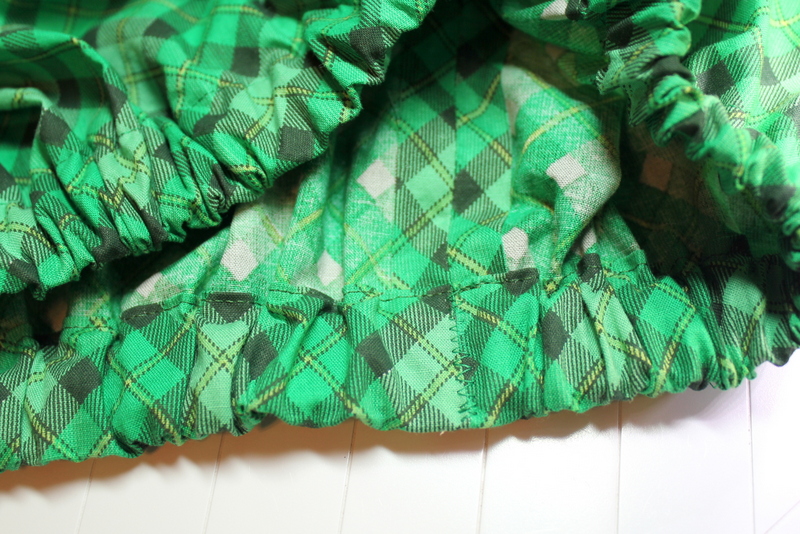 Step 8: Iron HeatnBond Soft Stretch Lite holding for 5 seconds (no steam) until each area adheres to the right sides of raw edges on skirt hem. If the fabric is stretchy (this one was) using the HeatnBond Soft Stretch Lite worked best. Do not remove protective tape cover yet.
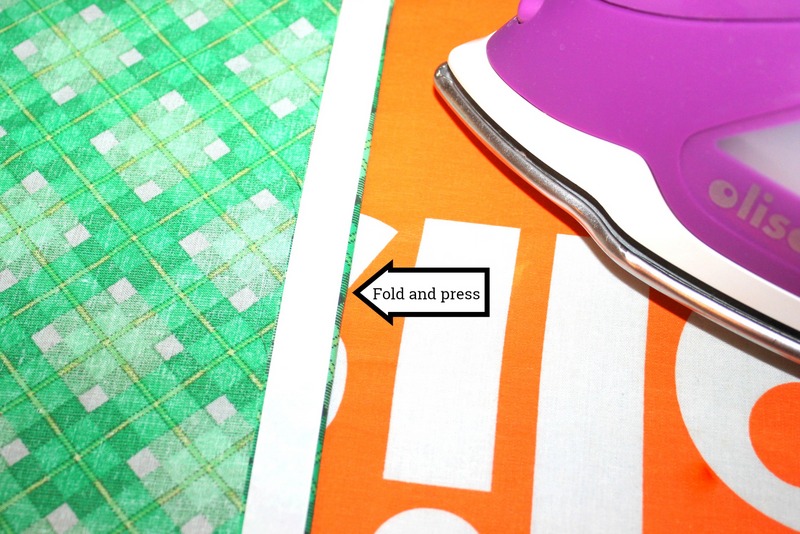
 Step 9: With protective tape cover still in place, fold over to the wrong side and press to crease.
 Step 10: Remove protective tape cover and fold over with adhesive to wrong side of the fabric. Using steam, press in place holding iron for 20 seconds on each area. Sew hem in place along top edge of the fold.
 Step 11: Optional – Using Therm O Web Fabric Fuse Liquid Adhesive, run a very light and thin line of adhesive along hemstitching and apply lace. Let dry. Sew in place.
 St. Patrick’s Day T-Shirt Instructions:
Heat n Bond Ultrahold Adhesive, NO-SEW – You DO NOT need to sew your applique pieces when using Heat n Bond Ultrahold Adhesive…it may gum up your needle. Just iron in place following the directions below and you are done. It’s very strong and washable!
Step 1: Trace applique designs on the smooth side of Heat n Bond Ultrahold Adhesive, No-Sew.
 Step 2: Iron adhesive pieces to wrong sides of fabrics with a medium heat iron, no steam. Press for 2 seconds. Repeat until all surfaces have been bonded to the fabric. Let cool. Cut out applique pieces.
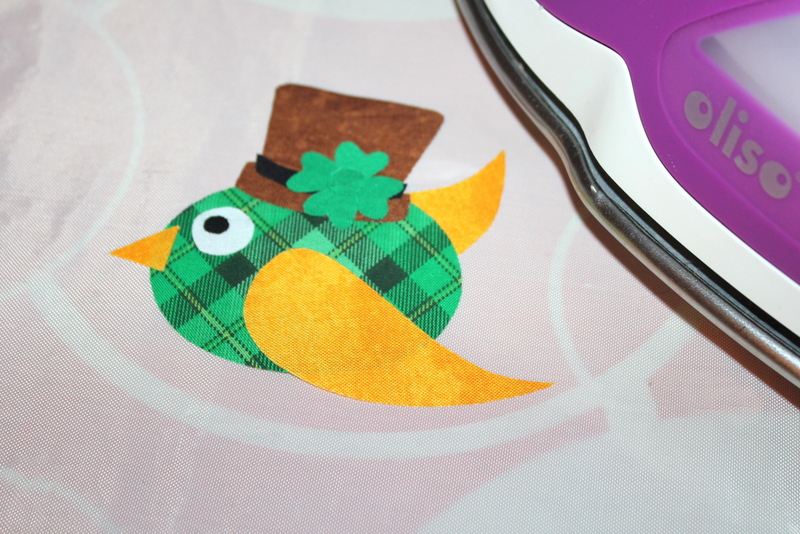
 Step 3: Peel off paper liner. Place applique shape, adhesive side down, on top of the project. Press and hold iron for 6 seconds on each section until the entire piece is bonded. Let cool.
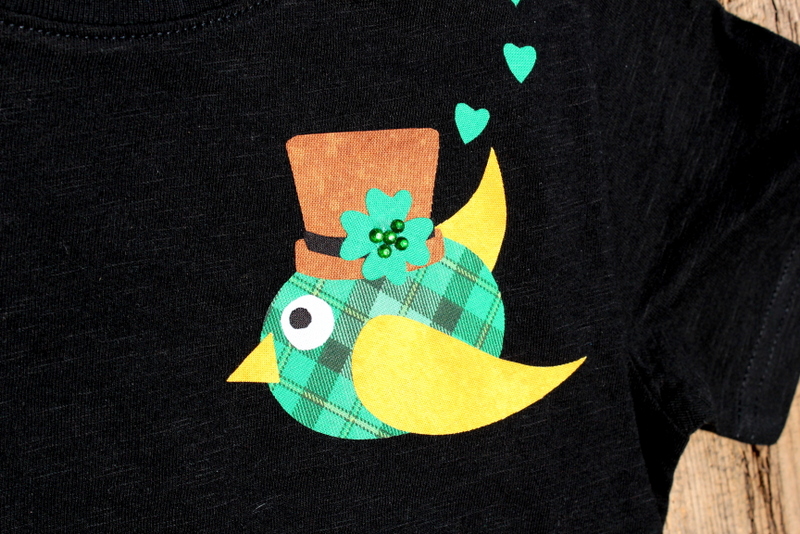
Optional: Use Therm O Web Fabric Fuse Liquid Adhesive to add beads or rhinestones to the center of the shamrock.
 *Tip: Use a heat resistant applique sheet to arrange your applique before applying it to your fabric. This helps avoid mistakes in placement. Just lightly press the pieces in place and let cool before removing.TooltipText
 You can find the applique and instructions in PDF HERE.
Ivory
April 3, 2018 at 3:36 pm (6 years ago)This is sooooo cute. I am sure the little girl that got this outfit, could not stop looking at herself in the mirror how beautiful she looked.