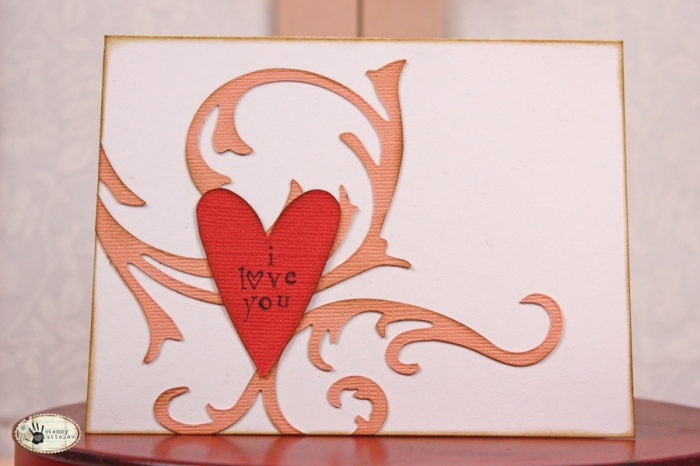
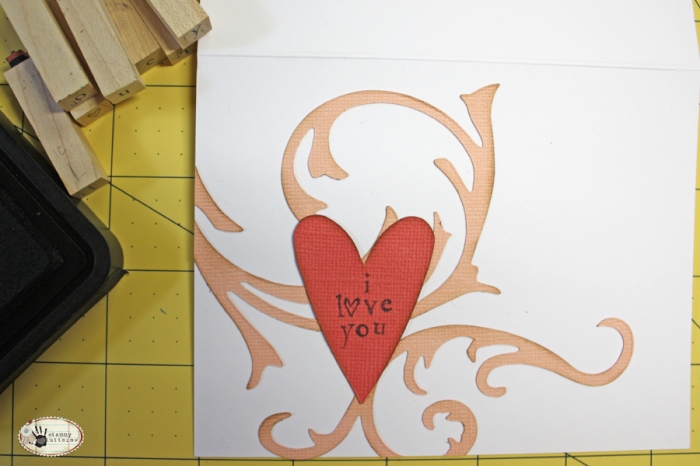
I love using die cut shapes that are detailed and intricate. Sometimes though, they can be difficult to apply adhesive to without getting adhesive on my base project and myself. That is why I love Sticky Dots sheets for die cutting! They make applying adhesive to intricate die cuts simple, easy, and mess free!
Sticky Dots sheets come in two sizes, 8.5″ x 11″ and 4.25″ x 5.5″. Each sheet is comprised of two parts, a peel away cover sheet and a sheet with dots of adhesive.
For intricate die cutting, I like to apply a piece of Sticky Dots to the back side of my cardstock, cutting both to about the same size as my image I will be cutting. After I cut the piece to size, peel away the cover paper and place the adhesive sheet adhesive side down on the back side of my paper.
I then die cut my paper as I normally would. The sheet is thin and does not affect the cut. After cutting the die cut will be like a sticker with a peel away backing that will expose the adhesive that is now transferred onto the back of your die cut.
I like to add ink to the edges of my die cuts. Intricate pieces can be difficult to ink because they are so fragile, but because of the extra reinforcement of the backing sheet that is still in place, the piece is now sturdier and easier to ink and distress.
When you are ready to apply your die cut, peel the backing paper away and apply the die cut to your surface as desired.
If you notice any extra adhesive along the edges of the die cut, simply rub them away with an Adhesive Pick Up Square.
I applied my die cut pieces to a blank pre-made greeting card. I added a quick stamped sentiment and had a completed card in under 15 minutes. Quick, simple, and no mess.


CariCreates
January 12, 2012 at 11:17 am (12 years ago)I just ordered some of these sheets yesterday & I can’t wait to use them. Thank you for a great tut on how to use them in this manner – it hadn’t occurred to me that I could use them this way! 🙂