Good morning everyone! It’s Kim Lapacek from Persimon Dreams. Today I’m sharing with you a fun tutorial that can be used to make either a mini quilt or a pillowcase. We’ve had a ridiculous winter here in Wisconsin – 8 days of no school so far with more snow on the way.
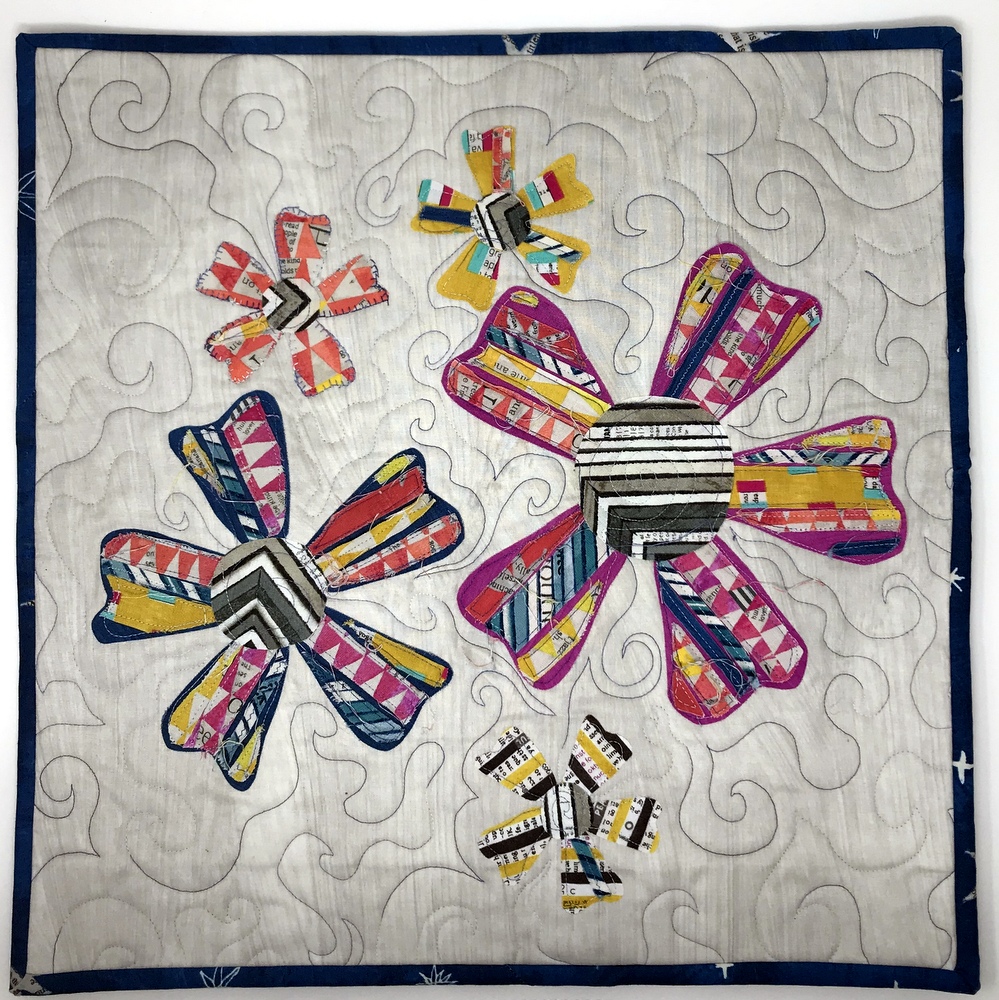
Strippy Flower Mini Quilt
Like the majority of my projects, this project is fun and free flowing. I’m going to give you the basics to enable you to create it but I hope you take the tools and ideas I give you to create a spring themed pillow that is perfect for you!
Project Supplies:
- (1) 19” square of a neutral fabric
- 20″ square of high loft HeatnBond® Fusible Fleece batting
- 20″ square of fabric for the back of pillow top
- Large Flower – 9″ x 8″ fabric
- Medium FLower – 6.5″ square of fabric
- Small Flower- (3) 4.5″ squares of fabric
- Flower Centers – 6.5″ x 6.5″ squares of fabric
- HeatNBond Lite – 14″ x 14″
- 2.5″ x 85″ fabric binding strip
- Strippy Flower Templates
- Spray N Bond® Basting Adhesive
- Aurifil 4655
- Optional
- Random strips of fabrics ranging from 0.25″ to 0.75″
- Strip Tree Tutorial – use the same method in this tutorial to create the strippy flower look
- (2) 16.5” x 32” (ish) coordination fabric for the back if you decide to make a pillow instead of a mini quilt
- Pattern HERE
* “Wonder” Fabric by Carrie Bloomston for Windham was used for this project.
Strippy Flower Mini Quilt Tutorial
Start with your main fabric. I started with a 19″ square piece but you’ll see that I cut it down later on because the ratio wasn’t quite right. Remember that you can always go smaller but it’s much harder to go bigger!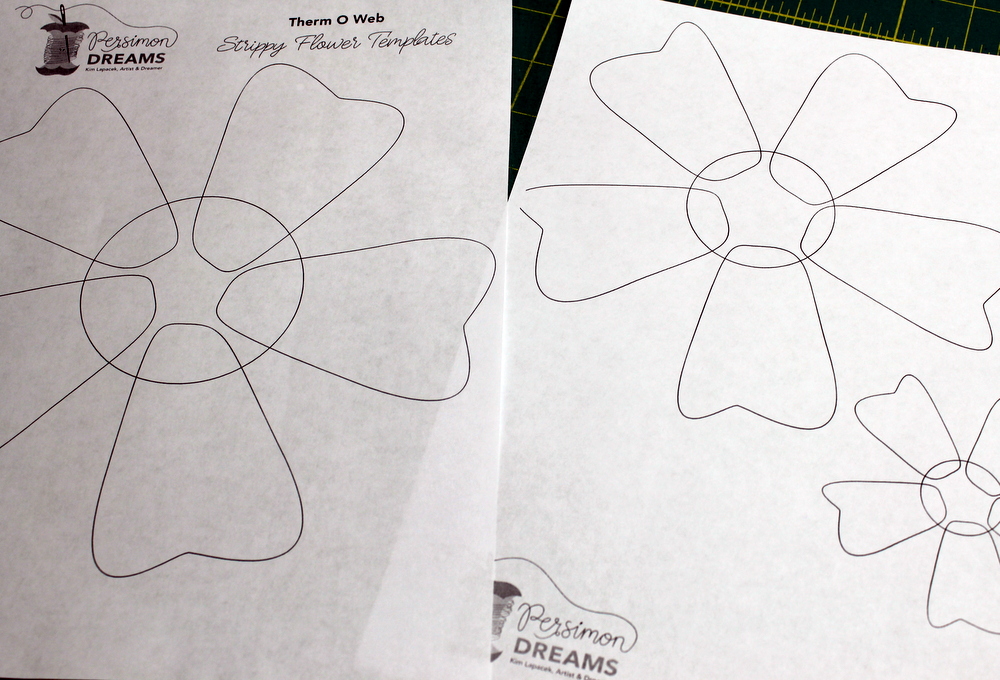
Print out the Strippy Flower Templates. Trace the petals and flower centers on to the paper-y side of the HeatNBond Lite. Cut roughly around the traced images.
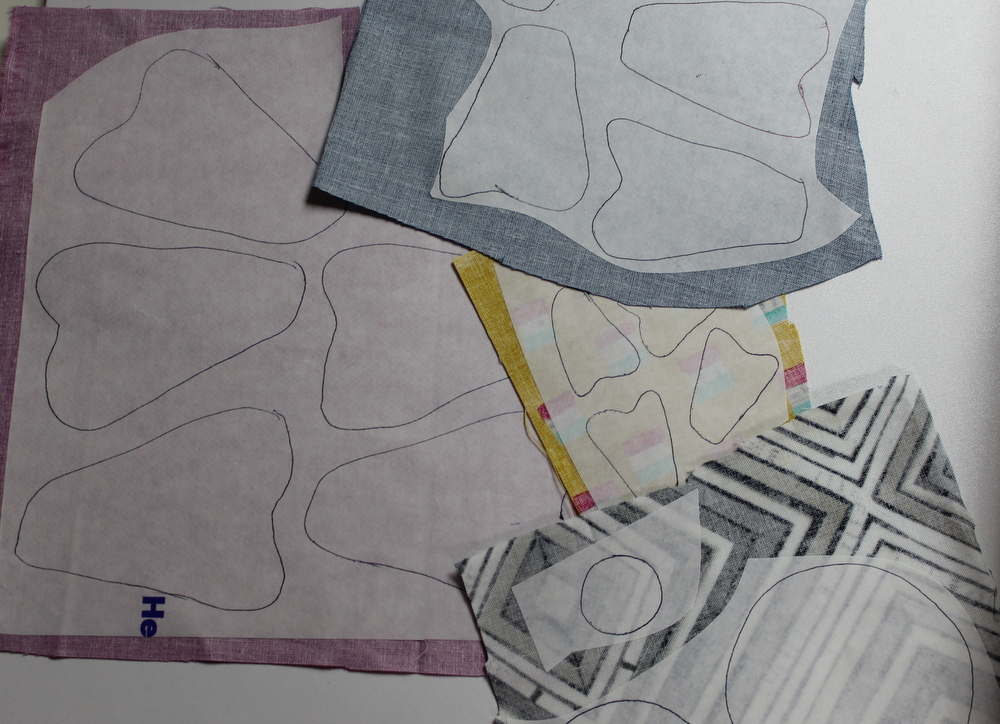
Fuse them to the wrong side of the fabrics for each flower.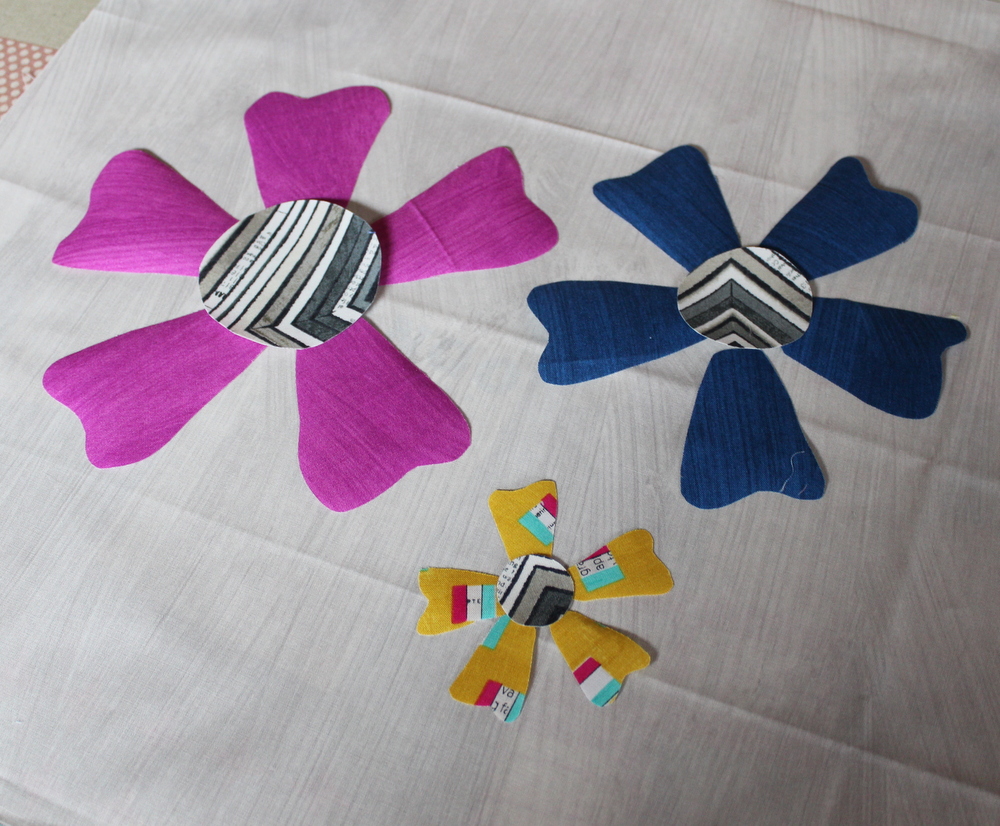
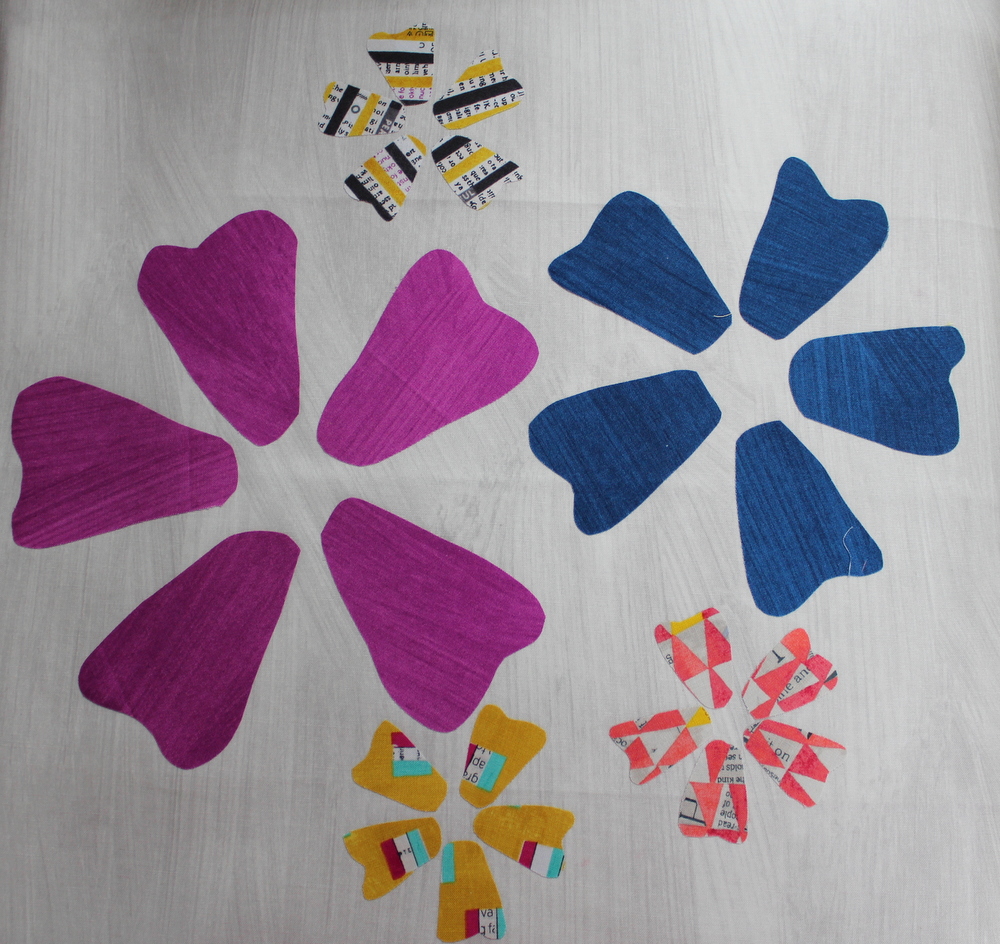
Take the paper off the back of the petals (first so you don’t forget to later) and lay the flower petals and centers onto the base fabric in a way that looks pleasing to you.
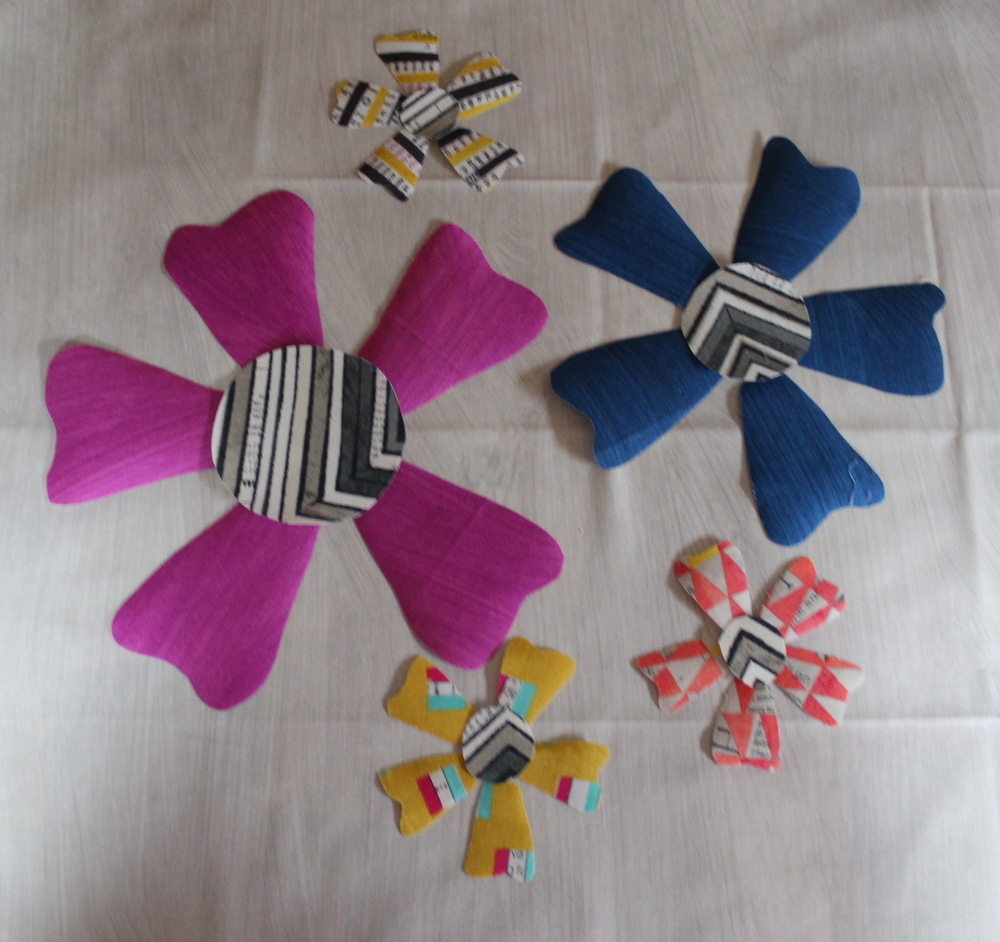
After I laid out my three flowers I realized I wanted to add two more small flowers to the piece.
Take the centers off the piece and use a hot iron to press fuse the petals down.
***If you don’t plan on adding the “strips” to the flower petals you can fuse the centers down now. If you do want to add some “strips” wait and fuse the centers down after you have the petals the way you want them.
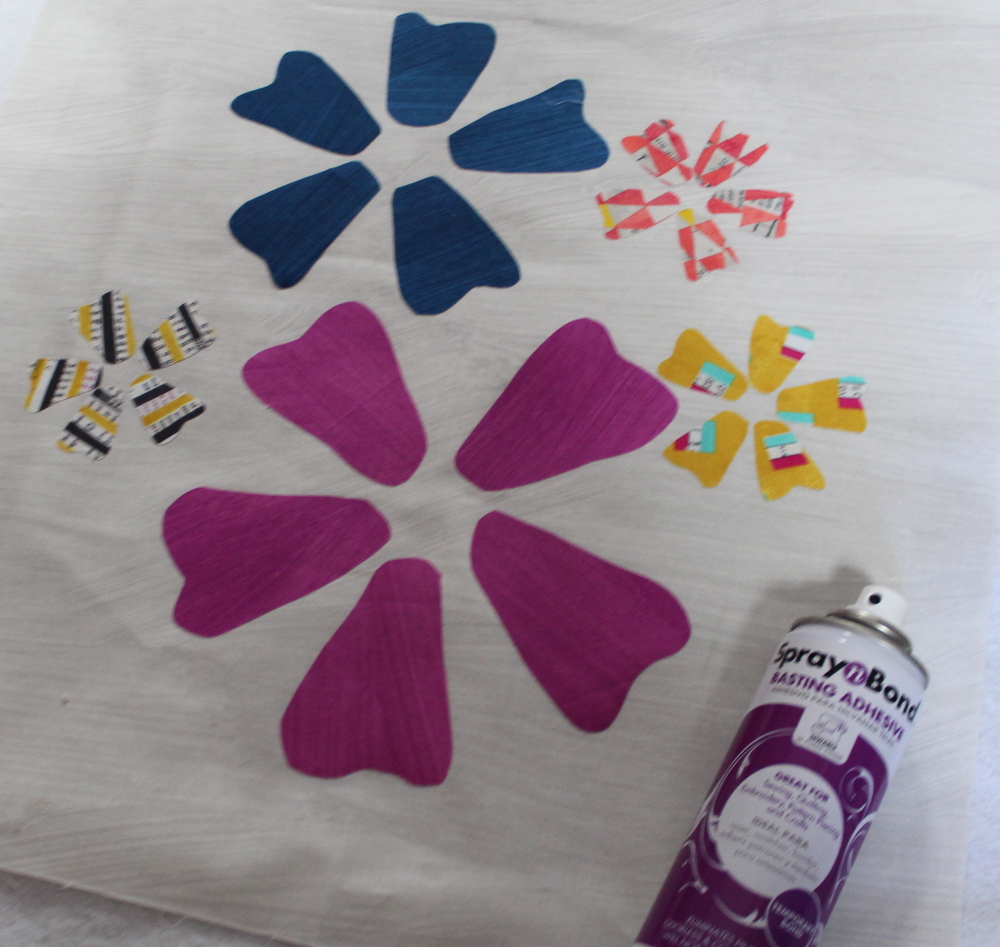
Create a quilt sandwich … backing fabric (right side down), high loft HeatnBond® Fusible Fleece, flower top (right side up) and fuse with your preferred method. I prefer spray basting and I really like the Spray N Bond® Basting Adhesive.
Finishing the Strippy Flower Top
 Now it’s time to quilt your pillow top as you like.
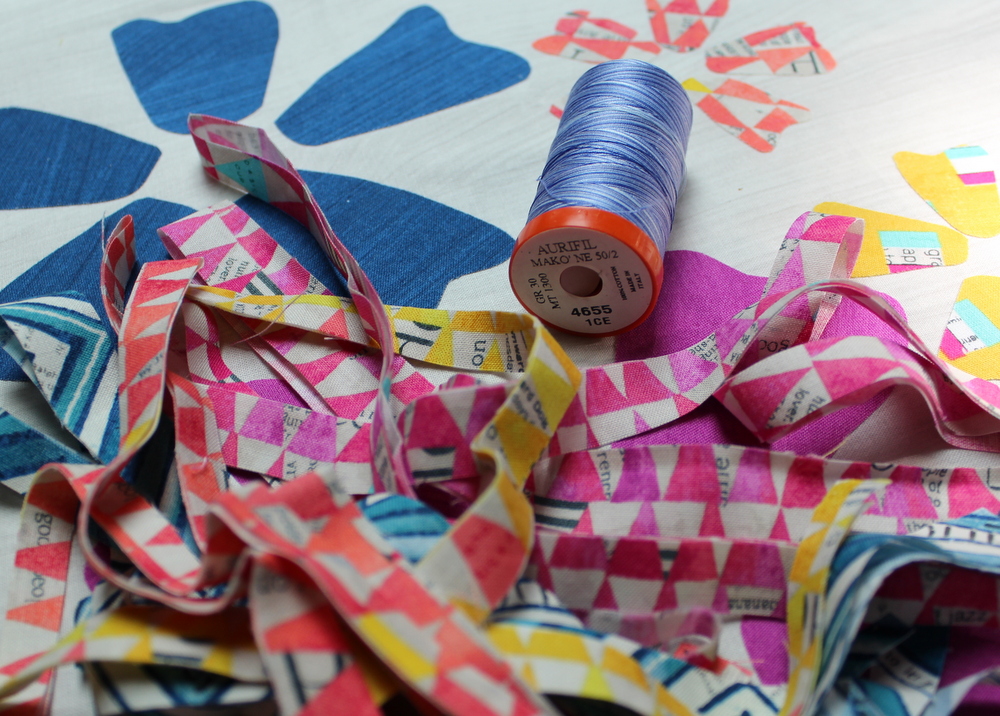
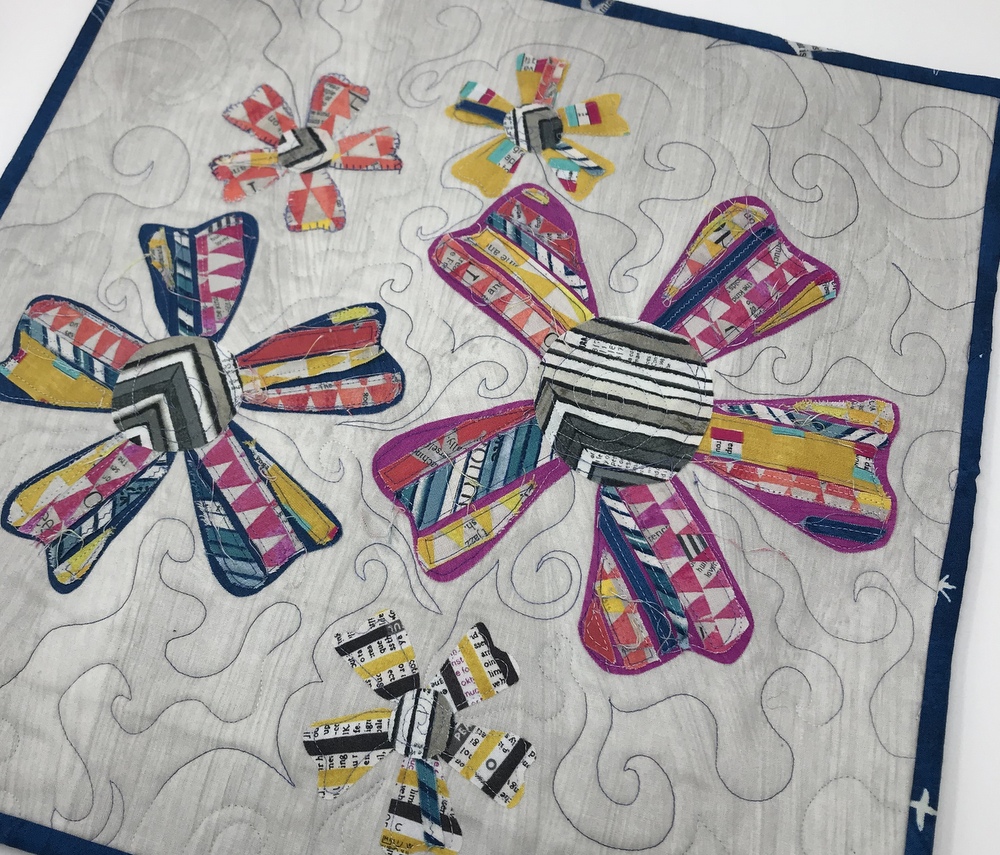
 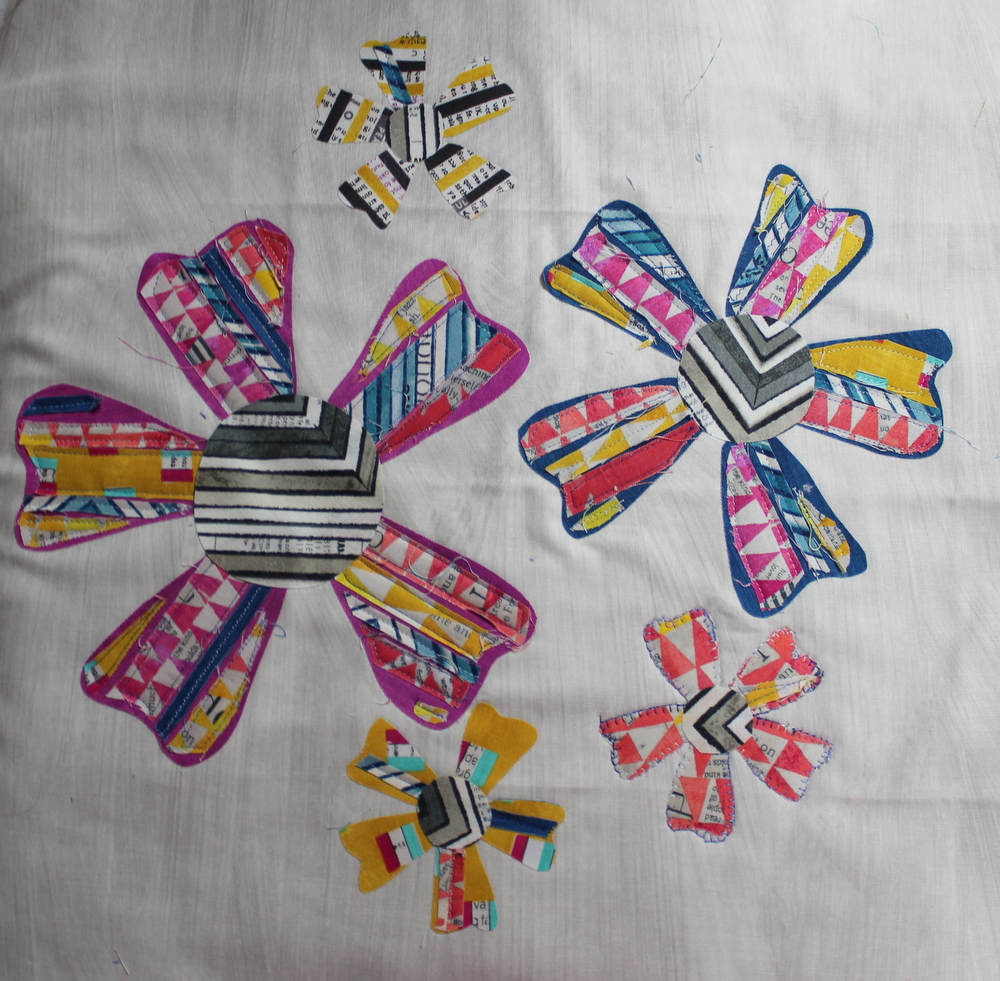 Before I quilted it I added strips of fabric using the “Strip Tree” method and then I free form quilted mine using Aurifil 4655 thread. I love how the strips just add some pizzazz to the flowers!
I trimmed the quilt top down to 16.5″ square. Next add the fabric for the pillow back and bound the piece.
 I can’t wait to see what you make using this fun tutorial! Be sure to share on social media and tag @Thermoweb and use the hashtags #thermoweb #heatnbond!