


Teachers are our heroes as we’ve all found out with stay at home orders. Show your favorite teacher your appreciation with this tote bag. Fill it with gifts or essential supplies a teacher needs. Later, the tote will be great for carrying a laptop, tablet, and all the teacher necessities.
![]()
Teacher Hero Tote Bag
by Carla at Creatin’ in the Sticks
finished size from top of handle: 24” tall x 11” wide x 3 1/2″ deep
Teacher Hero Tote Supplies:
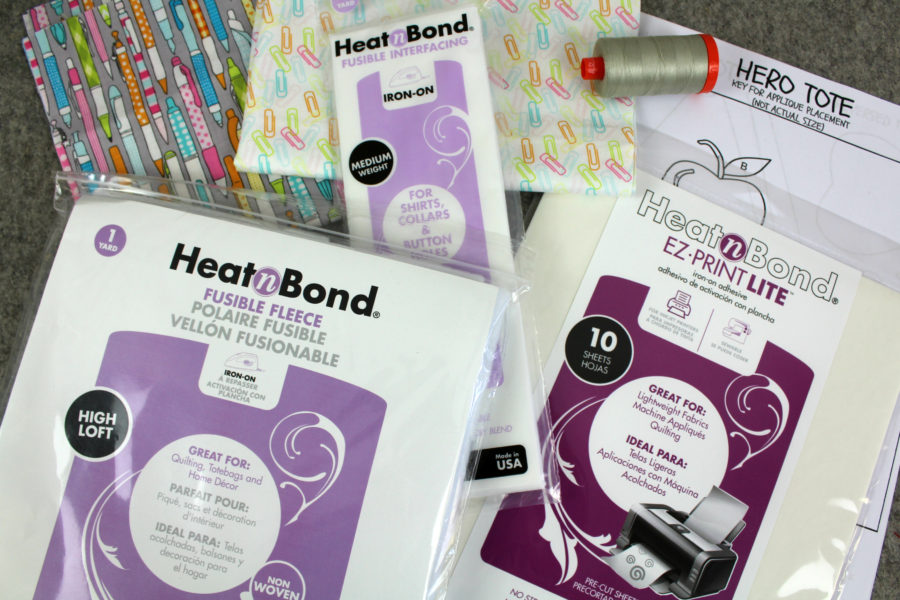
HEATnBOND® FUSIBLE Medium Weight Interfacing
HeatnBond EZ Print Lite iron-on adhesive – 3 sheets
or
HeatnBond Lite Fusible Adhesive if you want to trace the templates
Cotton Fabric:(Blend Fabrics -Pen and Paper by Maude Asbury)
3/4 yard exterior fabric
1/2 yard lining fabric
1 – 10 1/2″ square of a white background for applique
Assorted scraps for applique
Other Supplies:
Pattern for appliques: Teacher Hero Tote HeatnBond Templates
Inkjet Printer
Aurifil 50 wt. thread
Iron (I love my Oliso) and pressing surface
sewing machine
sharp scissors
erasable pen
permanent marker
other general sewing supplies
Teacher Hero Sewing Instructions:
please read through the complete instructions before starting.
Cutting:
Exterior fabric:
A – white 10 1/2″ square
B – Grey – Cut two 2 1/2″ x 10 1/2″ strips
C – Grey – Cut one 2 1/2″ x 14 1/2″ strip
D – Grey – Cut one 4 1/2″ x 14 1/2″ strip
E – Grey – Cut one 14 1/2″ x 16 1/2″ rectangle (Back)
F – Grey – Cut one 5″ x 25″ strip. (handle)
Lining fabric:
Cut two 14 1/2″ x 16 1/2″ rectangles
Fusible Fleece:
Cut two 14 1/2″ x 16 1/2″ rectangles (for exterior)
Cut one 5″ x 25″ (for handle)
Interfacing:
Cut two 14 1/2″ x 16 1/2″ rectangles (for lining)
Step 1:
Stitch all seams 1/4″
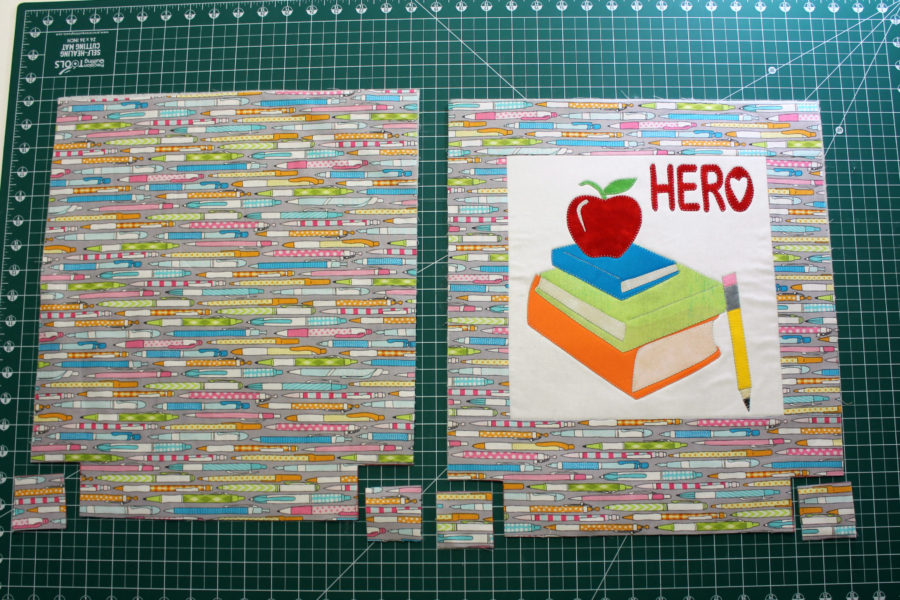
Stitch the front of the tote together with 1/4″ seams as shown in the diagram below. First, stitch B strips to A, then stitch the C strip to the top and the D strip to the bottom. Afterward, press the seams.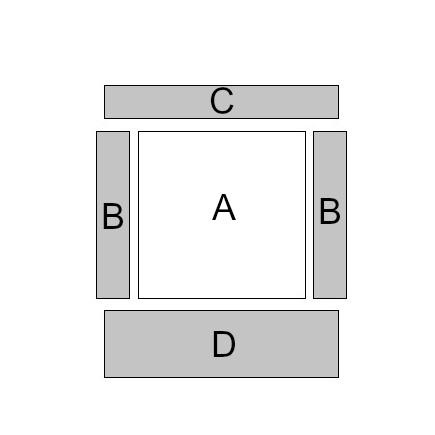
Step 2:
After the front of the tote is constructed, Fuse the two fusible fleece rectangles to the wrong side of the pieced front and the E rectangle. Follow the package directions to bond the fleece.
Step 3:
If you are using HeatnBond EZ Print Lite sheets, print the applique pattern pieces with your inkjet printer. The patterns have been reversed for you. Follow the package instructions for printing and bonding to the wrong side of the fabrics.
NO TRACING! How awesome is that?
**TIP** To prevent the fabrics from showing the background fabrics, simply fuse interfacing to the back of the fabric before applying HeatNBond adhesive. The interfacing will just add another layer of protection from “show through.”TooltipTextCut out all applique pieces on the solid black lines, peel off the backing paper, and place applique with the adhesive side down on the background piece of fabric in the middle of the constructed tote front.
The layout key is included in this pattern.
Following the package instructions, work in sections to press the entire applique to the background until the entire applique is fused.
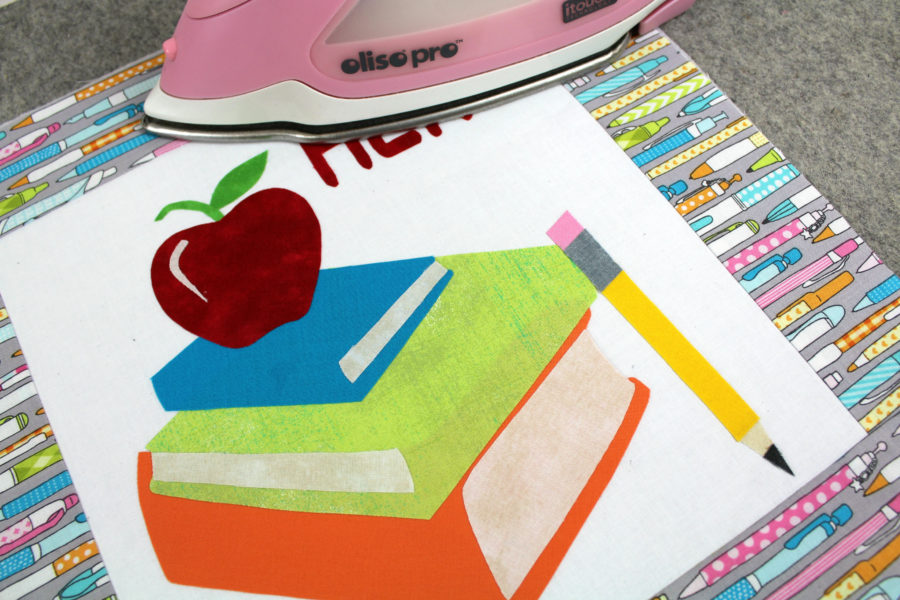
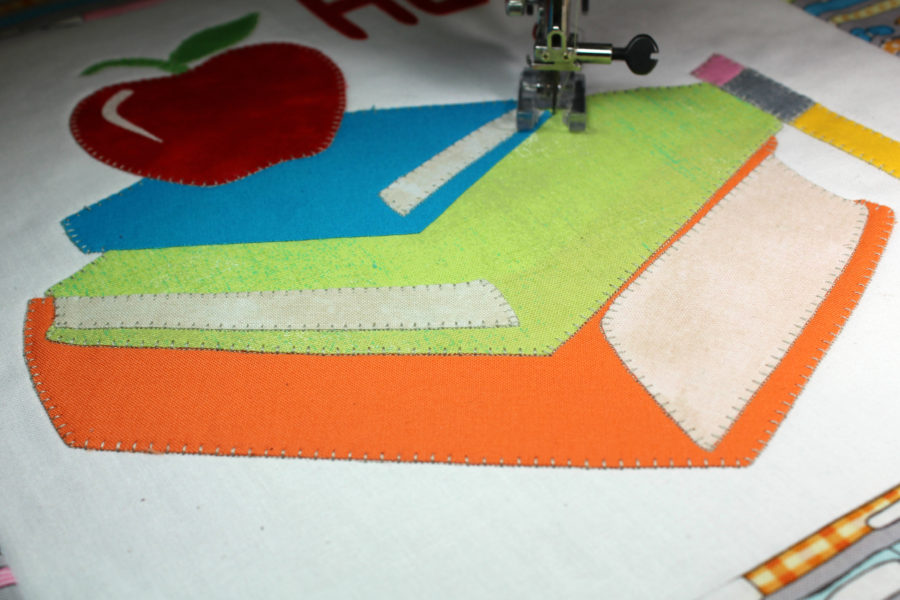
Stitch around appliques with a straight, zigzag, or blanket stitch with Aurifil thread. By adding the fleece before the applique stitching, the front of the tote will have a quilted effect.
Finally, cut 2″ squares at the bottom corners of the tote front and the back rectangle.
Step 4:
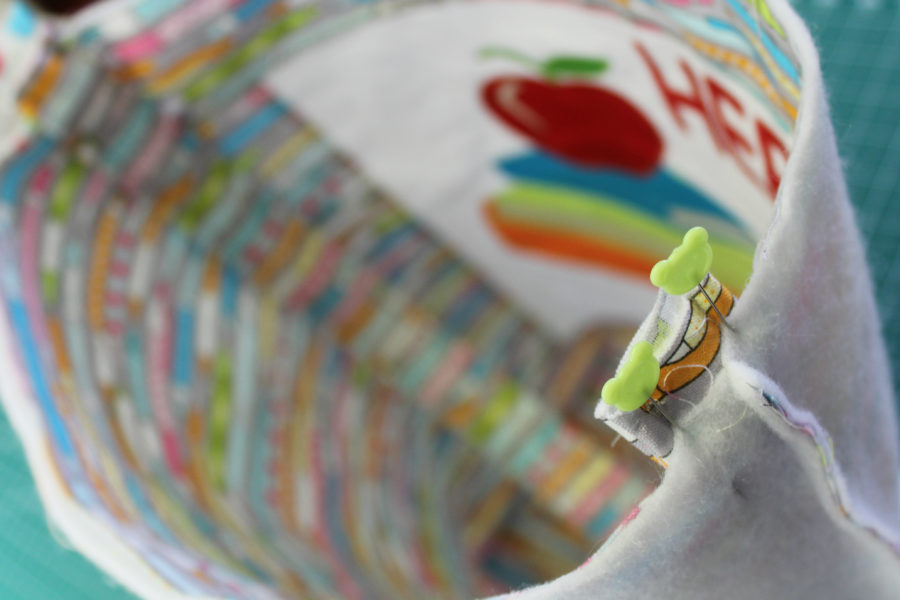
Pin the tote front and back with right sides together. Stitch the sides and the bottom seams. Leave the cut squares and top open. Once the side and bottom seams are sewn, flatten the bag where the squares were cut matching the seams and pin.
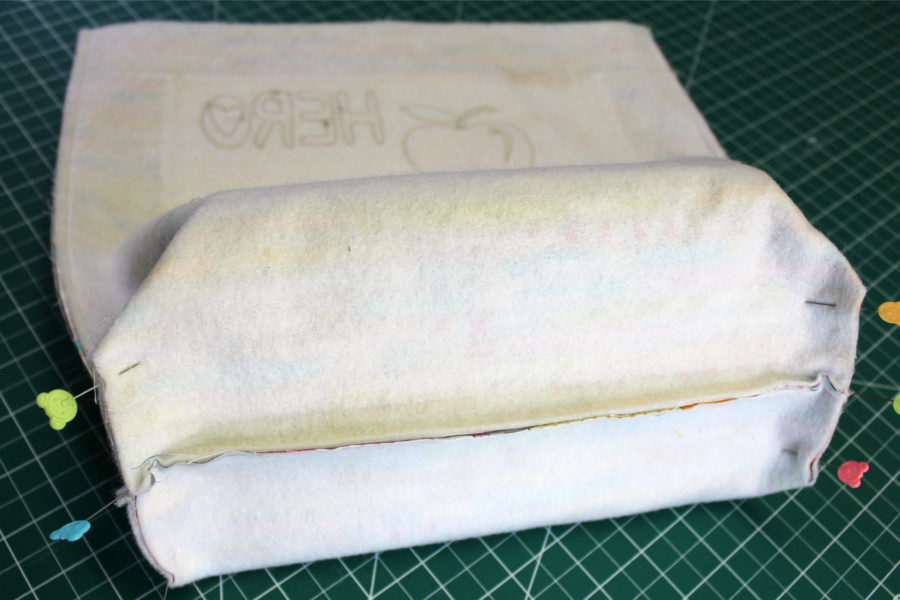
Stitch 1/4″ from the edge to box the corners of the exterior of the tote. Set the exterior aside.
Step 5:
Prepare the lining by first, bonding the interfacing to the wrong side of both lining pieces. Cut 2″ squares in the bottom corners of both lining pieces. Following the previous directions for the exterior of the tote, stitch the lining sides. The bottom will need an opening for turning the tote right side out later.
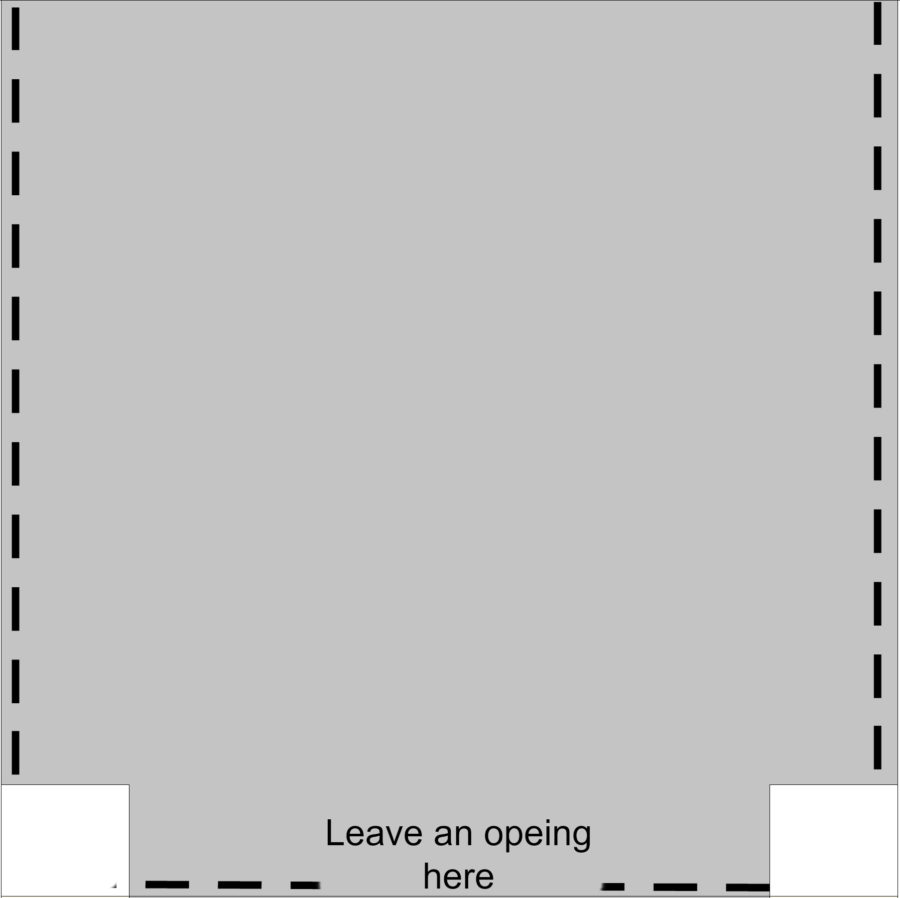
Flatten the corners and stitch them to box the lining bottom. Turn the lining right side out.
Step 6:
To construct the handle, first bond the fusible fleece to the wrong side of strip F. Next, fold the fleece-backed handle in half lengthwise and press to make a center crease. Fold both long edges to the centerfold and press
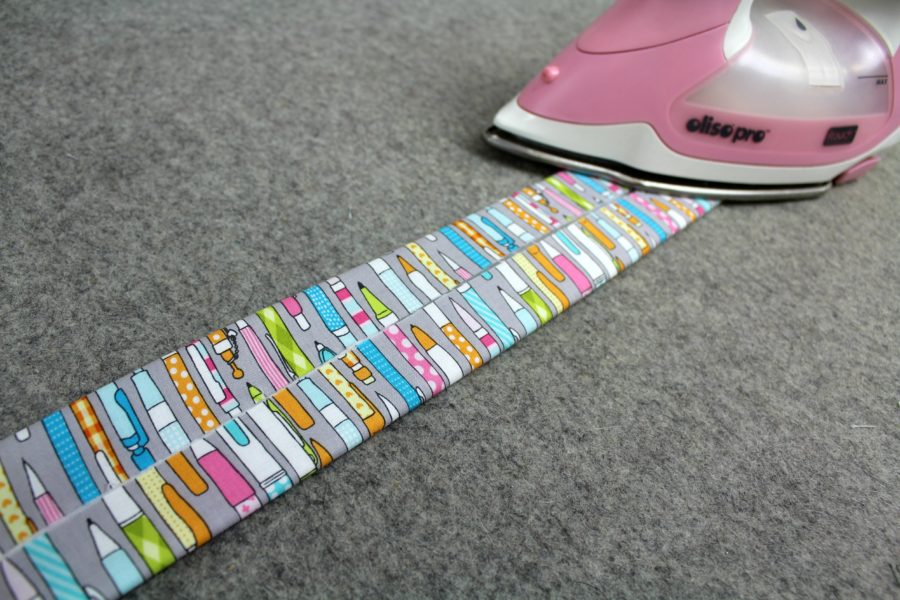
Next, fold the long handle in half lengthwise encasing the edges in the middle of the strap. Press this well and place pins to hold it in place. Using a walking foot, topstitch along the edges.
Step 7:
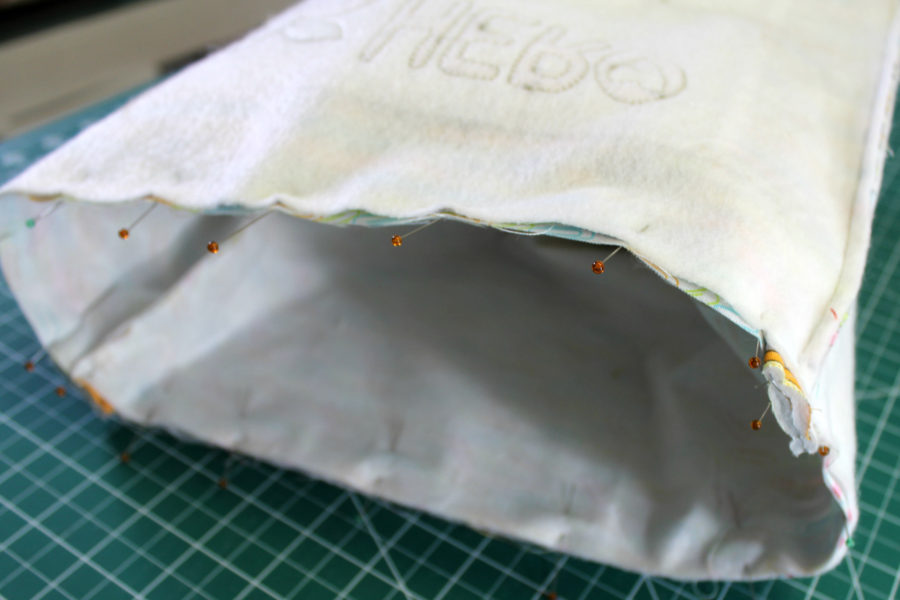
The last step is to put all the tote pieces together. Place the handle inside the exterior of the tote (the tote is the wrong side out) and pin the strap ends where the seams are on the sides.
Stitch 1/8″ from the top of the bag to hold the handle in place. Next place the lining inside the tote with the lining right side out and the seams matching. The right sides of the lining and the exterior of the tote are together. Place pins around the top.
Stitch around the top of the tote. Stitch around it again to reinforce the straps. Use the opening left in the lining to turn the tote right side out. Press and stitch the opening closed. Push the lining into the bag, press, and pin around the top of the tote. Finish the tote by top-stitching around the top
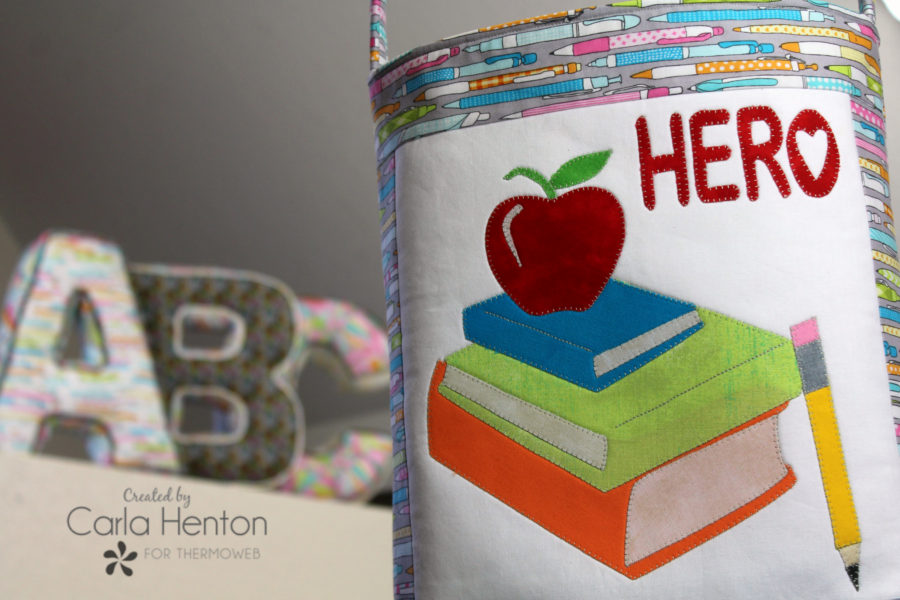
Show those teachers some love. They deserve it for sure!
Carla
![]()
Looking for information on those adorable fabric letters shown in Carla’s photo…click the image to go to our ABC Alphabet Letter tutorial!