


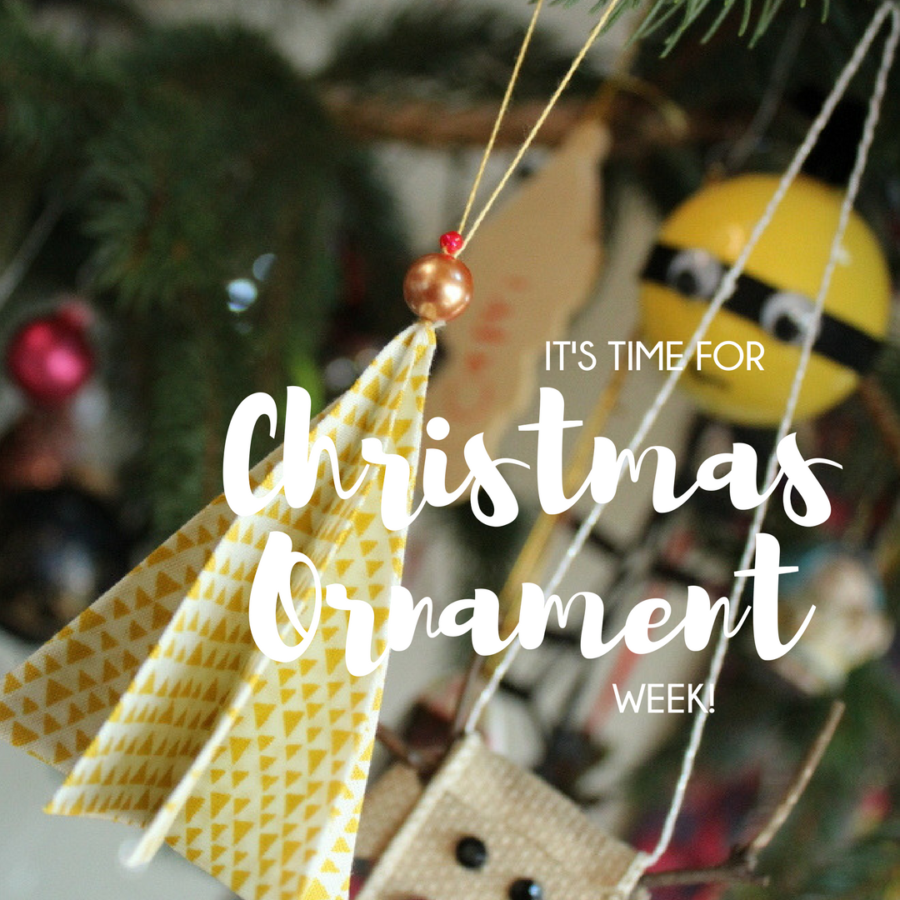
Hello and welcome to Christmas Ornament Week here at Therm O Web! All week long we’ll be sharing ideas for Christmas ornaments for you to make for your holiday tree or as a gift for a friend!
Therm O Web Christmas Ornament Week
Join us every day this week through this Friday for ideas and inspiration from both our fabric and paper team! And that’s not all..we have put together a fun giveaway as our thanks to you for being friends of Therm O Web! And it’s the holidays!!!
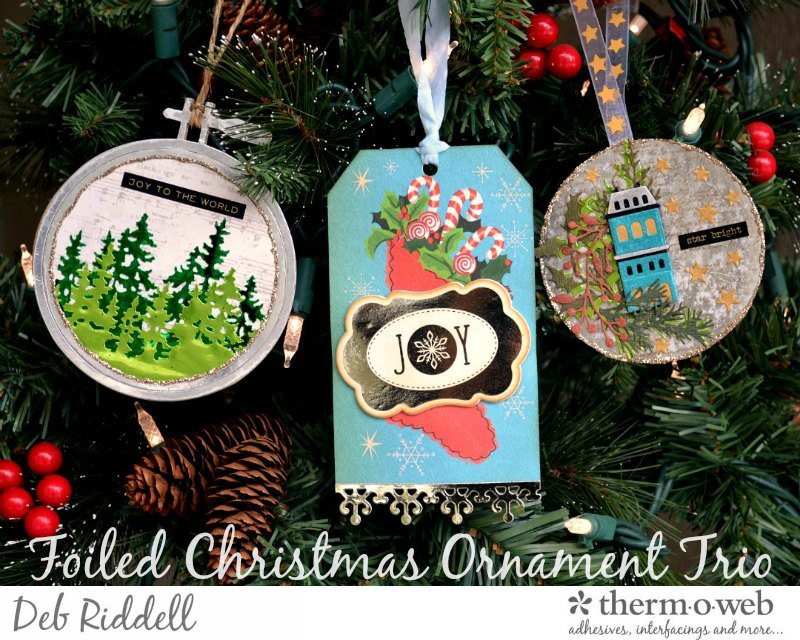
Kicking things off.. Designer Deb Riddel will wow you with three ornaments to get you in the holiday spirit!
In honor of Mix It Up Monday I’ve created a trio of foiled mixed media ornaments created with a multitude of Deco Foils, Mixed Media Transfer Foils and Fancy Foils.
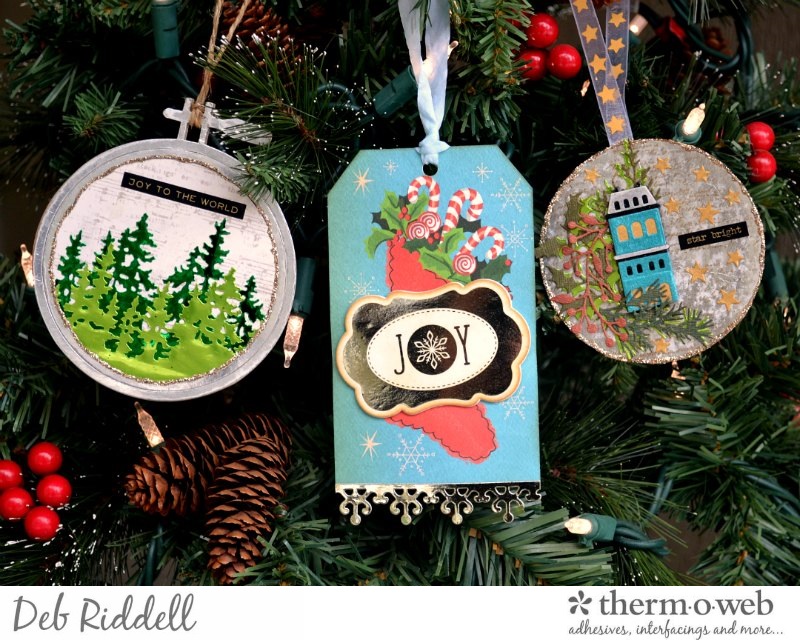
Deco Foil Christmas Ornament Trio
Some wonderful scrapbook papers from Carta Bella and Simple Stories also came out to play along with dies from Gina K. Designs and Sizzix, read on for the how to.
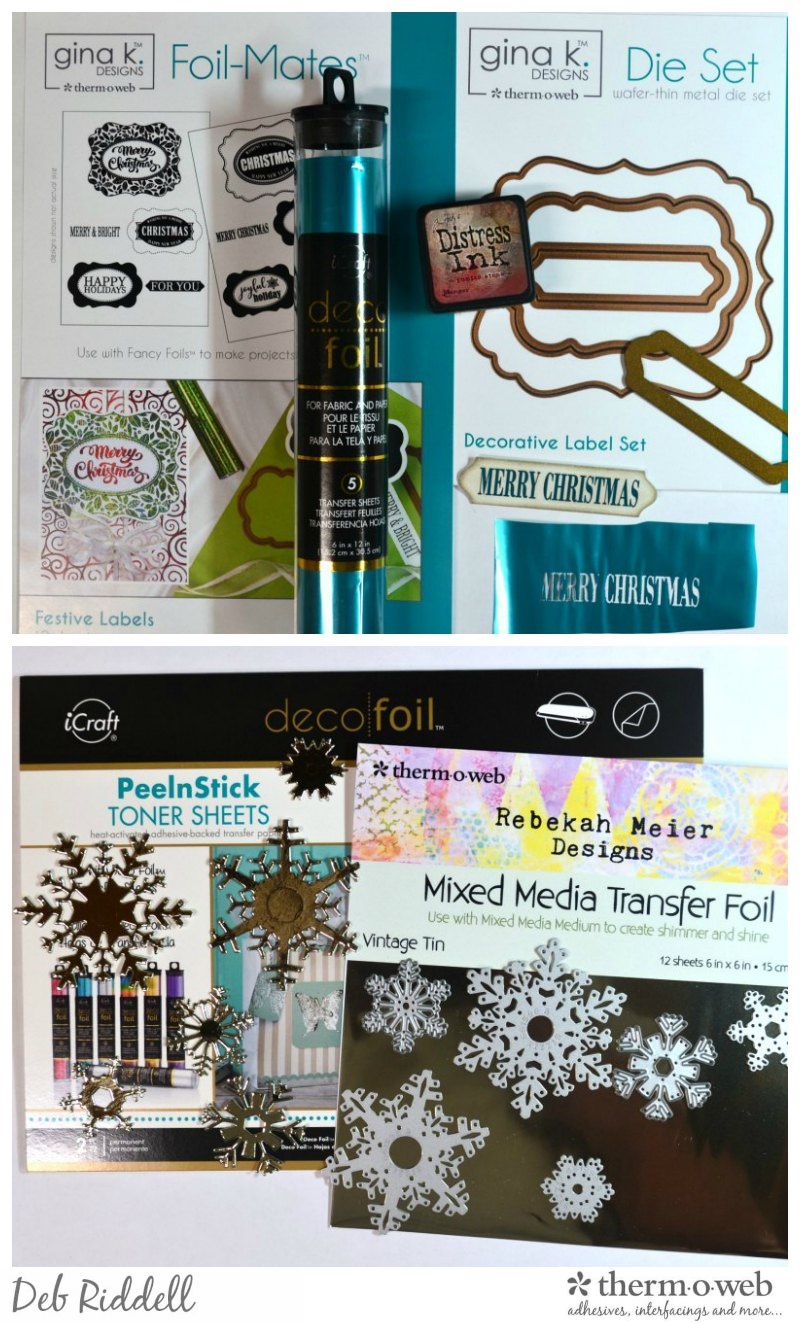
Therm O Web Supplies used:
Deco Foil™ Transfer Sheets • Turquoise (Satin)
Deco Foil™ Transfer Sheets • Green
Deco Foil™ Transfer Sheets • Spring Green
Deco Foil™ Transfer Sheets • Opal
Deco Foil™ PeelnStick Toner Sheets
Deco Foil™ Toner Sheets
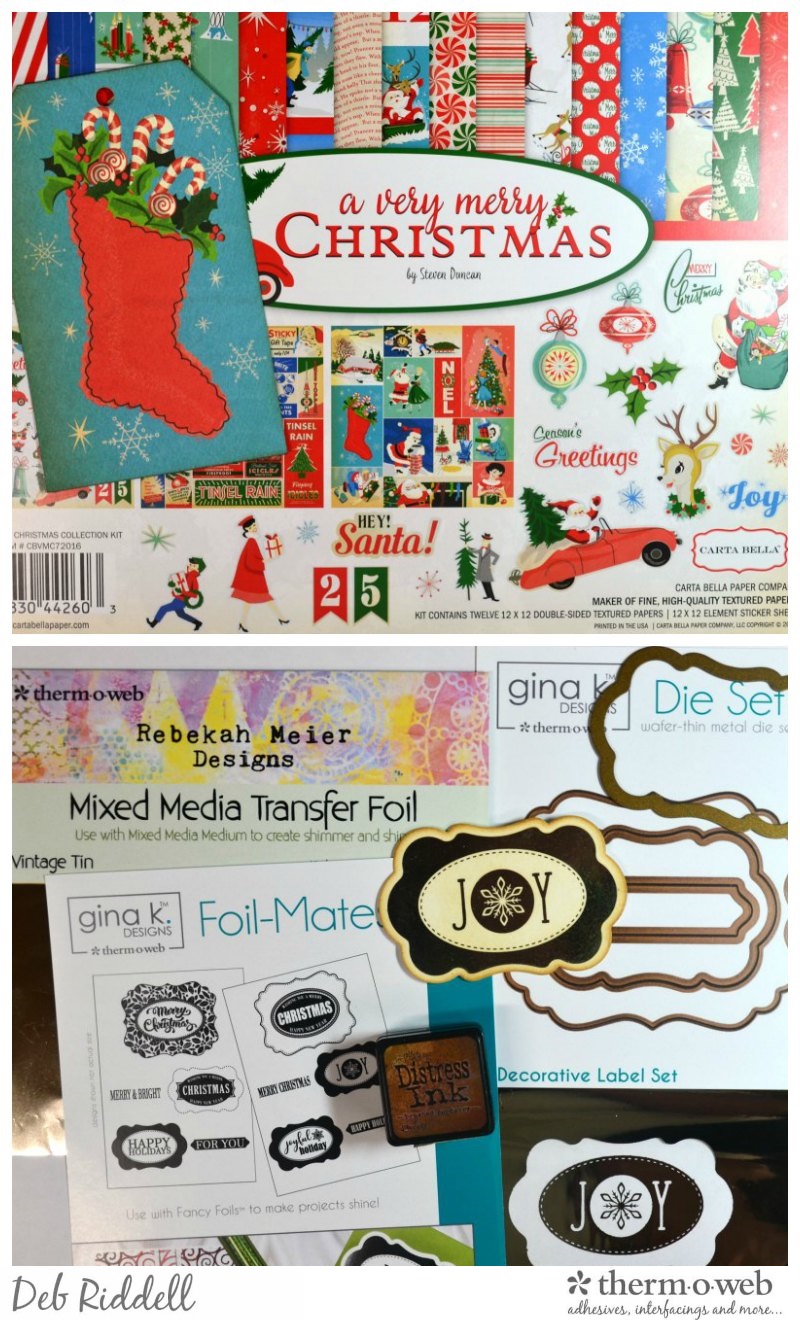
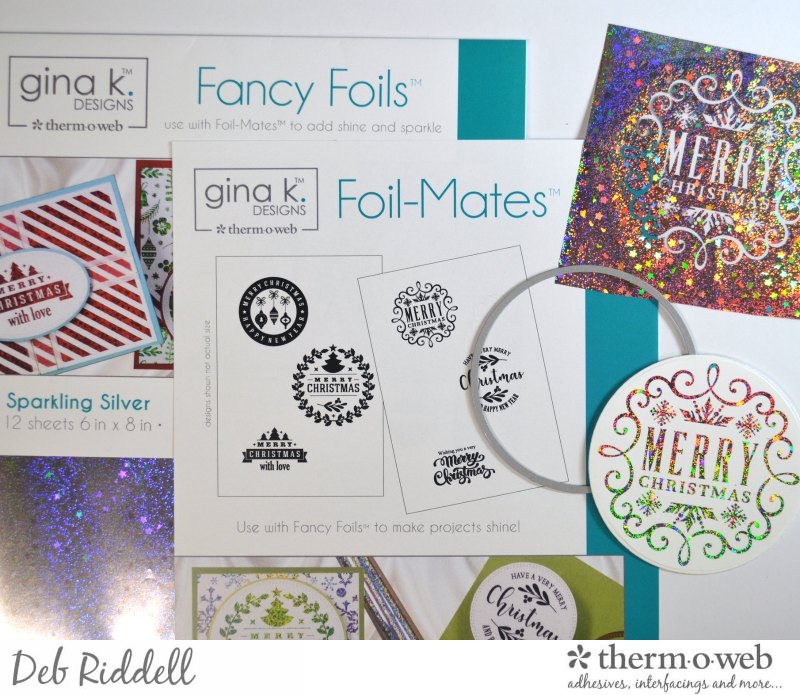
Gina K. Designs Foil-Mates™ Sentiments • Festive Labels
Gina K. Designs Foil-Mates™ Sentiments • Holiday Cheer
Gina K. Designs Fancy Foils™ 6″ x 8″ • Sparkling Silver
Gina K. Designs (3) Nested Label Dies
Rebekah Meier Designs Mixed Media Art Tape 1.5″ x 8 yd
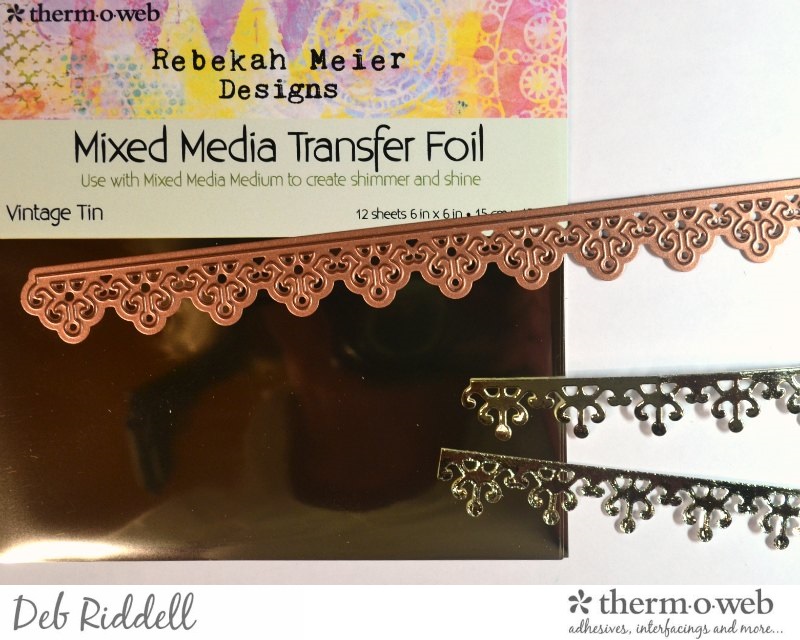
Rebekah Meier Designs Transfer Foil 6″ x 6″ (12 sheets per pack) • Vintage Tin
Rebekah Meier Designs Transfer Foil 6″ x 6″ (12 sheets per pack) • Old Gold (Satin)
iCraft Mixed Media Adhesive 2.1 fl oz
Other supplies used:
Foil Laminator • 12 inch
A Very Merry Christmas Collection Kit – Carta Bella
Very Merry Collection Kit – Simple Stories
Embroidery Hoop die; Mini Paper Snowflakes die; Snowglobe die; Tree Line die; Mini Holiday Greens die; Shape Strips die; Little Sizzles Mat Board – Sizzix
Ironwork Accents Shapeabilities die – Spellbinders
Distress Ink; Stickles Glitter Glue – Ranger Ink
Metallic Holiday Talk Stickers; Classic Kraft-Stock; Metallic Kraft-Stock; Crinkle Ribbon – Advantus
Nesting Circles dies – We R Memory Keepers
White and black fun foam
Ribbon
Jute Twine
Deco Foil Christmas Ornament Trio Instructions
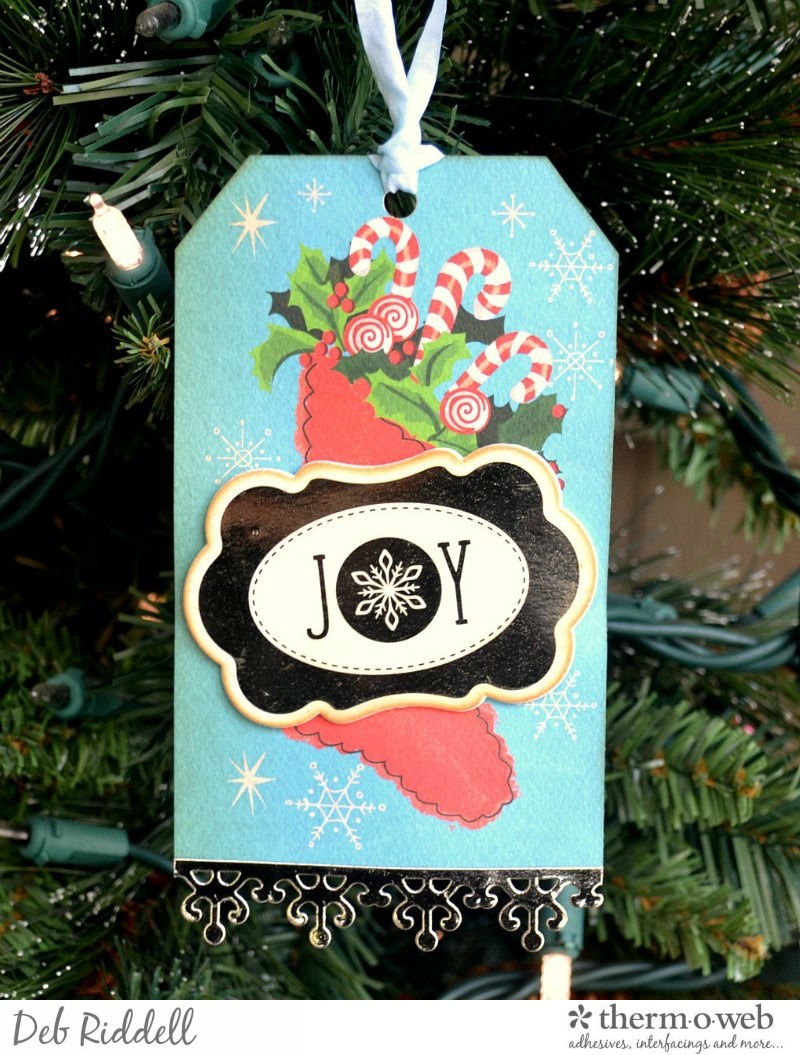
1) Joy Tag Christmas Ornament:
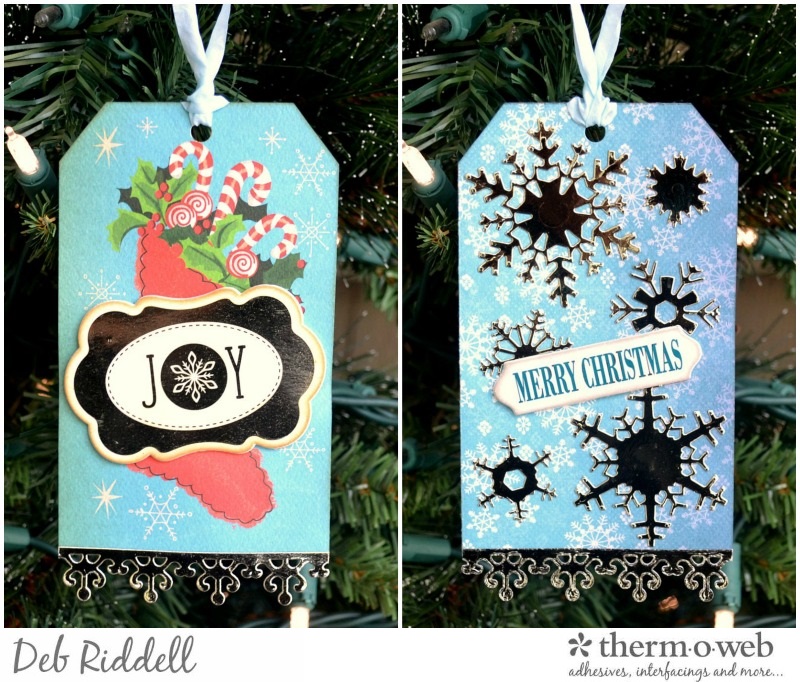
Let’s begin with the foiled joy tag ornament. From Carta Bella’s A Very Merry Christmas Collection Kit, cut out the stocking from their Christmas Festivities Journaling Cards paper (#CBVMC72006). Cut the journaling card into a tag shape by snipping the top corners, punch a hole for a hanger and ink the edges with some Frayed Burlap Distress ink if desired.
Heat up your foil laminator and foil the Joy label from Gina K. Designs Festive Labels Foil-Mates with Rebekah Meier Designs Vintage Tin Mixed Media Transfer Foil. Die cut the label with Gina K. Designs coordinating Decorative Label die set and ink it with some Frayed Burlap Distress Ink. Die cut another label from some white fun foam and pop the foiled Joy label on top of it, adhering it with iCraft Mixed Media Adhesive.
Foil a couple of strips of PeelNStick Toner Sheet with more Vintage Tin Mixed Media Transfer Foil and cut some decorative lacey borders (this die is Spellbinders Shapeabilities Ironwork Accents).
Adhere the foiled Joy label on top of the stocking tag and the foiled lacey border along the bottom to complete the first side of the tag ornament. Ink up some Crinkle Ribbon with Distress inks (Peacock Feathers and Mermaid Lagoon) and tie it on for your hanger.
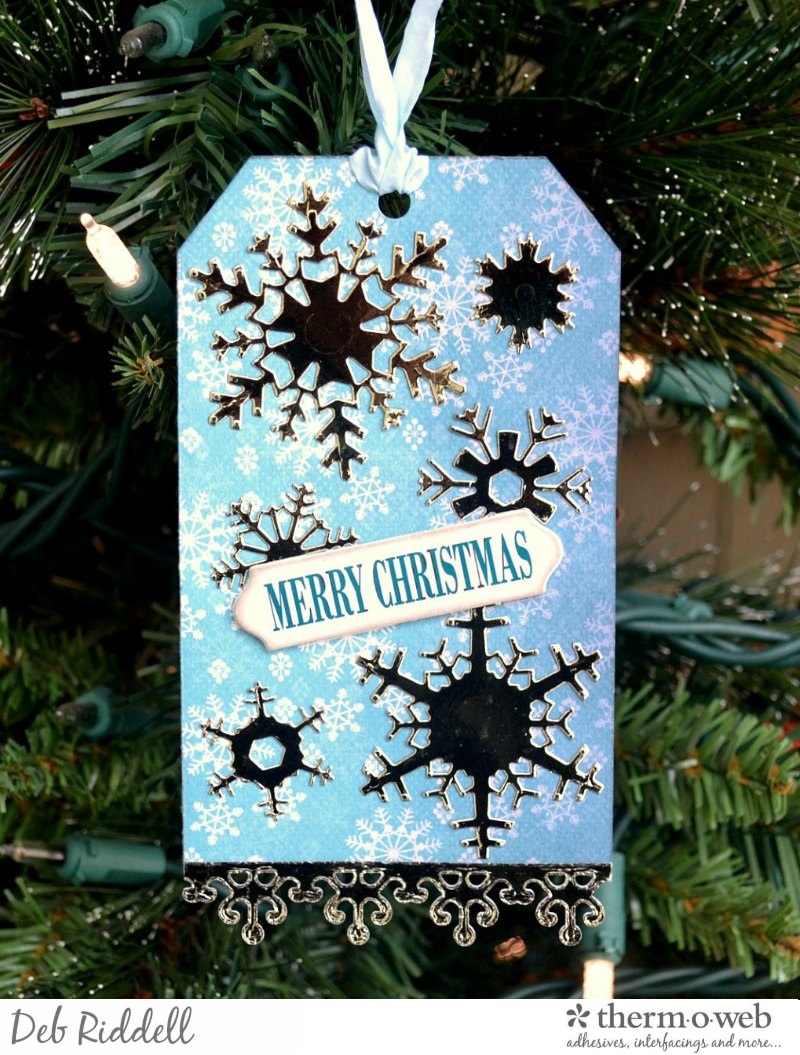
On to the reverse side of the tag ornament.
Cover the ‘Merry Christmas’ sentiment from Gina K. Designs Festive Labels Foil-Mates with Turquoise Deco Foil and die cut it with the coordinating Decorative Label die set. Die cut a second label from white foam, ink the sentiment lightly with some Pumice Stone Distress Ink and mount the label on top of the fun foam with iCraft Mixed Media Adhesive.
Cover PeelNStick Toner Sheet with Vintage Tin Mixed Media Transfer Foil and die cut several snowflakes (these are Mini Paper Snowflakes dies).
Peel off the backing paper from the PeelNStick snowflakes, adhere them onto the back of the tag ornament and adhere the foiled sentiment on top with iCraft Mixed Media Adhesive. Adhere the second foiled lacey die cut strip along the bottom, matching it up with the strip on the front of the tag and your foiled tag Christmas ornament is complete.
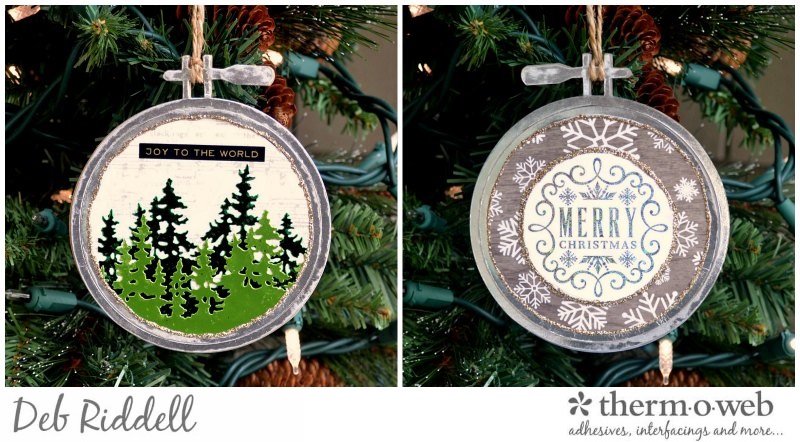
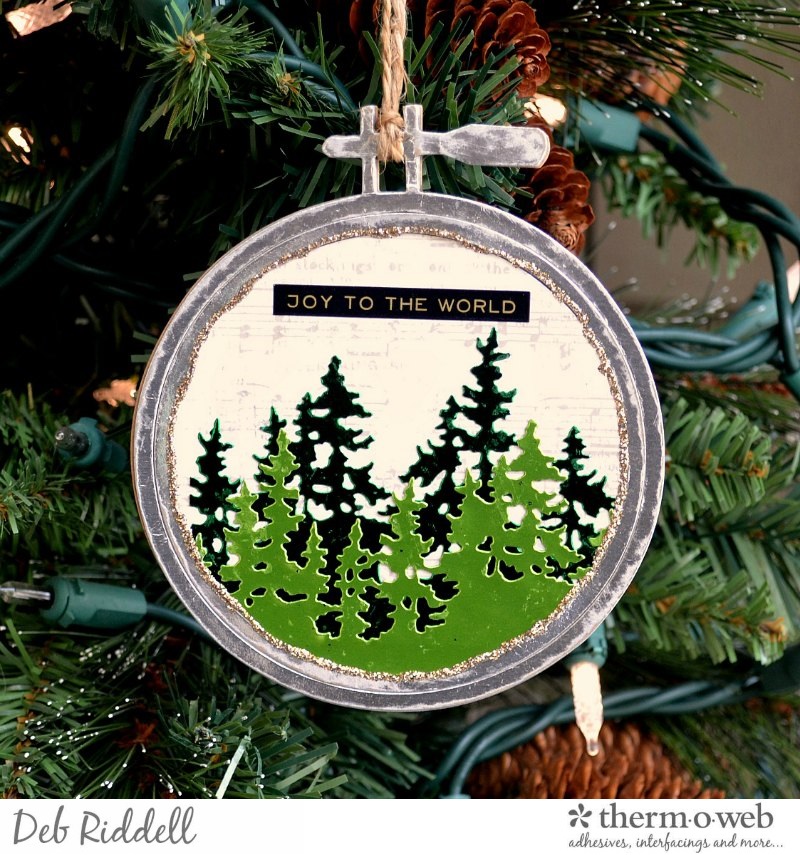
2) Embroidery Hoop Christmas Ornament:
Die cut Eileen Hull’s Embroidery Hoop three times; once from Little Sizzles Matte Board and twice from some silver metallic scrapbook paper, making sure to cut one of the silver paper die cuts in the reverse.
Cover the outer and inner rings of the matte board embroidery hoop with the silver paper die cuts on the front and the back, setting aside the two silver paper inner circles for now (they will be used to make ornament number 3!).
Cover the matte board inner circle with scrapbook papers from Simple Stories Very Merry Collection Kit, using Comfort & Joy #9247 on the front and the reverse side of the 4×6 Horizontal Elements #9254 on the back.
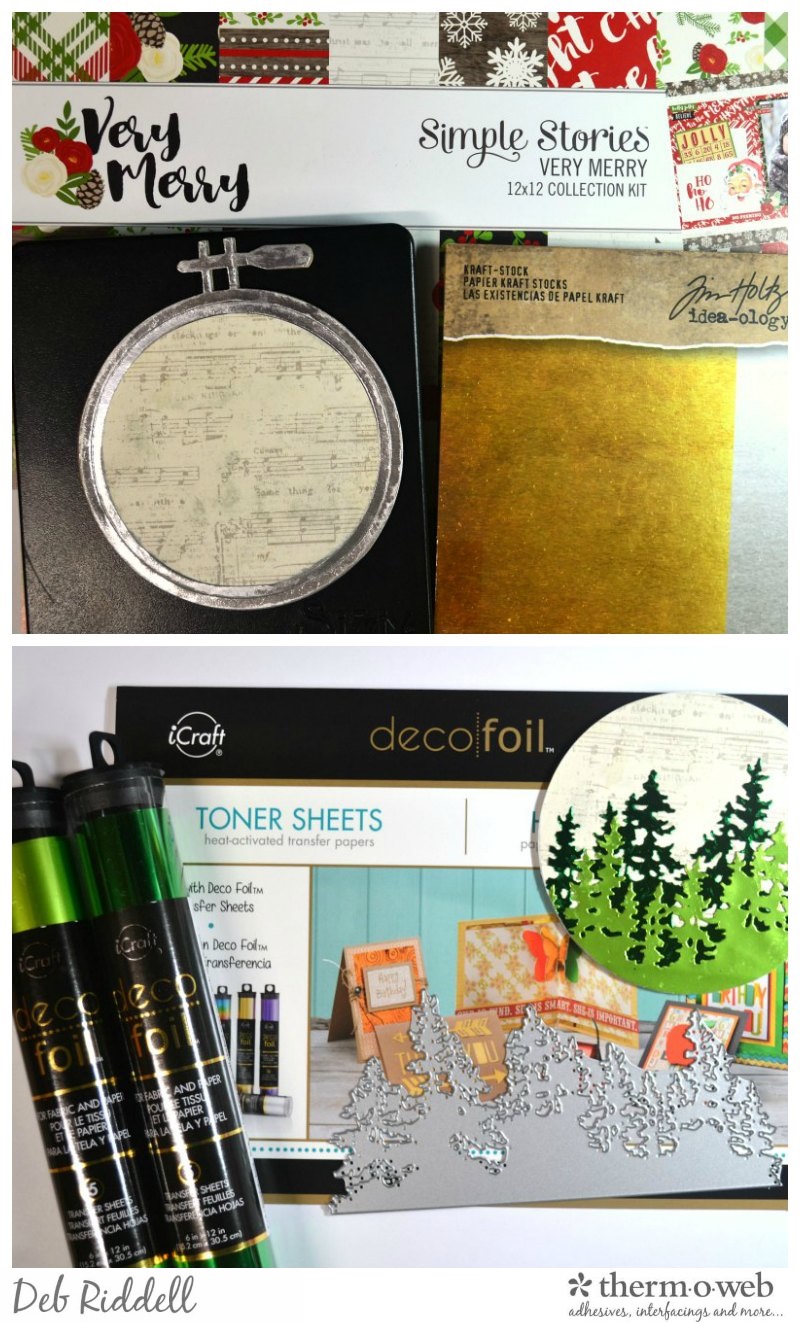
Cover Deco Foil Toner Sheet with Green and Spring Green Deco Foil and die cut two tree scapes (this is the Tree Line die). Layer the two lines of trees along the bottom of the inner circle that was covered with the Comfort & Joy scrapbook paper, offsetting the die cuts with the darker Green Deco Foil in the background. Trim off the edges and insert the panel into the silver covered embroidery hoop.
Choose a sentiment for your ornament (this one is from Tim Holtz’s Holiday Talk Metallic Stickers) and add it above your foiled trees. Add a line of Platinum Stickles Glitter glue around the edge of the center panel and tie on a piece of jute twine for your hanger.
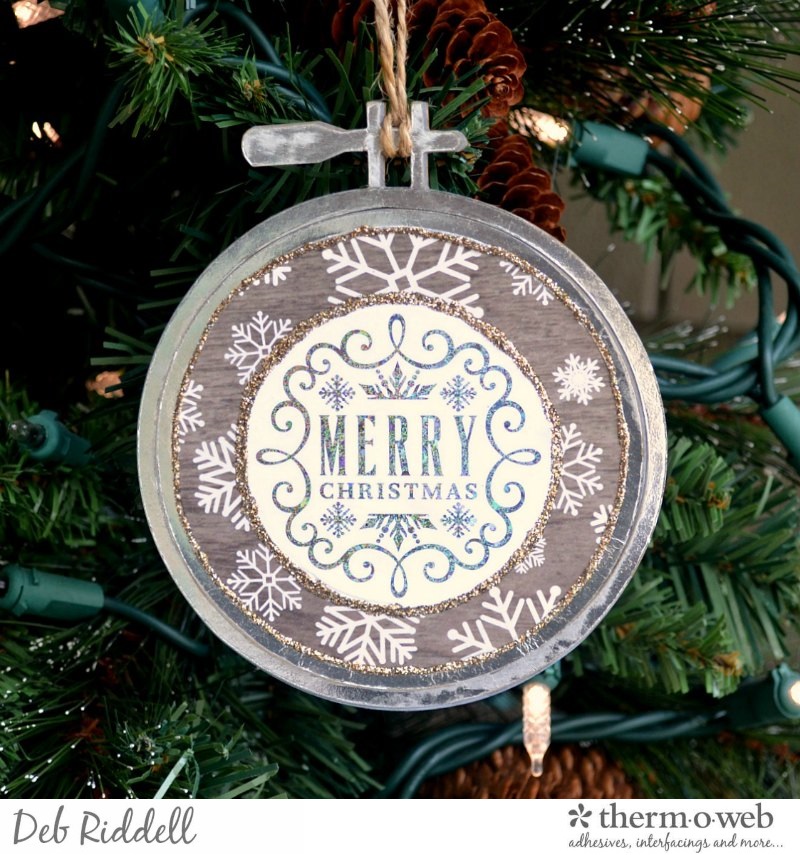
On to the reverse side of the embroidery hoop ornament.
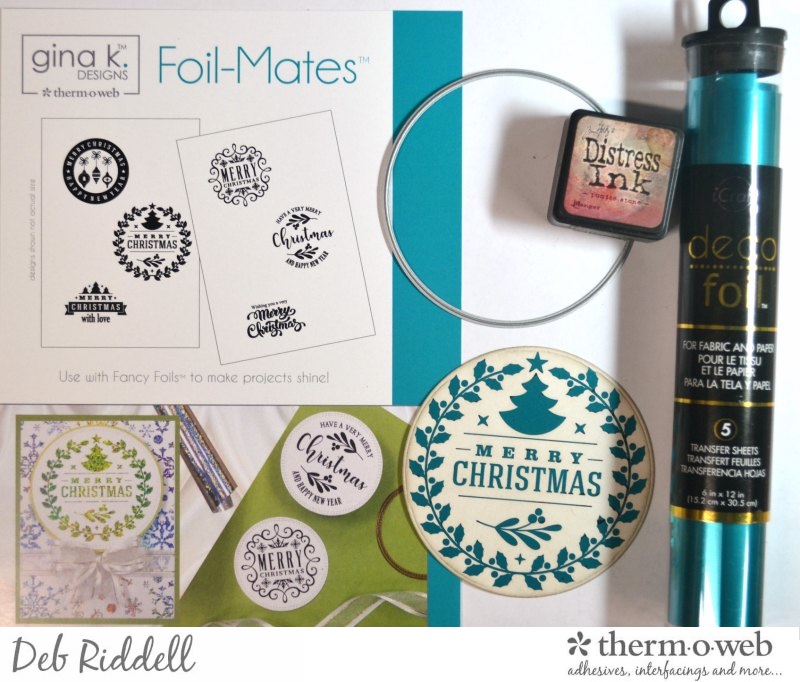
Cover the Merry Christmas label from Gina K. Designs Holiday Cheer Foil-Mates with her Sparkling Silver Fancy Foil. Die cut the label with a circle die.
Adhere the die cut label into the center of the embroidery hoop ornament with iCraft Mixed Media Adhesive and add a line of Platinum Stickles Glitter glue around the edge of the label. Add another line of Platinum Stickles around the outer edge and your embroidery hoop Christmas ornament is complete.
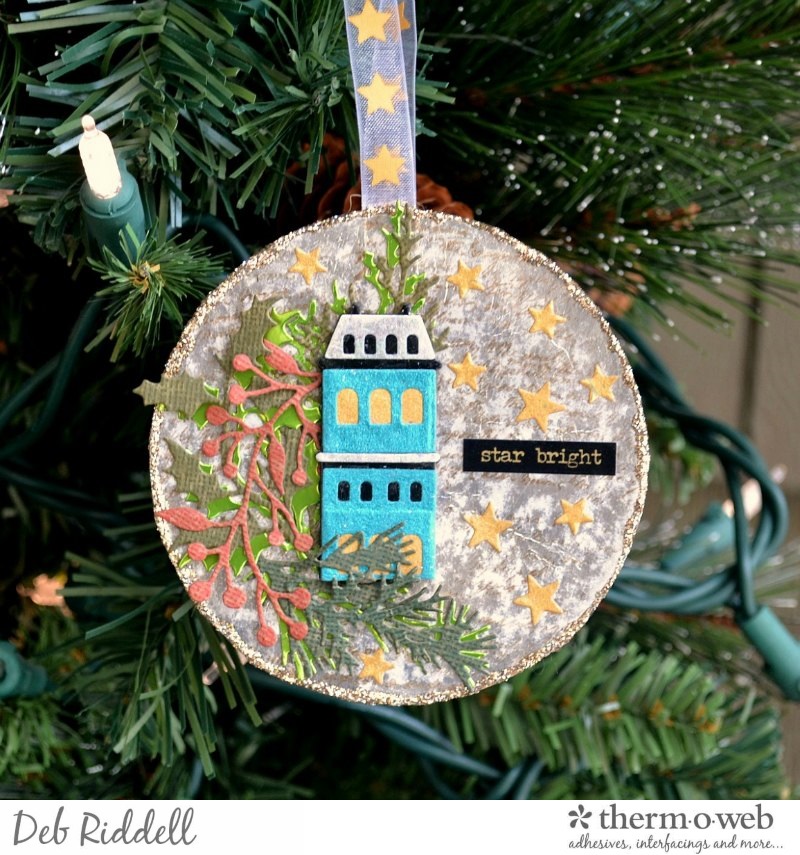
3) Star Bright Christmas Ornament:
It’s time to use the two die cut silver scrapbook paper circles you had set aside earlier; gently sand each of the circles if desired to add a bit of texture and interest.
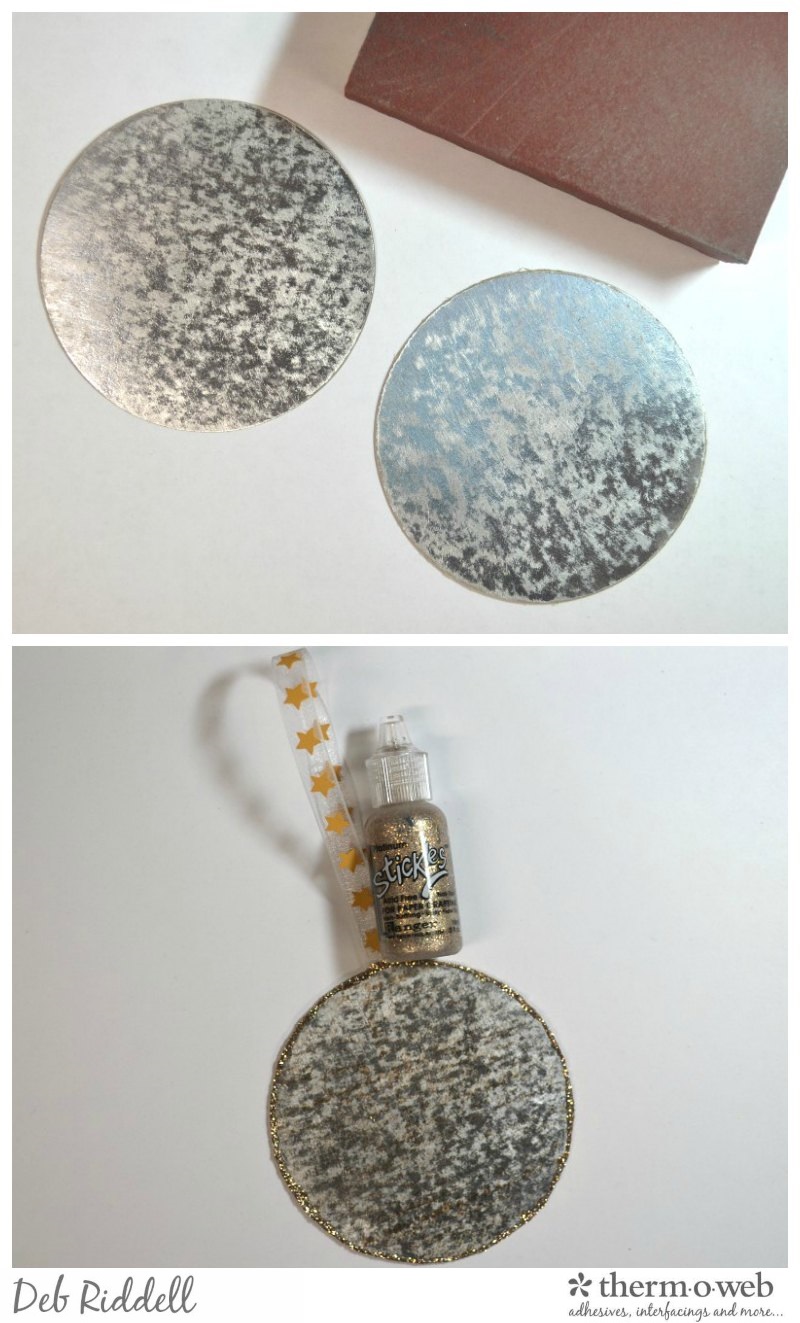
Sandwich a length of ribbon between the two circles for a hanger and adhere the circles together with iCraft Mixed Media Adhesive, setting it aside to dry thoroughly. Once dry, add Platinum Stickles Glitter glue around the edges and set aside to dry again. I did a little stamping on the background of my ornament with a fine script stamp and brown ink but that step is totally optional.
To decorate the front of your ornament, cover short lengths of Rebekah Meier Designs Mixed Media Art Tape with a variety of foils (Old Gold Mixed Media Transfer Foil, Turquoise Deco Foil and Opal Deco Foil were used here) by peeling off the adhesive backing and adhering the foils to the adhesive side of the Art Tape.
I actually used up bits and pieces of already foiled Art Tape I had in my stash so take a look to see what you have and use all those bits and bobs! Die cut a little house or bird house (this is the Snowglobe die), using a piece of Deco Foil Toner Sheet for the base and layering the various colors of foiled Art Tape over top to create your house.
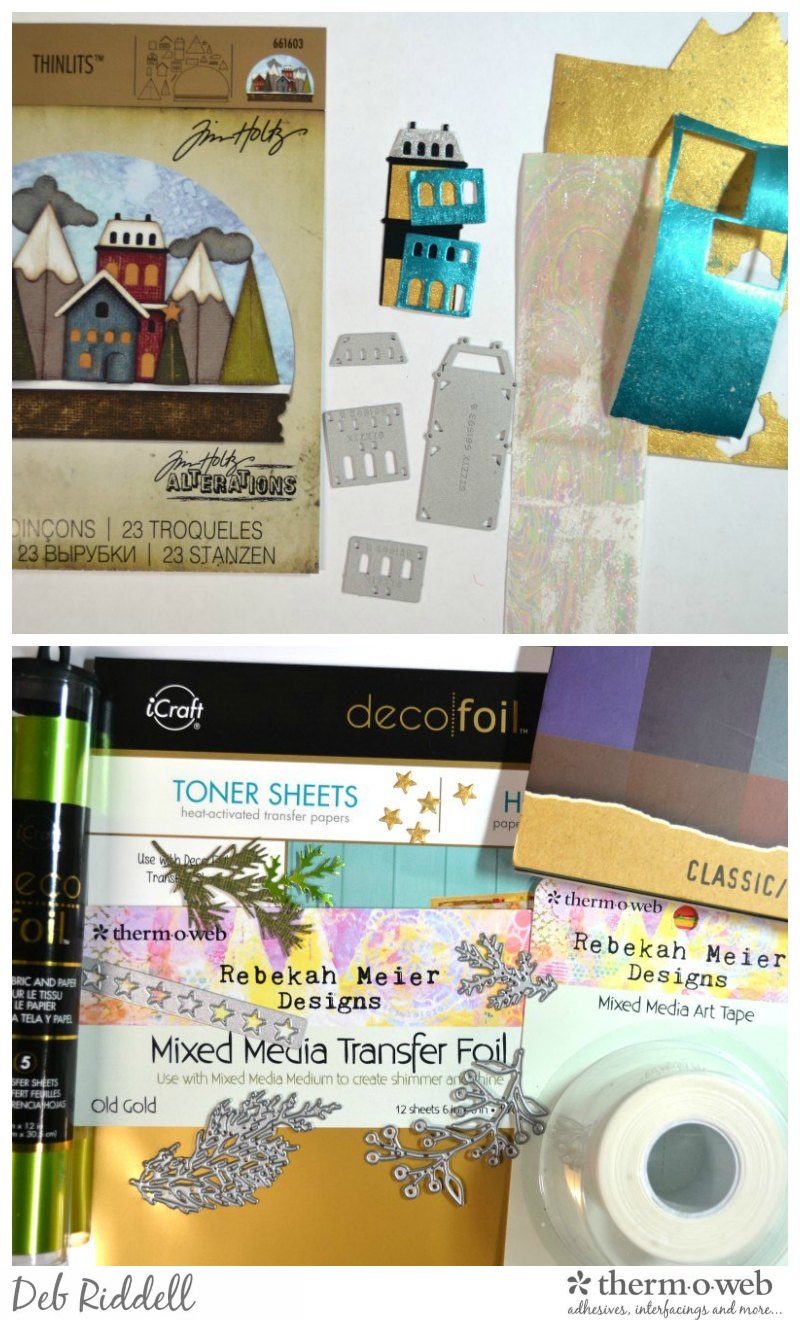
Cover more Toner Sheet with Spring Green Deco Foil and die cut some sprigs of greenery (these are Mini Holiday Greens dies). Die cut more greenery from some sanded kraft-stock in shades of green and red. Die cut some stars from the Old Gold foiled Art Tape.
Layer the foiled and kraft-stock greenery under and around the foiled house die cut, popping the foiled house up on some black fun foam for dimension. Add a sentiment (this one is from Tim Holtz’s Holiday Talk Metallic Stickers) and add the foiled Art Tape stars here and there.
On to the back side of the star bright Christmas ornament.
Cover the Merry Christmas label from Gina K. Designs Holiday Cheer Foil-Mates with Turquoise Deco Foil and cut it out with a circular die. Ink the edges lightly with a little Pumice Stone Distress Ink.
Adhere the foiled label into the center of the ornament with iCraft Mixed Media Adhesive and add a line of Platinum Stickles Glitter glue around the edge. Your star bright Christmas ornament is complete!

I hope that you have enjoyed seeing how my Foiled Christmas Ornament Trio came together and that you’ve been inspired to make some of your own, they came together very quickly and easily with the help of Gina K Designs Foil-Mates and all of those wonderful sparkly metallic foils from Therm O Web!
Thanks as always for stopping by and I’d like to take this opportunity to wish each and every one of you Happy Holidays, let the celebrating begin!
Deb xo
 And celebrate we will! We’d like to give you a chance to win some amazing products from Therm O Web along with our generous sponsors and friends in the industry!
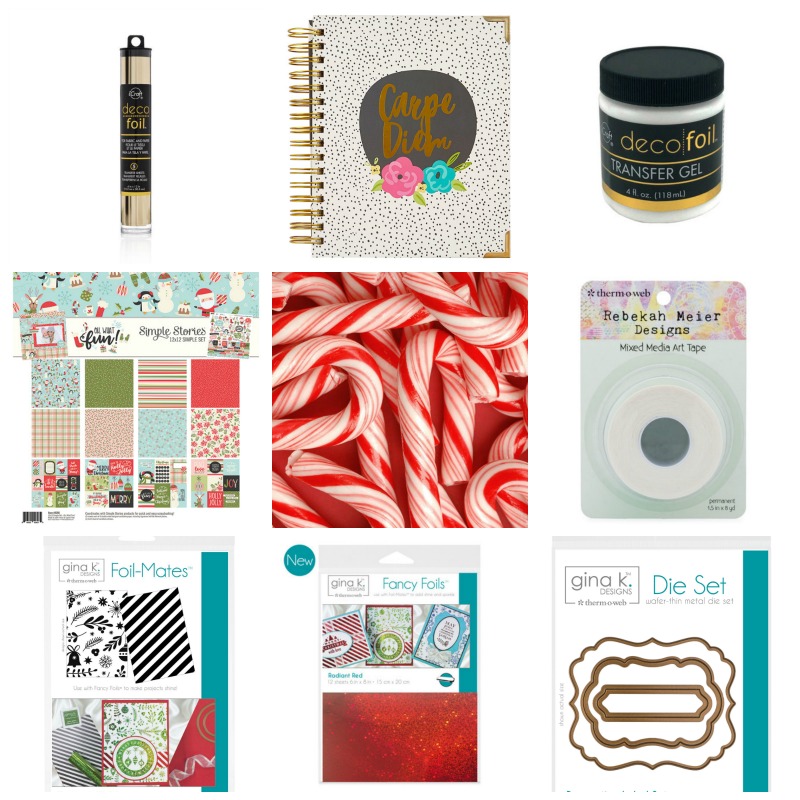 This week we’re giving away a fun mix of items that include:
-Deco Foil Adhesive Pen
-Deco Foil Champagne Transfer Sheets
-Deco Foil Transfer Gel
-Simple Stories Carpe Diem Planner
-Rebekah Meier Designs Mixed Media Art Tape
-Gina K. Designs Foil-Mates, Fancy Foil in Radiant Red and Label Die Set
And that’s not all…we’ll include our iCraft Tape Runner XL and Zots Medium Size Adhesive Dots! Whew! All you need to do is follow this link to enter to win!
F. Andre
December 11, 2017 at 1:16 pm (6 years ago)Love the results you achieved on these three projects. I never really tried mixed media, so very grateful that you shared detailed instructions to replicate your process. Thanks for sharing and Merry Christmas to you.
Deb Riddell
December 11, 2017 at 2:22 pm (6 years ago)Glad you found the tutorial helpful, have fun and Merry Christmas to you and yours too! Deb
Julia Aston
December 14, 2017 at 11:50 am (6 years ago)Goodness Deb! what beautiful and creative tags you created with all of these foil products! Julia xx
Deb Riddell
December 14, 2017 at 2:18 pm (6 years ago)Thanks so much Julia, wishing you and yours Happy Holidays! Deb