


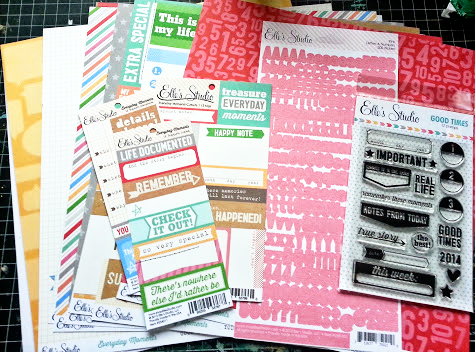
Hi,Thermoweb fans! Mandy Koeppen sharing a simple layered layout created with the fun Elle’s Studio product.
This layout is fairly simple and not techy at all. I hope it inspires you to look at things a bit differently like I did. I still have lots of photos laying on my desk from a trip to California earlier this year and the colors of the Elle’s Studio papers worked great with the photos I grabbed. Let’s get started shall we?
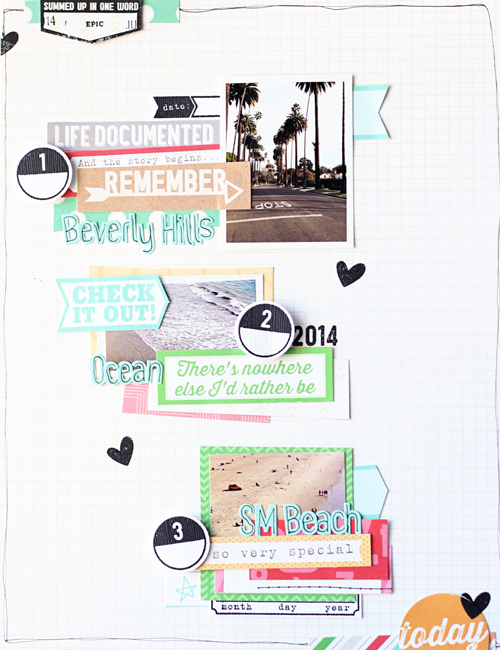
This is the 8.5×11 layout I created.

Today By. Mandy Koeppen
Supplies Used:
3D White Foam Squares • 1/2 in
3D White Foam Squares • Combo Pack
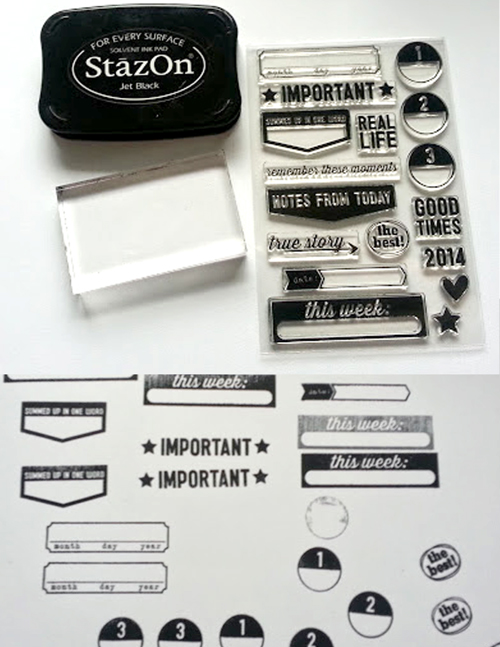
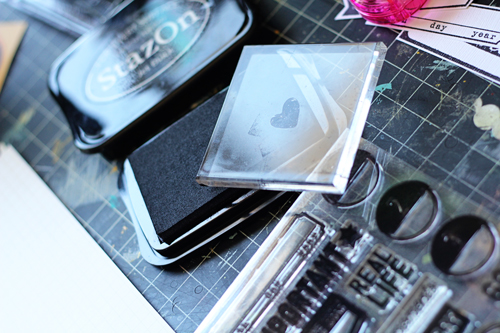
The thing you’ll do is stamp various images on white cardstock. Why not just stamp on the layout it’s self? well there are a couple reason: dimension will be able to be added to the images with the 3D White Foam Squares • Combo Pack and incase of a stamping oops.
Once you have your images stamped fussy cut or punch images out. Add 3D White Foam Squares to the backs.
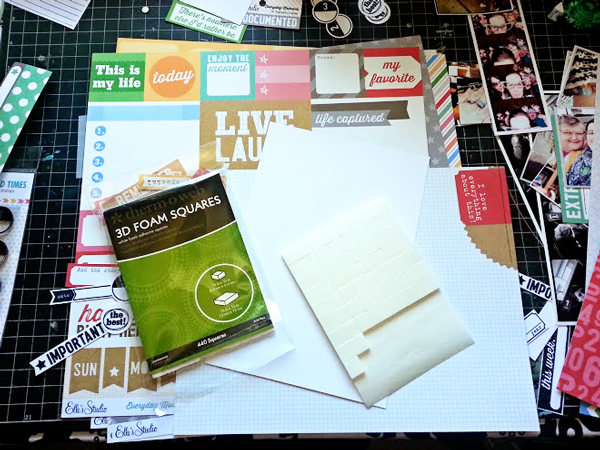
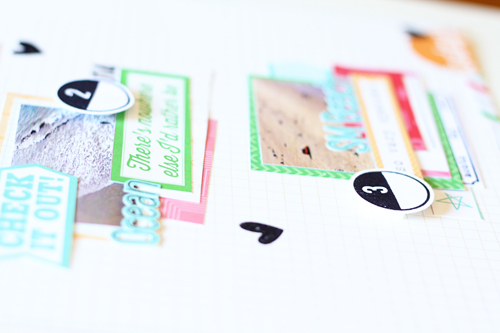
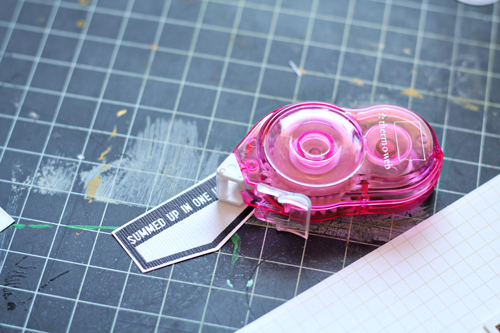
Next create photo mat layers with a combination of Elle’s Studio pattern paper and tags then adhered the layers with 3D White Foam Squares , Sticky Tab Mini Runner , and STICKY TAPE MINI RUNNER™.
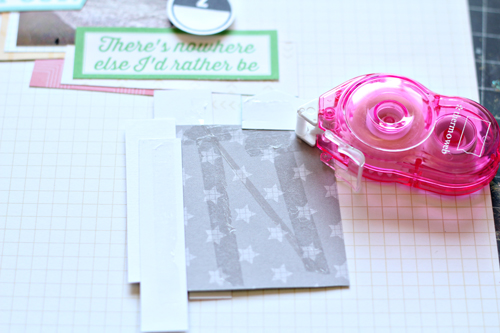
Once you have your layered photos the way you like using STICKY TAPE MINI RUNNER™ adhere the mats to the layout. Staggering the layers right to left to left again.

Adhere the punched stamped images with 3D White Foam Squares next to each of your photos.
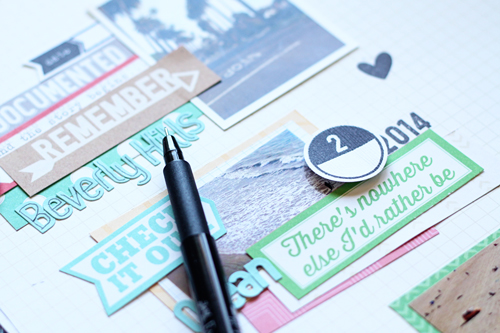
Remember the oops mentioned earlier? Here it is.
To resolve the oops get brave and pull those stamps back out so you can stamp an image directly over the oops.
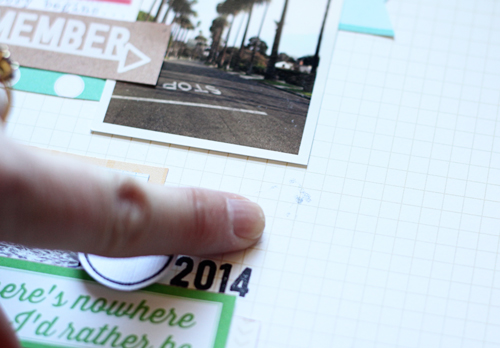
Add title and/or journaling using the Elle’s Studio sticker alphas. The size is great to actually add the words directly on your photo.
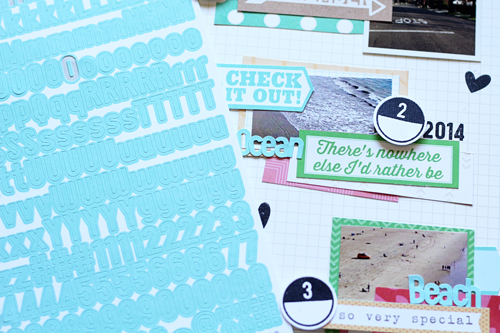
Last add a hand drawn boarder and make the alphas pop a bit more on the page by writing over them or tracing the outside edges with a black pen.
Add a couple more little embellishments like a strip of pattern paper at the bottom and top. Then adhere the stamped tab in the upper left corner using the STICKY TAPE MINI RUNNER™.
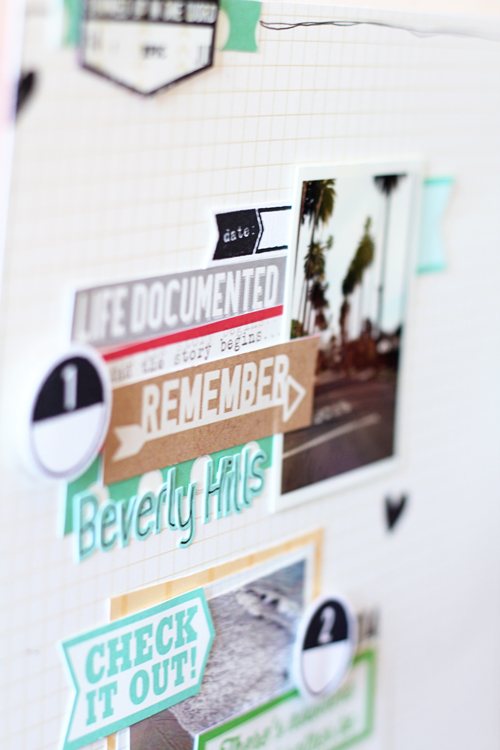
A detail shot and another look at the layout.
Thanks for joining me today!
-Mandy
![]()
Be sure to join us all this week and next as we share products using our Therm O Web Adhesives, Glitter Dust Spray and more along with the Elle’s Studio products! And take a moment to enter to win a kit of their new Everyday Moments collection. 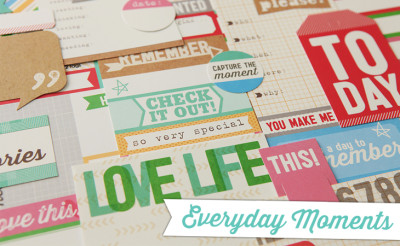
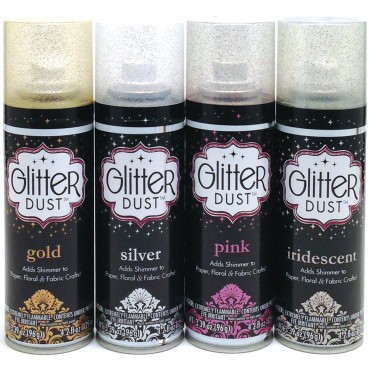 We’ll also include our Tape Runner, Glitter Dust™ Spray (you pick the color) Glitter Dust™ Photo Corners (one of all 4 colors), Foam Squares, Zips™ and Zots™ and who knows what else we’ll include!
a Rafflecopter giveaway
Denise Bryant
April 9, 2014 at 12:58 pm (10 years ago)I haven’t had the opportunity to use any Elle’s Studio products yet, but I love their Oh Christmas Tree! wood veneer, and their kits look fantastic!