


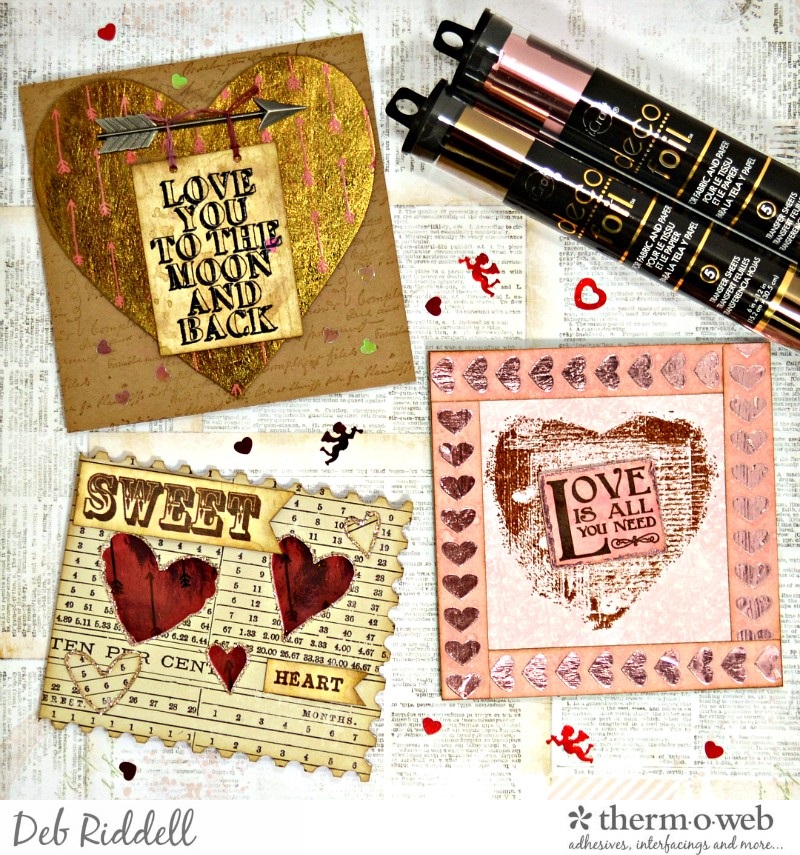
Hello everyone and happy New Year! It’s Deb Riddell here today with a trio of Valentine’s Day cards created with Deco Foil Foil Transfer Sheets, Deco Foil Clear Designer Toner Sheets, Deco Foil Transfer Gel and Deco Foil White Foam Adhesive. And don’t tell anyone but I’m giving you a sneak peek of two NEW Deco Foil Transfer Sheet colours that will soon be released, Bronze and Rose Quartz. They are beautiful!
Valentine Card Trio With Deco Foil
Therm O Web Supplies Used:
Deco Foil™ Transfer Sheets • Bronze – Coming Soon!
Deco Foil™ Transfer Sheets • Rose Quartz – Coming Soon!
Deco Foil™ Transfer Sheets • Pink Melon
Deco Foil™ Clear Toner Sheets • Arrows
Deco Foil™ White Foam Adhesive
Deco Foil™ Toner Sheets
Deco Foil™ Transfer Gel
Deco Foil™ Adhesive Pen .34floz
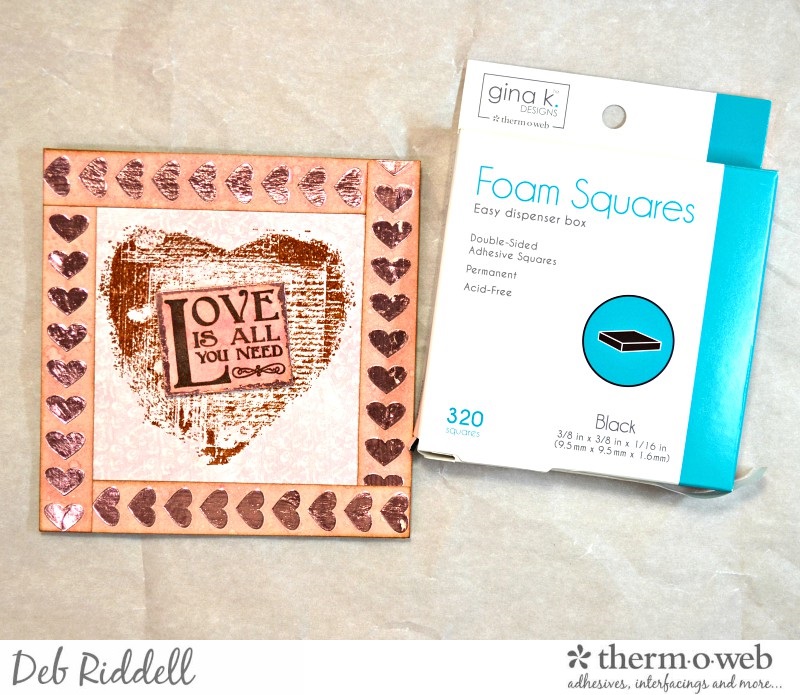
Gina K. Designs Foam Squares Black (320 squares)
Memory Tape Runner XL™
iCraft Ultra Bond Adhesive 2 fl oz
Other supplies used:
Foil Laminator • 12 inch
Sizzix – Postage Stamp Bigz die; Hearts Movers & Shapers dies
Stampers Anonymous – Ledger Script stamp; Life Quotes stamp; Heartfelt Cling stamp
Impression Obsession – Rebekah Meier Designs Heart stamp (F22000)
Fiskars – Love Simple Stick stamps
Ranger Ink – Distress Ink; Distress Archival Ink; Stickles Glitter Glue; Perfect Pearls Powder
Southern Ridge Trading Company – Heart stencil
DecoArt Media – White Gesso
Advantus – Tim Holtz Arrows Adornments
Miscellaneous – kraft and white cardstock; ledger or timetable patterned scrapbook paper; pink patterned scrapbook paper; clear embossing powder; heart confetti; pink embroidery floss
Valentine Card Trio Instructions:
Sweetheart Card

Die cut a card blank from the ledger or timetable patterned scrapbook paper with the Postage Stamp die, arranging 3 heart shaped Movers & Shapers dies in the center (if you don’t have these dies you can use a heart punch to get the same effect). Cut another piece of the scrapbook paper without the heart dies in place, this will be used to cover the back of the card. Keep the hearts that were cut out and set aside.
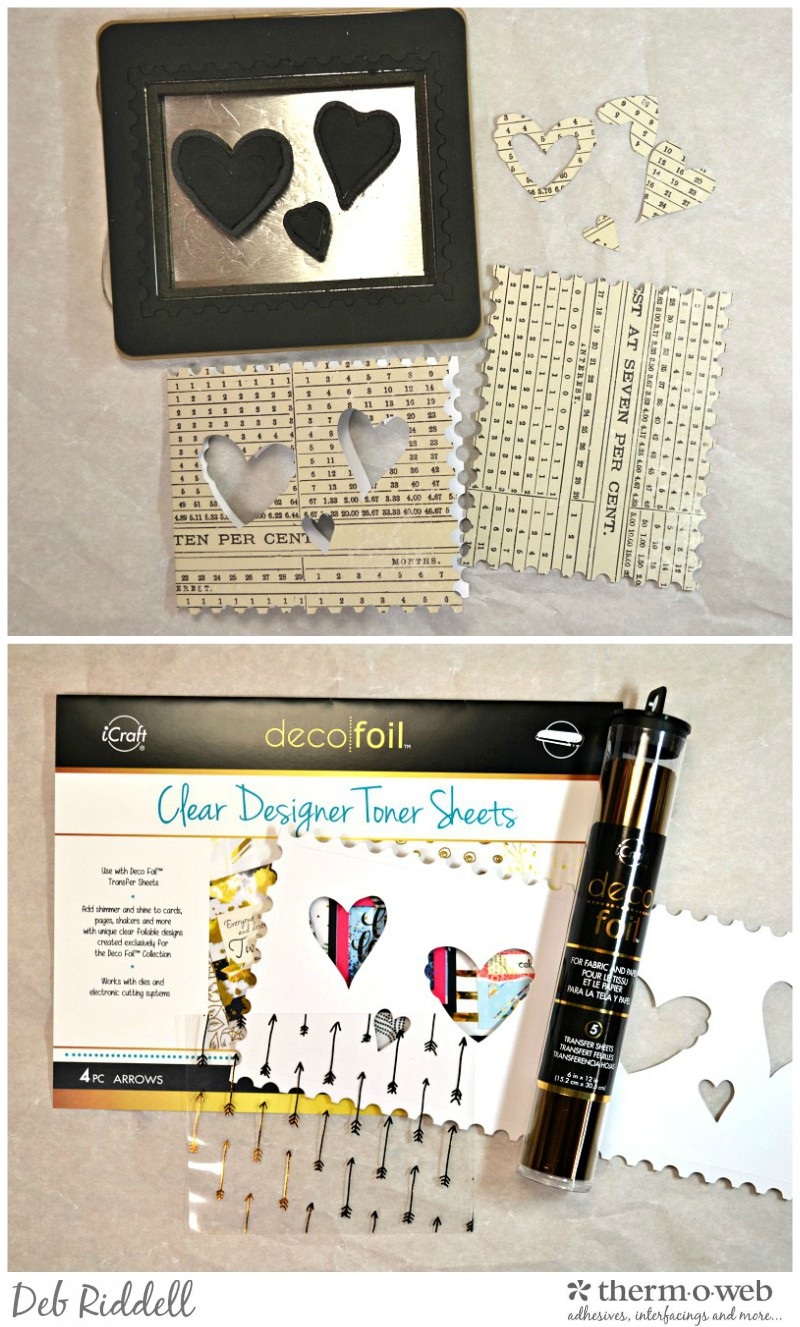
Foil a piece of the Arrows Clear Designer Toner Sheet with Bronze Deco Foil and cut it to size to cover the back of the card front. Make sure to keep the piece of Bronze Deco Foil that has the arrow pattern on it, we will be using it later!
Adhere the foiled Arrows Clear Designer Toner Sheet to the inside of the card front with your Memory XL Tape Runner.
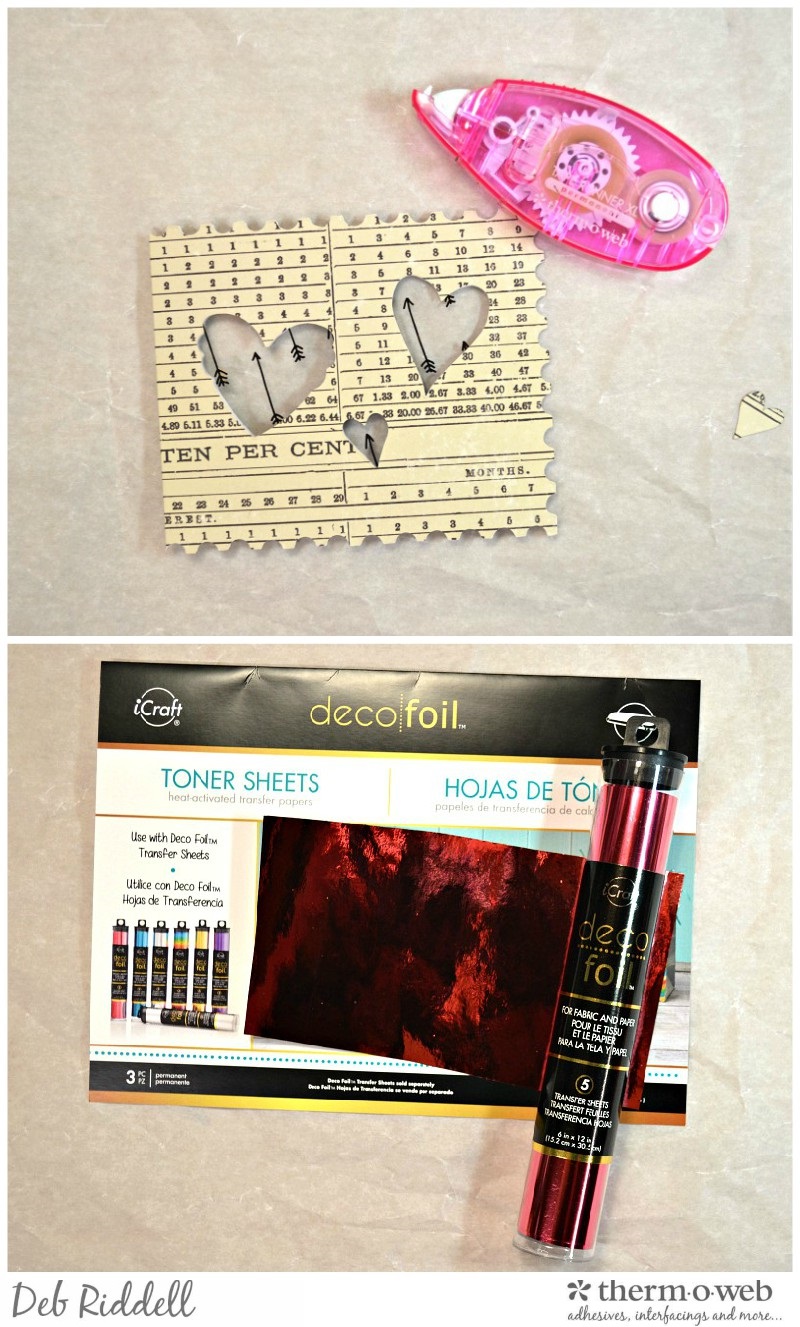
Foil a piece of Deco Foil Toner Sheet with Pink Melon Deco Foil and cut to size to cover the back of the card.
Adhere the foiled Toner Sheet to the back of the card with your Memory XL Tape Runner, making sure that the foiled side is visible through the heart cut outs. Stamp a sentiment on the inside if you’d like and cover the back of the card with the ledger scrapbook paper to cover up the backside of the foiled Toner Sheet.
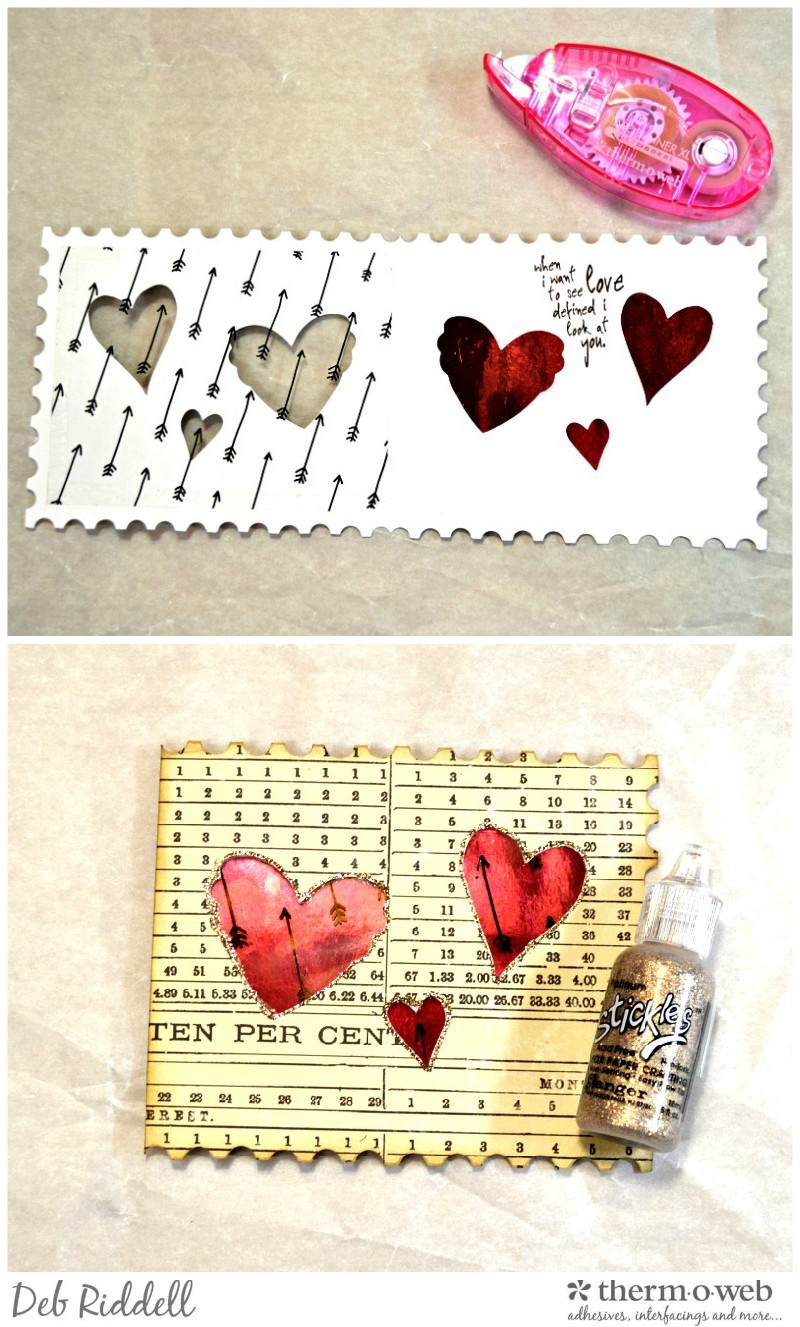
Line the outer edges of the heart die cuts on the outside and inside of the card with Platinum Stickles Glitter Glue.
Stamp the ‘sweetheart’ sentiment onto cardstock with brown permanent ink and clear emboss. Cut the stamped words into banner shapes and colour with a brown Distress Ink (this is Frayed Burlap).
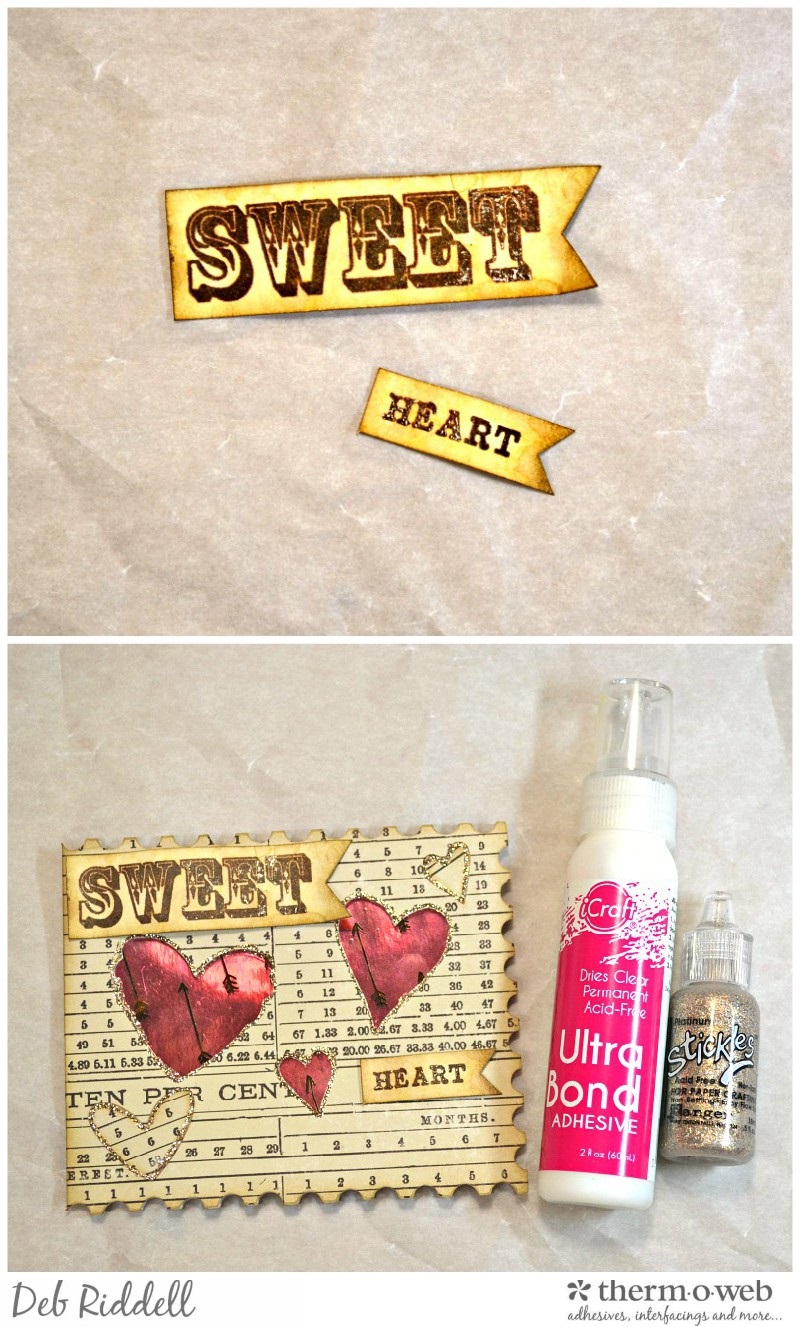
Adhere the banners onto the front of the card with iCraft Ultra Bond Adhesive. Edge a couple of the heart die cuts with more Platinum Stickles and adhere them to the front (and inside if desired). Your Sweetheart Valentine’s Day card is complete.
Love Is All You Need Card
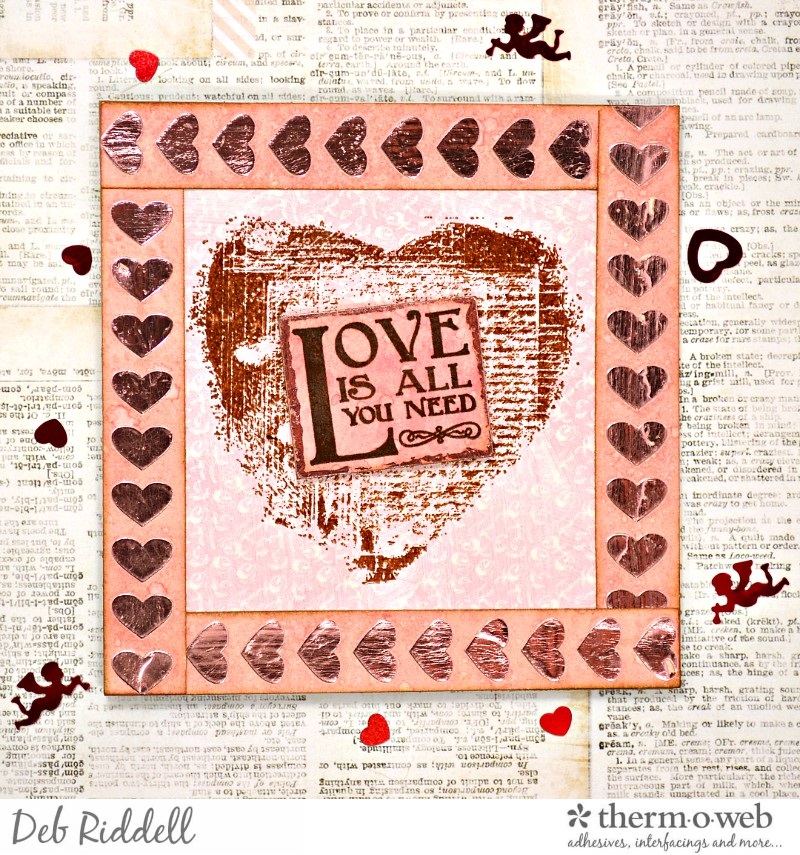
Apply Deco Foil Transfer Gel onto cardstock through a repeating heart stencil and once dry (about 1 hour or so), run the stenciled cardstock through your preheated laminator with Rose Quartz Deco Foil. Cut the foiled hearts into strips and colour the cardstock with a couple of colours of Distress Inks (Worn Lipstick and Victorian Velvet were used here).
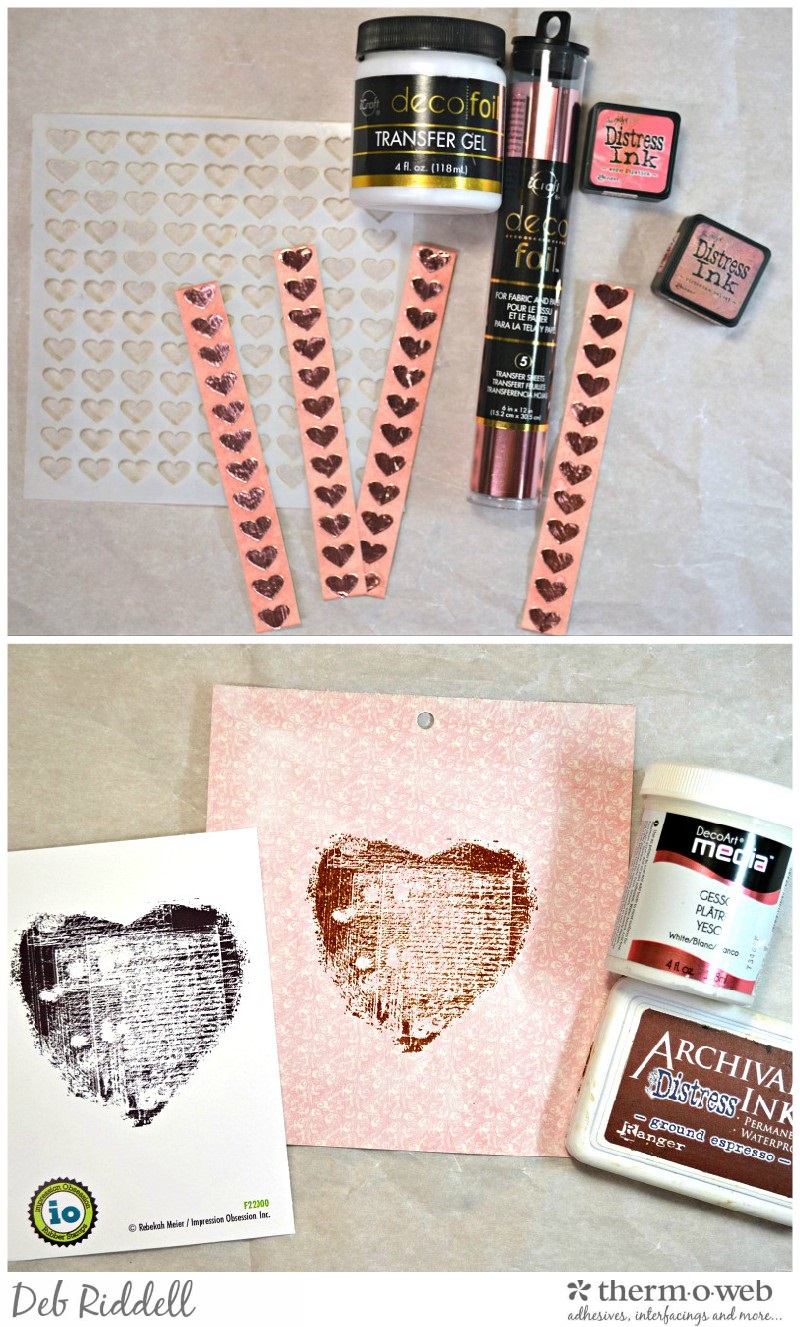
Randomly swipe white gesso onto pink patterned scrapbook paper and let dry thoroughly. Stamp Rebekah Meier Designs ‘Heart’ stamp onto the center of the gessoed paper with brown permanent ink and clear emboss.
Stamp your sentiment onto cardstock coloured with the same pink colours of Distress Inks as used previously and clear emboss. Cut the sentiment to size and apply a line of Deco Foil Adhesive around the edges with the Deco Foil Adhesive Pen. Burnish Rose Quartz Deco Foil around the edges with a soft cloth once the adhesive has become tacky (just takes a few minutes).
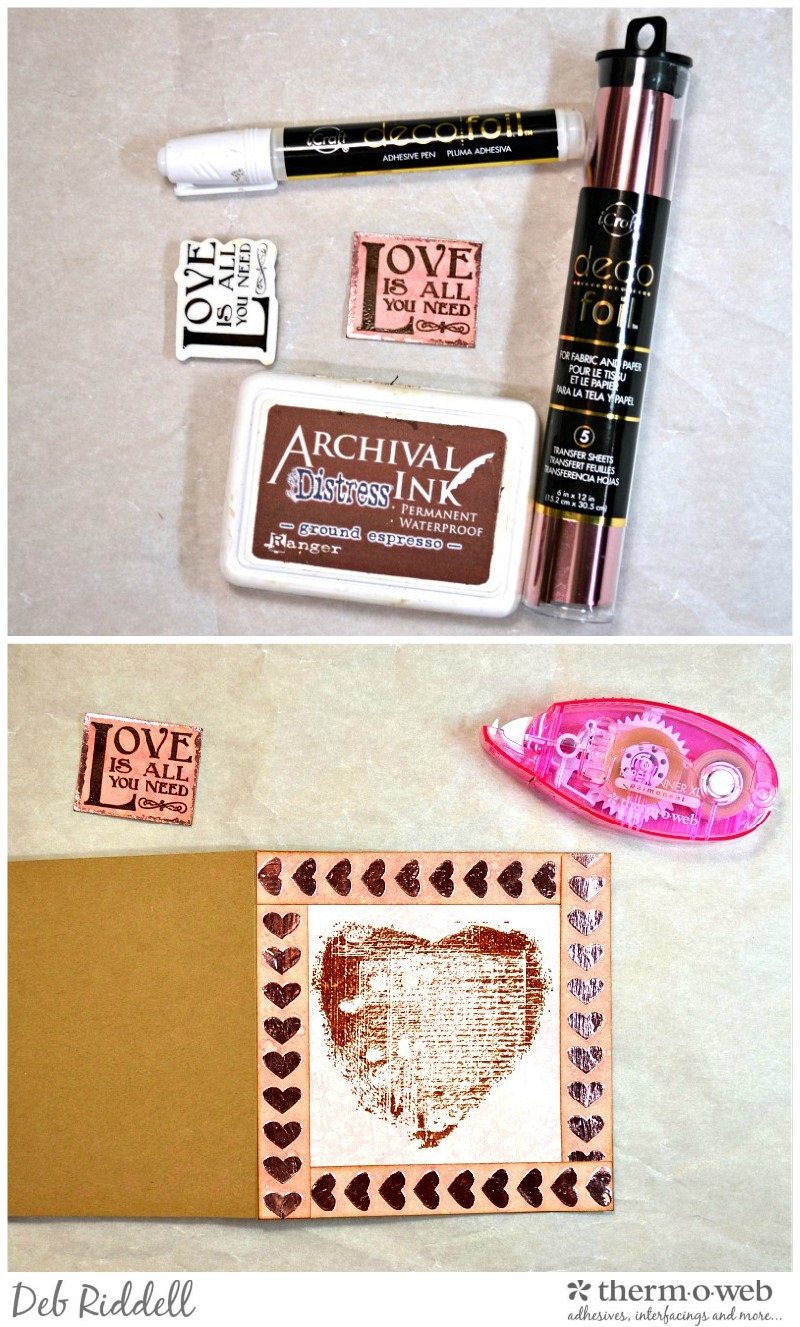
Cut a card blank from kraft cardstock (mine was about 5″ x 5″). Cut the heart stamped scrapbook paper to 5″ x 5″ and frame the stamped heart with the foiled heart strips, adhering them in place with your Memory XL Tape Runner and iCraft Ultrabond Adhesive. Adhere the whole assembly onto the kraft card blank with the Memory XL Tape Runner.
Pop the sentiment up on some Gina K. Designs Black Foam Squares in the center of the stamped heart and your Love Is All You Need Valentine’s Day card is complete.
Love You To The Moon Card
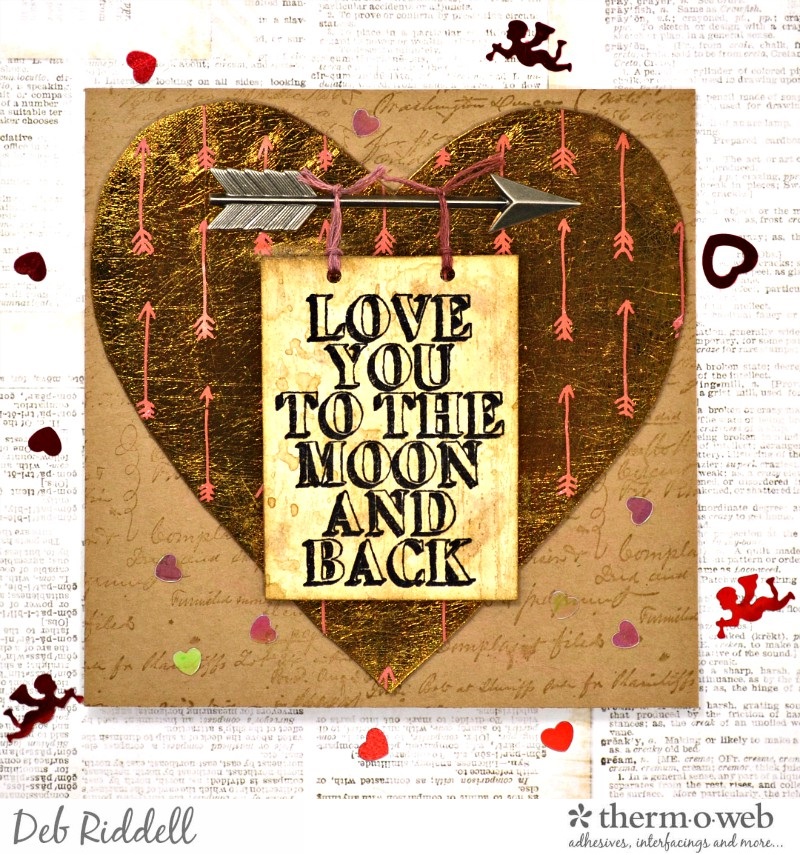
Time to use that piece of Bronze Deco Foil that has all those wonderful arrow shapes on it! Cut a piece of Deco Foil Foam Adhesive to about 5″ x 5″ (or to the size of your piece of Bronze Deco Foil), remove one side of the backing paper from the foam and adhere the arrow printed Bronze Deco Foil to it, gently burnishing it onto the foam with a soft cloth.

Peel off the backing paper from the other side of the foam and adhere it to a piece of cardstock for stability. Brush some pink coloured mica powder over the exposed arrow shapes (the sticky adhesive on the Deco Foil Foam is exposed under the arrows) and rub off the excess (I used Perfect Red Perfect Pearls Powder).
Cut another 5″ x 5″ card blank from kraft cardstock and stamp it with a script background stamp for interest. Cut a heart shape from the Bronze foiled foam and adhere it to the front of the card blank with iCraft Ultra Bond Adhesive and/or your Memory XL Tape Runner.
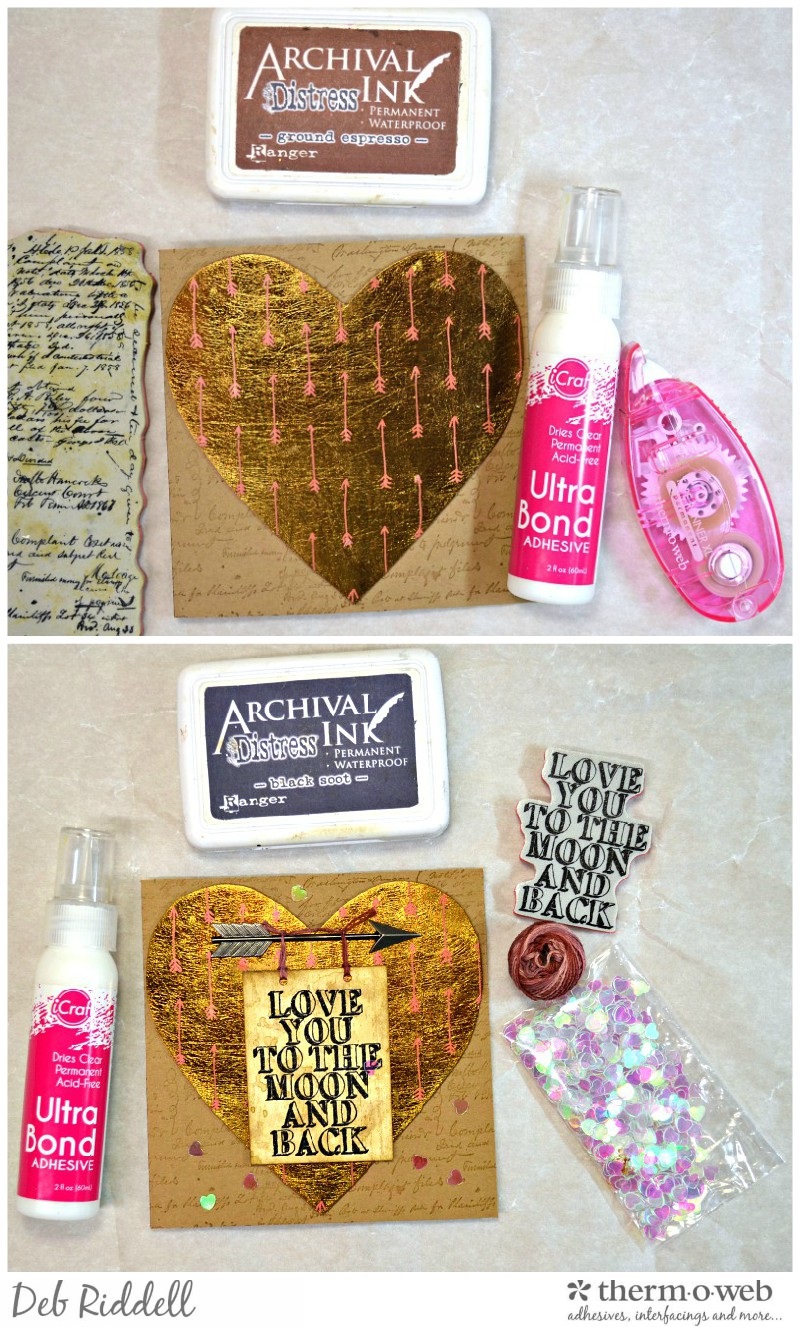
Stamp your sentiment with black permanent ink onto cardstock and clear emboss. Cut the sentiment to size and colour the cardstock with brown Distress ink. Punch a couple of holes in the top of the sentiment and tie it onto an Arrow Adornment with pink floss. Adhere the arrow and the sentiment on top of the foiled heart with iCraft Ultra Bond Adhesive. Add a few iridescent confetti hearts to the card front if desired and your Love You To The Moon Valentine’s Day card is complete.
I hope that you have enjoyed seeing how these cards came together, Valentine’s Day is just around the corner so hopefully, you will be inspired to make some of your own.
Thanks as always for stopping by today and be sure to stay tuned over the next couple of weeks here at Therm O Web, there are some exciting new products that are going to be released soon and I can assure you that they are awesome! Happy creating,
Deb xo