


Valentine’s Day Layout with Deco Foil Embossed Letters
Hiya ThermOWeb fans! This is Suzanna here today to share with you my debut ThermOWeb project! I’m so excited to join this wonderful company and group of designers!
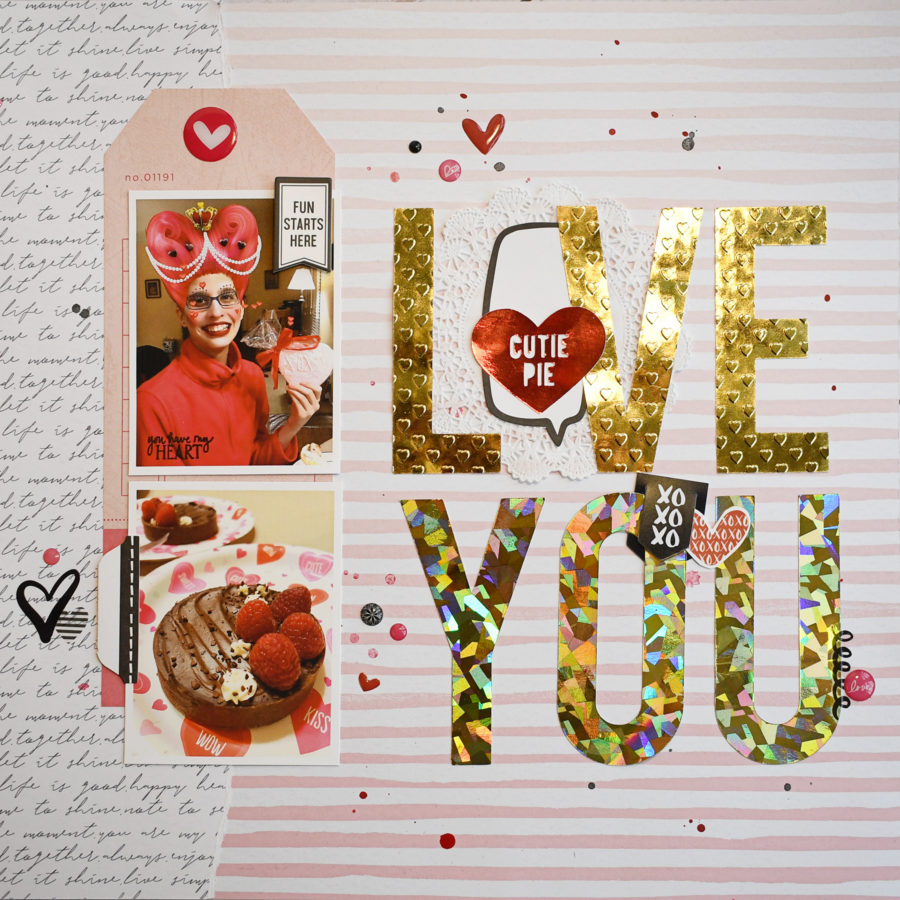
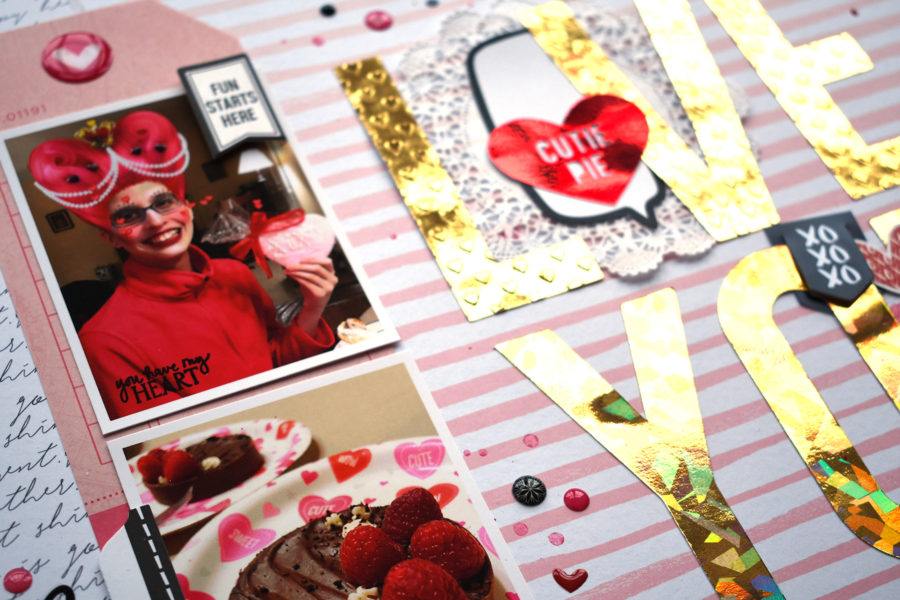
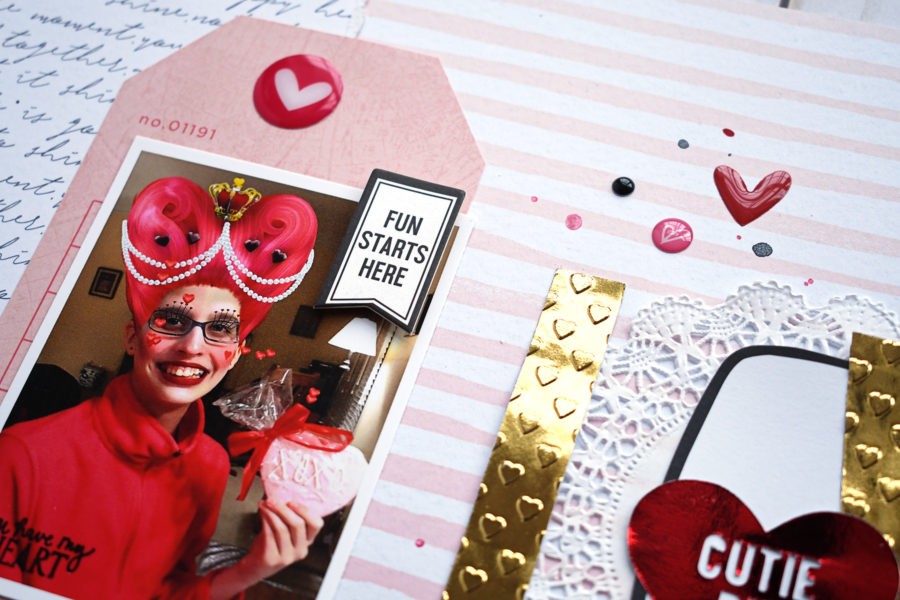
I created this layout about my daughters Valentine’s day treats and wanted to add some more shimmer and shine. If you’re only 11 and you want bling, what better way to do that than with Deco Foil?! There is an amazing bakery at my husband’s work and every holiday he brings home some of the most delicious treats. Doesn’t that chocolate tort look amazing?
Project Supplies:
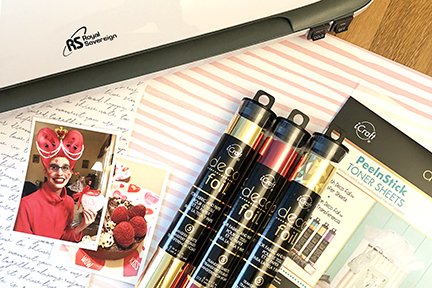
Deco Foil™ PeelnStick Toner Sheets
Deco Foil™ Transfer Sheets • Gold Shattered Glass
Deco Foil™ Transfer Sheets • Gold
Deco Foil™ Transfer Sheets • Red
Gina K. Designs Permanent Adhesive Dot Runner
iCraft Ultra Bond Adhesive 2 fl oz
Deco Foil Embossed Letters Instructions and Tips:
To begin the project, I used Silhouette Design Studio and created my title, Love You. Instead of an “o” I used a heart with “cutie pie” in the center to create a conversation heart.
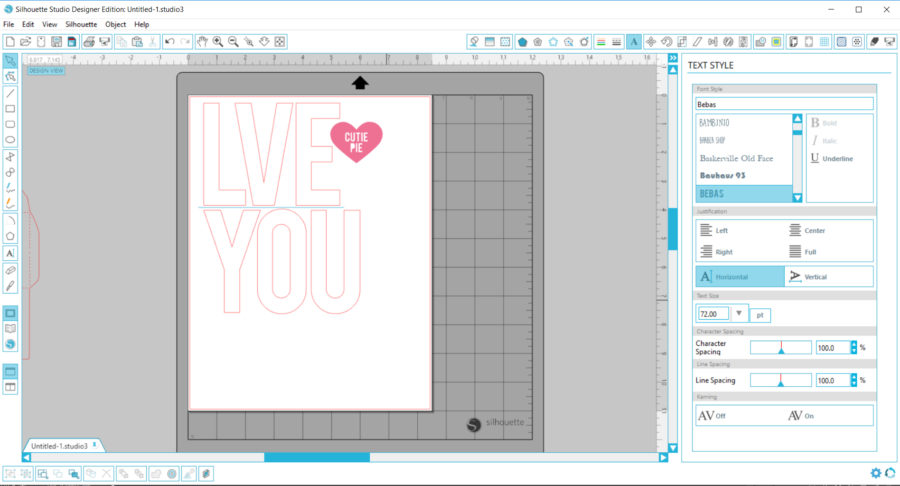 Knowing that I was going to use a Toner sheet to cut this out, I laid out the images on an 8.5×11 piece of paper and altered both the character and line spacing so as to conserve space and not waste precious product!
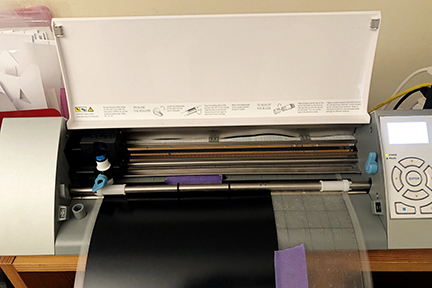
Knowing that my cutting mat is well loved and that PeelnStick Toner Sheets are a tad heavier, I wanted to ensure that nothing shifted. What better way to do that than with Purple Tape! This stuff is amazing! It’s better than both artist and painters tape for both its stick and repositionable (that’s a word, right?). Hit “cut” and wait for the magic to happen!
All the while, I have my laminator, heating up so that it’s good and hot for the next step.
I used three different Deco Foils; gold shattered glass, gold, and red. Place a piece of Gold Deco Foil on top of the L, V, and E, place it inside a piece of folded parchment paper and run it through a preheated laminator. Repeat the same steps with a piece of Red Deco Foil on top of the heart and Shattered Glass Deco Foil on the letters for “you”. Remembering that the colored, shiny side of the foil should be facing out and visible.
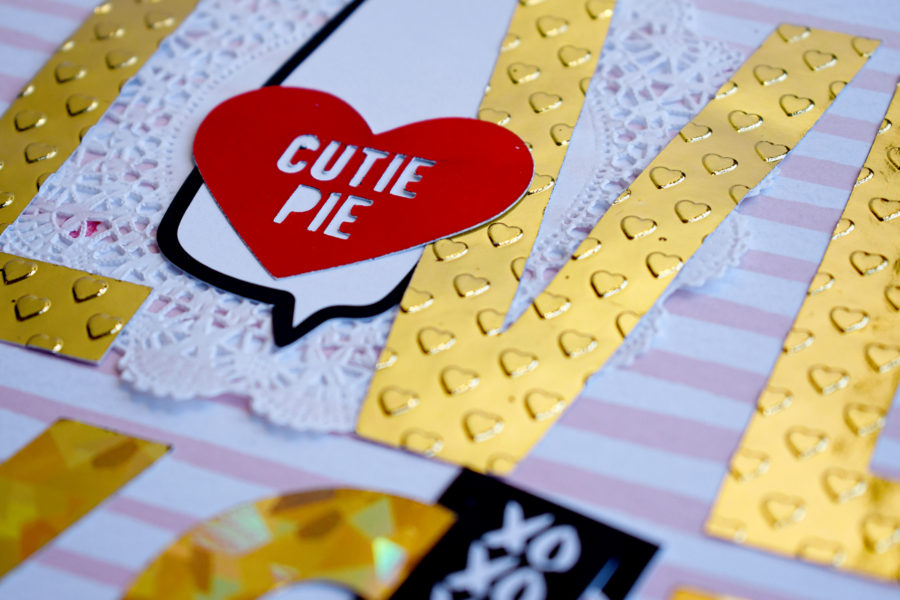
For some added texture, I ran the L, V, and E through my Big Kick in an embossing folder making sure that the hearts were pushed up into the letter for a raised texture.
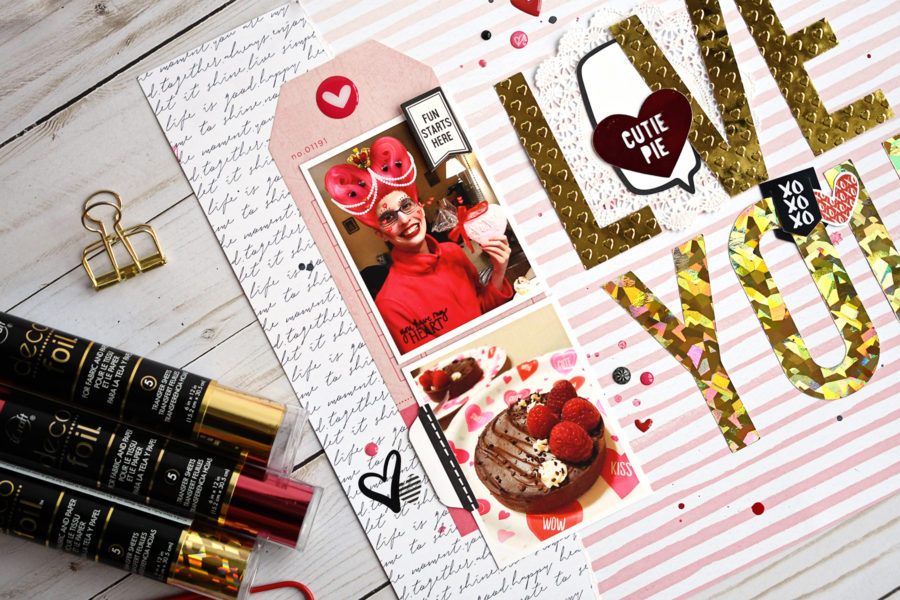
Use any of the amazing adhesives created by ThermOWeb to adhere this to your project. My preference is for dots or liquid adhesive and my go to’s for this project are the Gina K dot Runner and the Ultra Bond adhesive.
I hope you are inspired to add some shimmery, shiny titles to all your upcoming “love-ly” layouts! It’s so easy to create shimmery titles with Deco Foil toner sheets as they are backed with adhesive and stick right down!
You can watch how I created the Deco Foil embossed letters and the process video for this layout here;
Thanks for joining me today! If you have any questions, be sure to leave them in the comments and I’ll get back to you ASAP!
Suzanna
Patricia Wilson
January 8, 2019 at 11:55 am (5 years ago)I had no idea that you could emboss after you foiled. I still am trying to get up my courage to do some. Thanks for that very valuable tip.
Suzanna Lee
January 8, 2019 at 1:46 pm (5 years ago)Mind blown, right Patricia?! You can do it! I know you can!