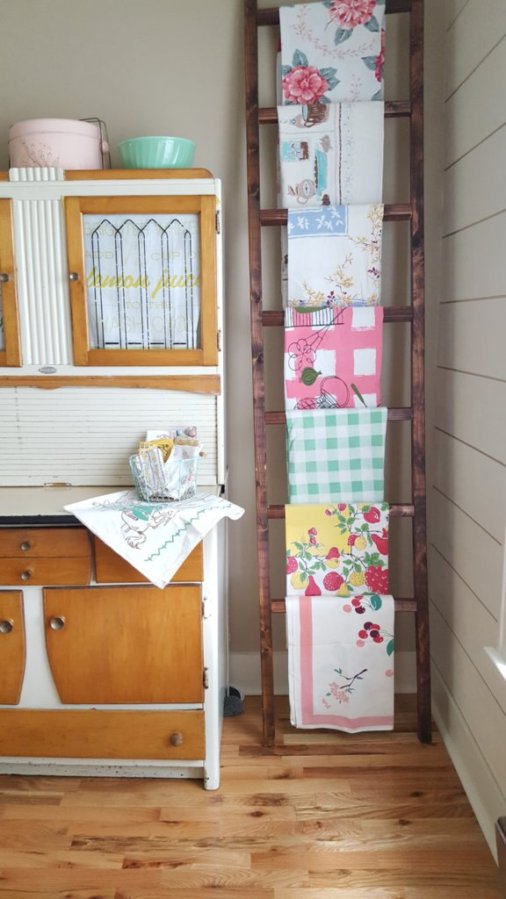
Hello! It’s Stephanie from Sissy Belle Sews, back again with another fun home decor project for you. With springtime finally arriving in the Midwest, I have been cleaning and refreshing our home over the last few days. As the flowers and the trees start to bloom and expose their beautiful colors, I have felt the need to add more springtime colors inside of our little farmhouse as well. One of my favorite ways to brighten up our home is to use vintage tablecloths. I have a small collection that I rotate on and off the table as the seasons (or my moods) change, and they add such fun patterns and colors to our kitchen all year long. You can find them at antique stores, yard sales, and thrift stores, but be prepared to pay a pretty penny if they are in good condition.
Vintage Tablecloth
I have had all of my vintage tablecloths for years, and this year I was really wanting something new and fresh. So, I turned to my fabric stash and came up with this fun and easy method for making my own vintage-inspired tablecloths. It’s the perfect springtime project because it’s quick, requires few materials, and can be made in whatever fun, colorful fabrics you want to use. It would make a lovely housewarming gift or Mother’s Day present, and because it is so easy, you can make one for every season (or mood)! I have already made two and have plans to make lots more!
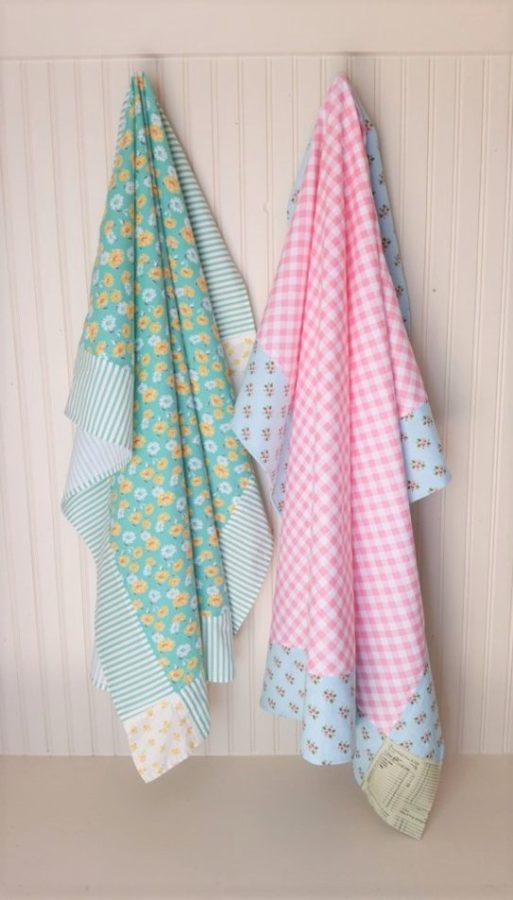
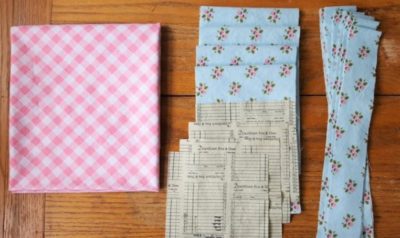
Table Cloth Supplies
Materials List:
- 2 yards of good quality cotton fabric (one for the main body of the tablecloth and one for the border)
- 1 fat quarter for the corner squares of the tablecloth
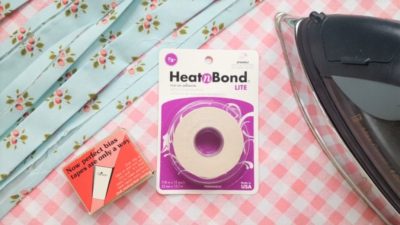
- 1 package of HeatNBond Lite 7/8″ Iron-on Adhesive
- 1″ bias tape maker
- Basic sewing supplies: sewing machine, iron, and matching thread
Vintage Tablecloth Sewing Instructions
- Pre-wash all of your fabrics. For this project, this step is not optional. Pre-washing (and shrinking) all of your fabrics will ensure that your HeatnBond adheres properly and that your tablecloth lays flat when you wash it after the adhesive is applied.
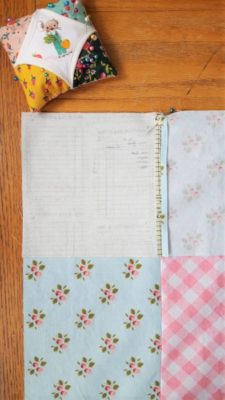
- After they are washed and dried, cut your fabrics:
- Cut the main print down to a 36″ square. NOTE: If your fabric shrank after washing and is now less than 36″ long, cut your fabric to be the same width as the length. It needs to be a square.
- Cut the border fabric into four 6″ strips.
- Cut the remaining border fabric into five or six 2″ strips (how many strips you get depends on how wide your material ends up after shrinking)
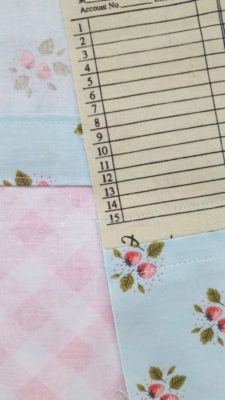
- From your fat quarter, cut four 6″ squares
- Cut the 6″ strips to the same width as your tablecloth (if your fabric didn’t shrink, all of your strips should be 36″. If your fabric did shrink and is now only 35″ for example, cut all of your strips 35″).
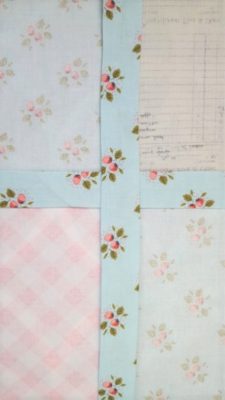
- Sew one 6″ strip to the top of your tablecloth square. Sew another strip to the bottom. Press seams open.
- Sew one 6″ square to both ends of the remaining two 6″ strips. Press seams open.
- Sew one of these strips to each side of your tablecloth, pinning to match seams where appropriate.
Make Bias Tape
-
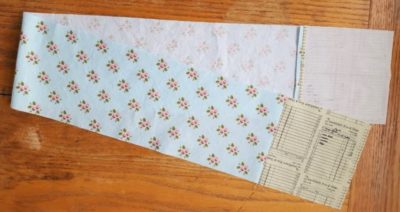
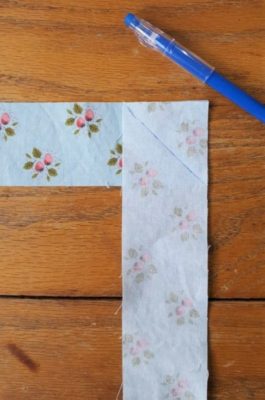
- Sew the 2″ strips together: place the end of one strip perpendicular to the end of another and sew along a diagonal line.
-
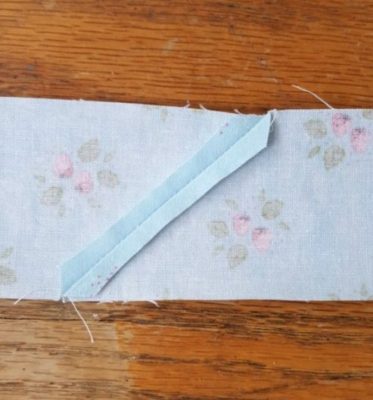
- Sew all strips together in the same fashion, making one long continuous strip of fabric. Trim off the excess fabric at all the seams, and press the seam open.
-
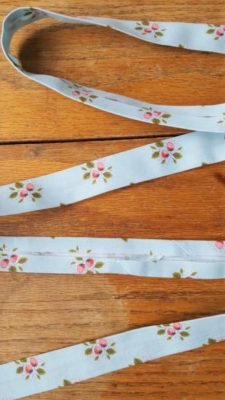
- Turn your strip into bias tape by using a 1″ bias tape maker. If you don’t have one, fold each side of your tape over 1/2″ and press.
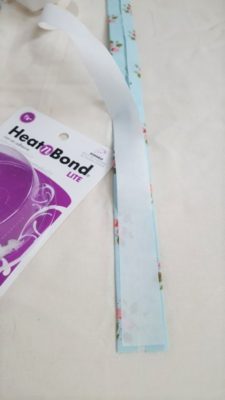
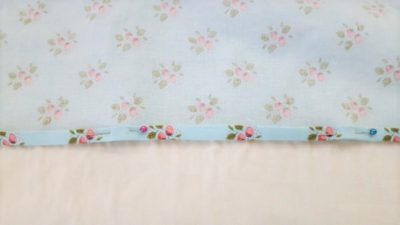
- Your bias tape should look something like this when finished:
- Measure the width of your tablecloth. Cut your bias tape into four strips. The length of your bias tape strips should be the same as the width of your tablecloth.
- Cut the HeatnBond adhesive into four strips the same length as the bias tape strips.
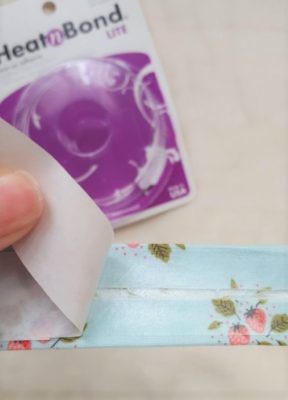
- Fuse the HeatnBond to the wrong side of the bias tape.
- There are two sides to the HeatnBond: the paper side and the glue side. The glue side will be shiny.

-
- Place the glue side on the wrong side of your bias tape and press according to package instructions.
-
- Repeat for all four bias tape strips. Once cooled, peel off the paper. The back of your bias tape should be shiny at this point.
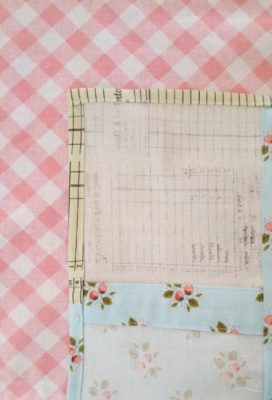
- Place your tablecloth right side down on your ironing board. Center a bias tape strip over one of your seams, making sure the ends of your bias tape line up with the edges of your tablecloth, and press to adhere.
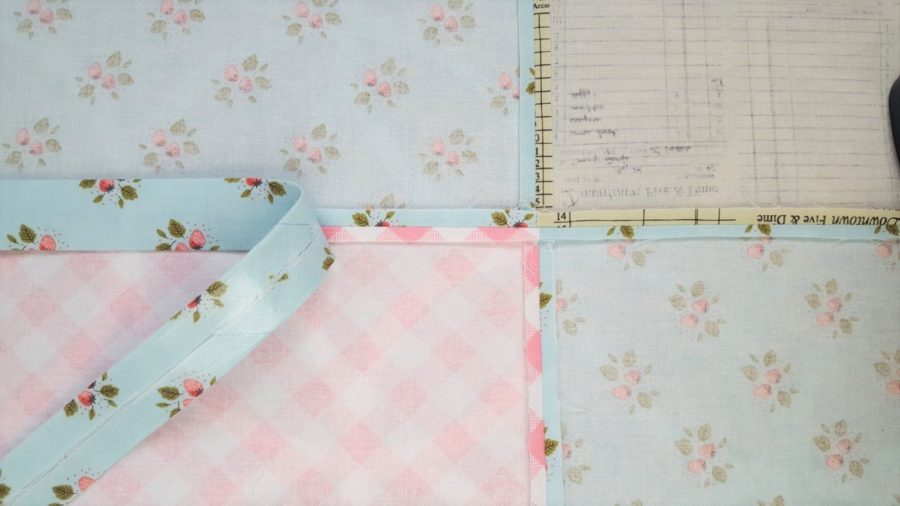
- Turn your tablecloth over and top stitch a generous 1/4″ from the seams on the right side of your tablecloth. This will add a nice finishing touch to the top of your cloth and will help secure the bias tape on the back.
- Repeat for the remaining three seams, overlapping the strips of bias tape at the corner squares.
Now I want to stop for a second to answer a couple of questions I anticipate you having.
- Why use the bias tape at all?
- It covers the raw seams on the back of the tablecloth, making it look neat and tidy.
- It helps your seams lay flat. If you are inclined to surge or zigzag your edges, your seams would require lots of ironing and would really never lay flat.
- Why use the HeatnBond? Would the bias tape alone be enough to do the trick?
- The HeatnBond adhesive makes sure your seams stay flat. When you press your seams open then apply the adhesive, you are ensuring that your seams always stay open and your tablecloth will always be flat, even straight out of the washer and dryer! The pictures I took are of finished tablecloths that have been washed and dried, so you can see how nice and flat they are.
- It gives your seams some stability and weight. Tablecloths suffer a lot of wear and tear. Adhering your bias tape to your seam will help it to be more durable in the long run. It also makes top stitching the bias tape much easier because it is glued on, which means no need to pin!
- Finish the outer edges by pressing the edge toward the back of the tablecloth approximately 1/4″. Fold the same edge again, enclosing the raw edge, and pin. Topstitch close to the top edge of the fold.
- Repeat for remaining three sides.
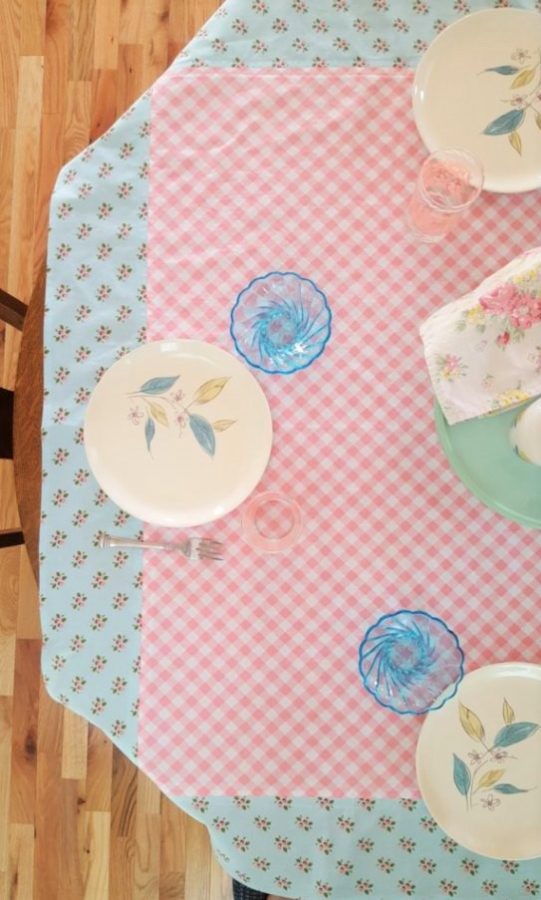
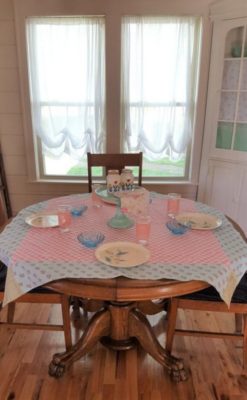
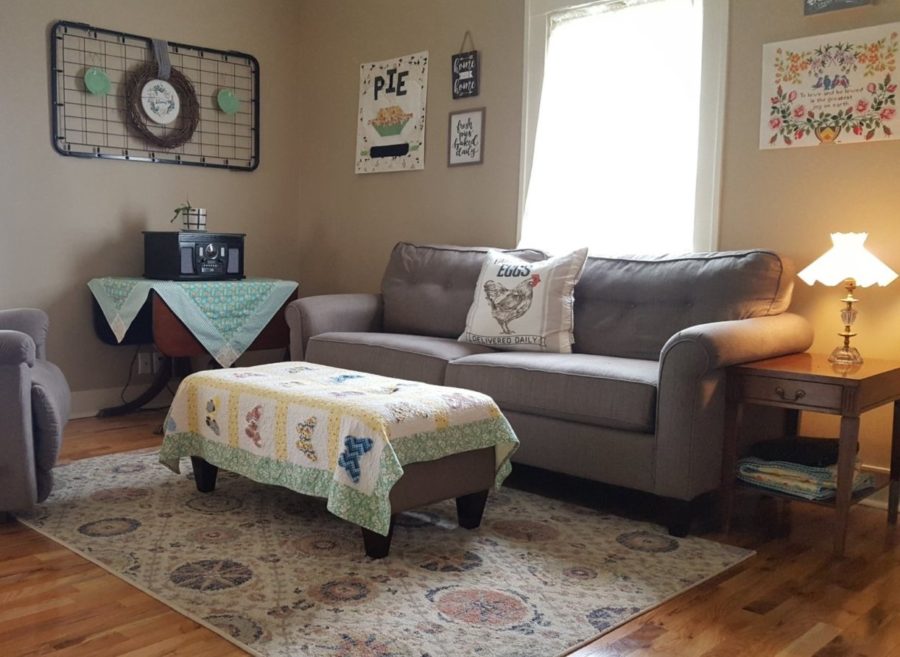
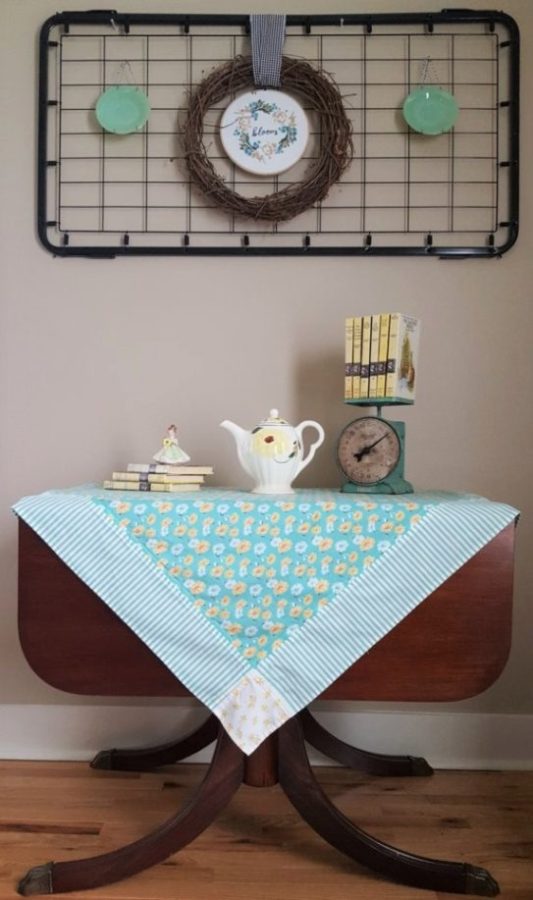
And that’s it! You can’t get much easier than that. With 1 hour and 2 yards of fabric, you have an instant spring home refresh! I hope you enjoy making these, and if you do, be sure to tag #twoyardtablecloth on instagram so I can see what you make! I’ve included some images to show you how I use my tablecloths around my house for inspiration. They don’t have to be just for the kitchen!