


Hi Everyone, It’s Becky from Patchwork Posse. Home of fun sewing projects, quilt alongs, and a lot of chit chat!
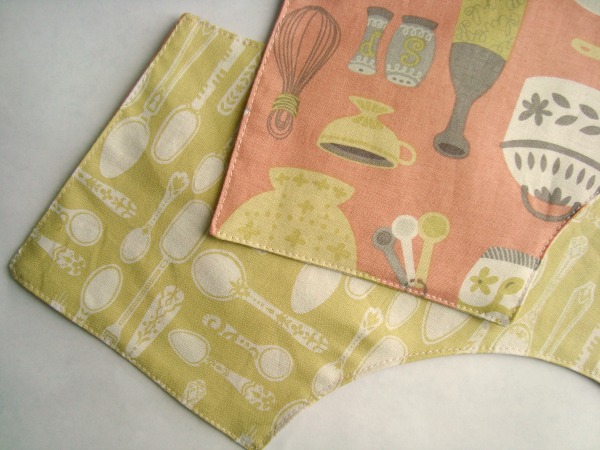
Summer is here and if you are like me outdoor eating happen alot! It’s one of my favorites….but not when the bugs join us! Today we can fix that with a super simple bread bag and a bread cover. Keep your food covered and protected from the outdoors and the bugs that like to join you for dinner.
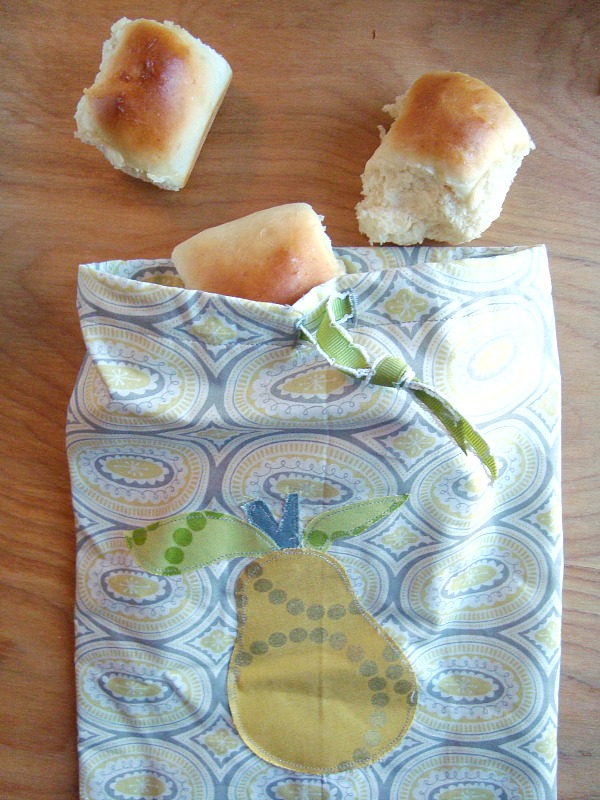
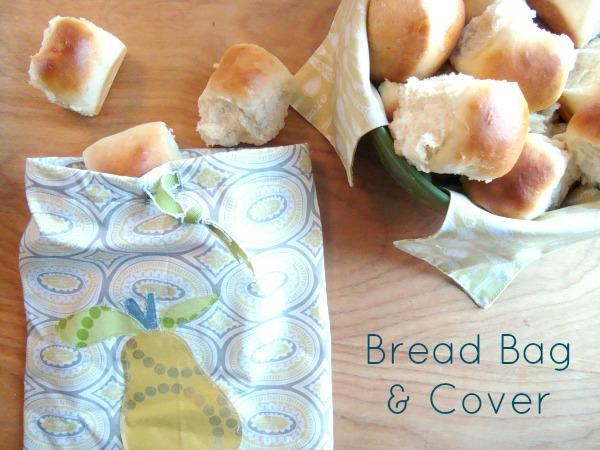 First we’ll start with the bread bag. This is super simple. It has a cinch ribbon top so you can load it and close it. The cute applique can be any kind of fruit, animal, or fussy cut fabric you choose. You can use the basic instructions with any size of fabric you choose.
Bread Bag Instructions:
1) Cut your fabric for the bag- 15″ X 19″
2) Fold in half 15″ X 9 1/2″ and iron
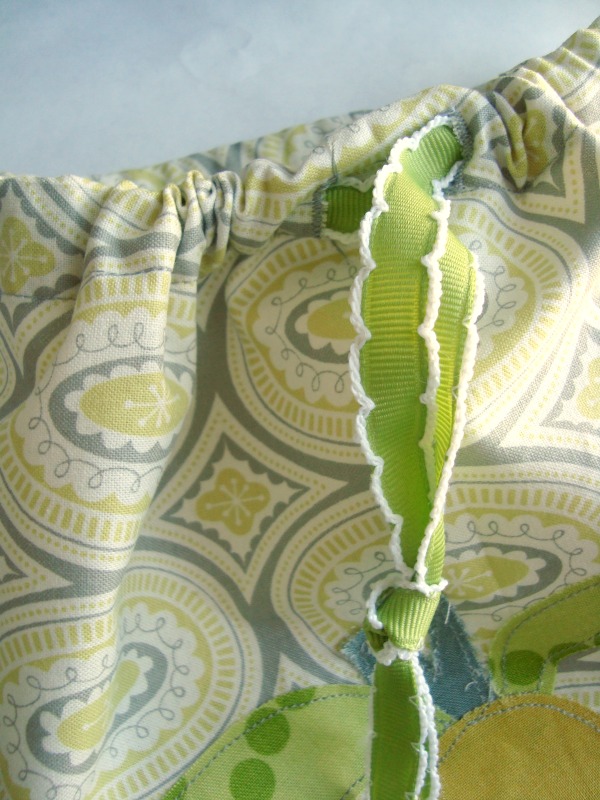
3) Mark with pencil in the center 2″ down from the top edge and 1″ apart. Use the crease from the iron to make sure these are centered.
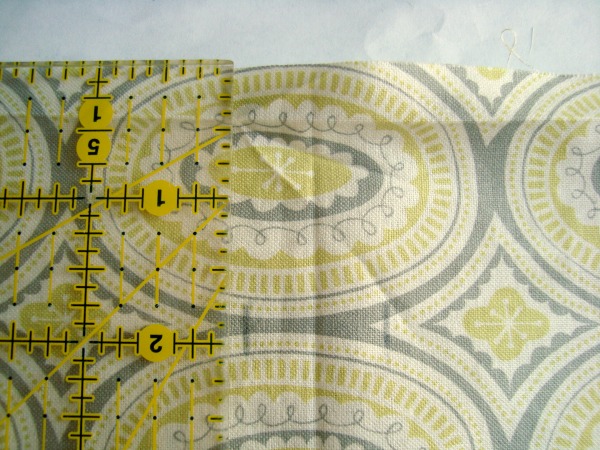
4) Sew button holes on both of those markings
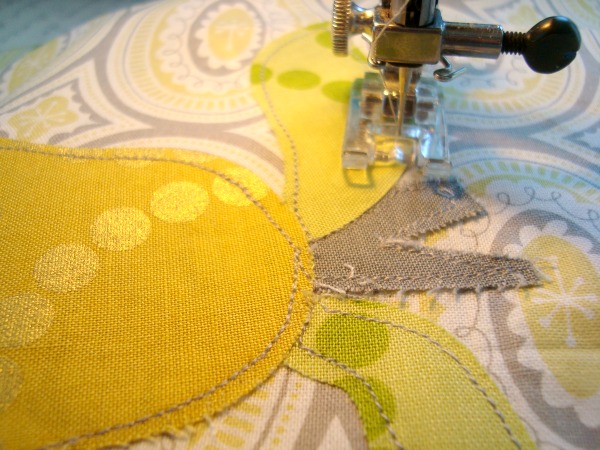
5) Applique with machine using Fusible Heat n Bond® lite fruit shape- this should be placed on the center of the bag. Use the crease from the iron to help with centering the applique.
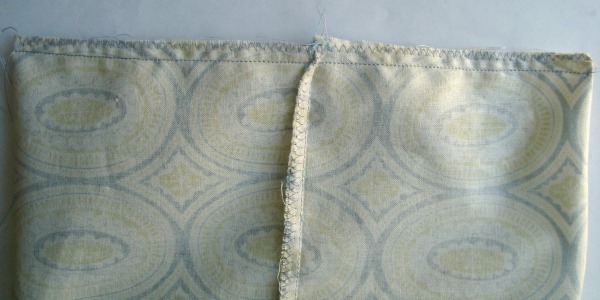
6) Sew the sides together- serge or zig zag the edge so there won’t be any strings on your rolls later.
7) Center the seam and sew the bottom of the bag- serge or zig zag the edge
8) Fold the top edge down 1/2″ and iron
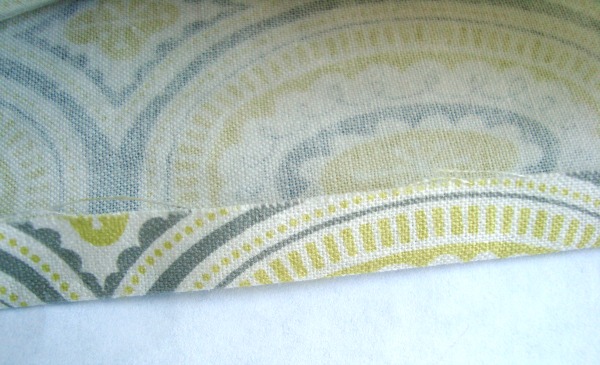
9) Fold the top hem down and pin in place just past the button holes. Stitch in place. This will be the channel for the ribbon.
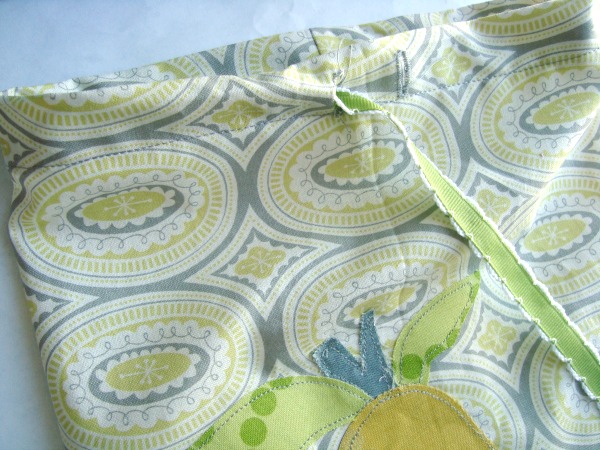 10) Cut ribbon 15″ long and thread through the channel
11) Tie the two ends together so the ribbon won’t pull out
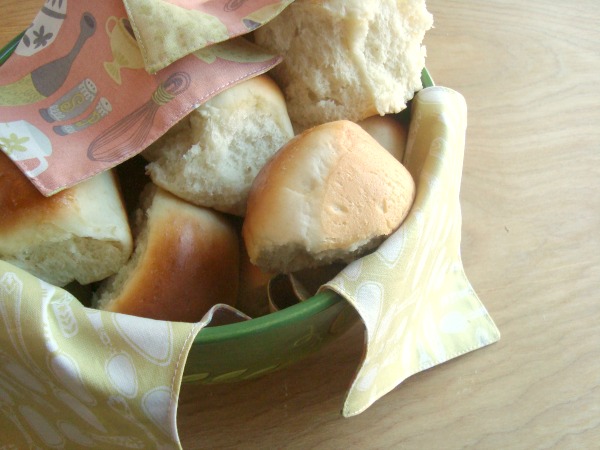
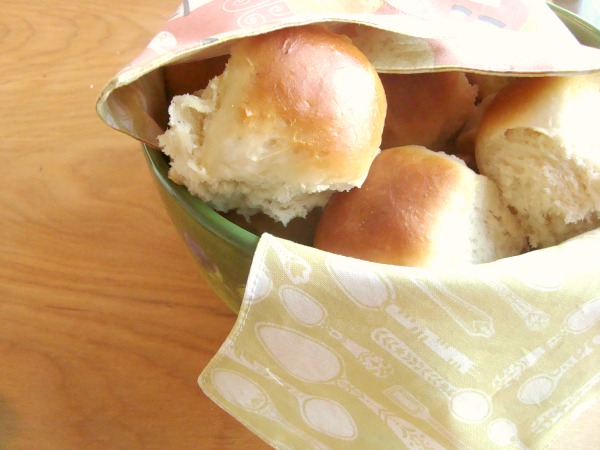
Load up with rolls. These are great to protect them outside for picnics or backyard bbq’s.
Bread Basket Cover:
1) Cut 2 pieces of fabric- one for front, one for back 18″ X 18″
2) Fold the fabric in half two ways and iron- you will be using the creases to help with the next step
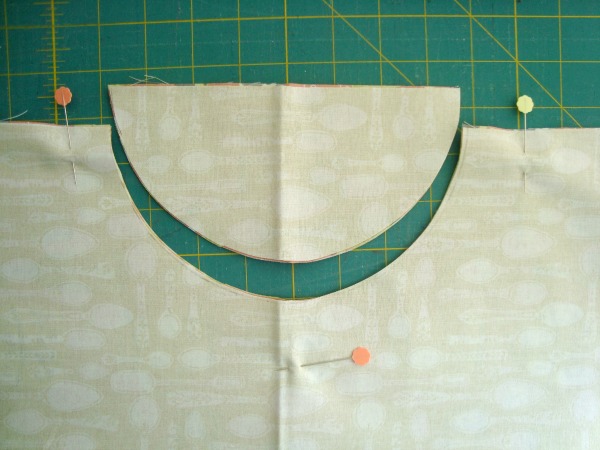
3) Place the fabric pieces together- right sides facing and pin to secure
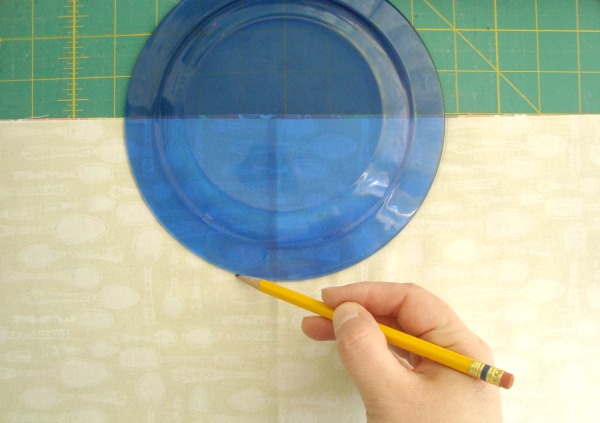
4) Using the iron creases, center the plate and mark with a pencil the outside of the plate– the plate shown was 7 1/2″ – 8″ in size.
5) Cut on the drawn line. Make sure you pin those layers so they don’t shift.
6) Sew around all 4 sides and all the curves, leaving a 2″ opening on one straight end for turning
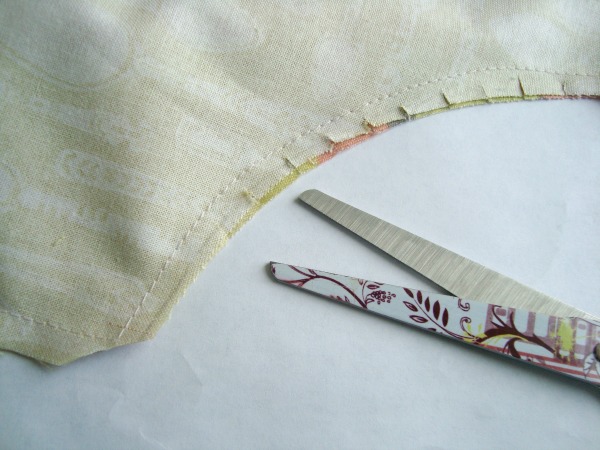
7) Snip the curves and corners
8) Turn right sides out and stitch 1/8″ from the edge- this will also close the opening hole
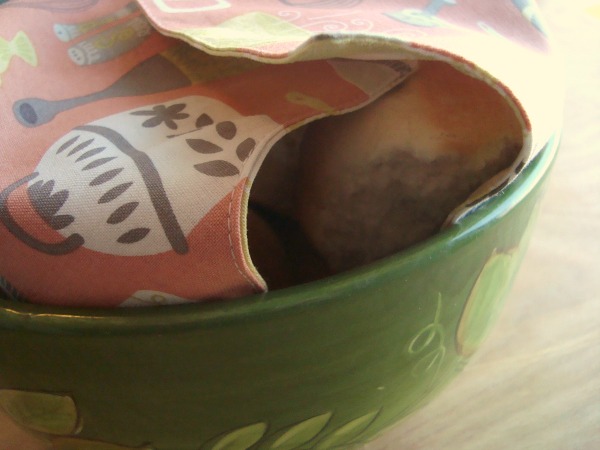
9) Place in basket or bowl, load up with rolls and fold over the flaps to cover the contents.
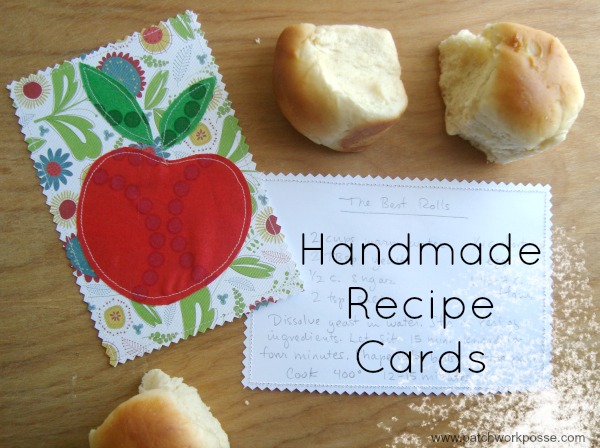
For the roll recipe {works for me everytime and so super yummy} Check out this post:
For more quilt tutorials and easy sewing projects, stop by my blog or facebook.
– Becky
Announcing our First Crafty Corners Contest!!

We’re giving away prizes for the Most Creative Out of the Box use of Photo Corners along with Best Overall Use of Photo Corners. Your project should use our Glitter Dust™ Corners and/or our Decorative Photo Corners.
And to help you get started we’re offering 25% off those products so you can get shopping now and creating!
Best of all…we’re awarding a $50 VISA Gift Card to each winner along with an assortment of our best selling iCraft Adhesives™ and Glitter Dust™ products valued at over $100! Plus the winners projects may be chosen to be used in an upcoming ad! #Craftycorners
Click here for more information on our Crafty Corners Contest!