


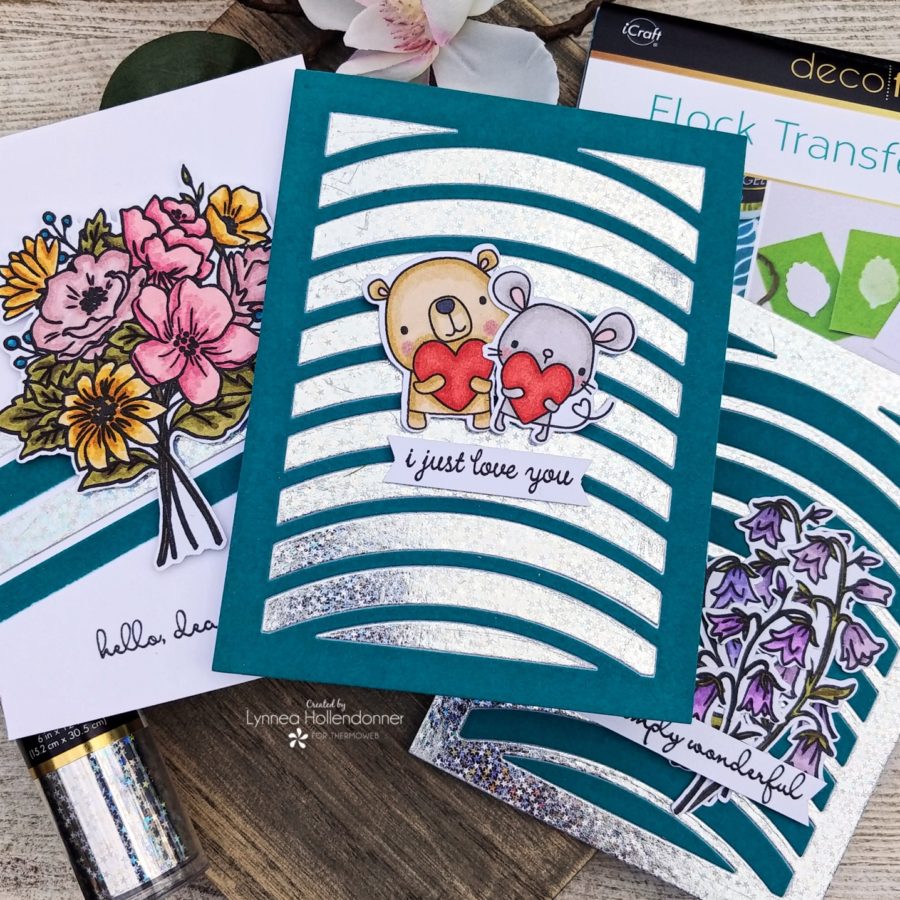
 Hey, everyone! I’m so excited that ThermOWeb and Reverse Confetti are collaborating this week! I’m making a set of three friendship cards with the new release from Reverse Confetti and some Deco Foil and Deco Foil Flock Transfer Sheets! Enjoy the video!
Friendship Cards with Reverse Confetti and Deco Foil
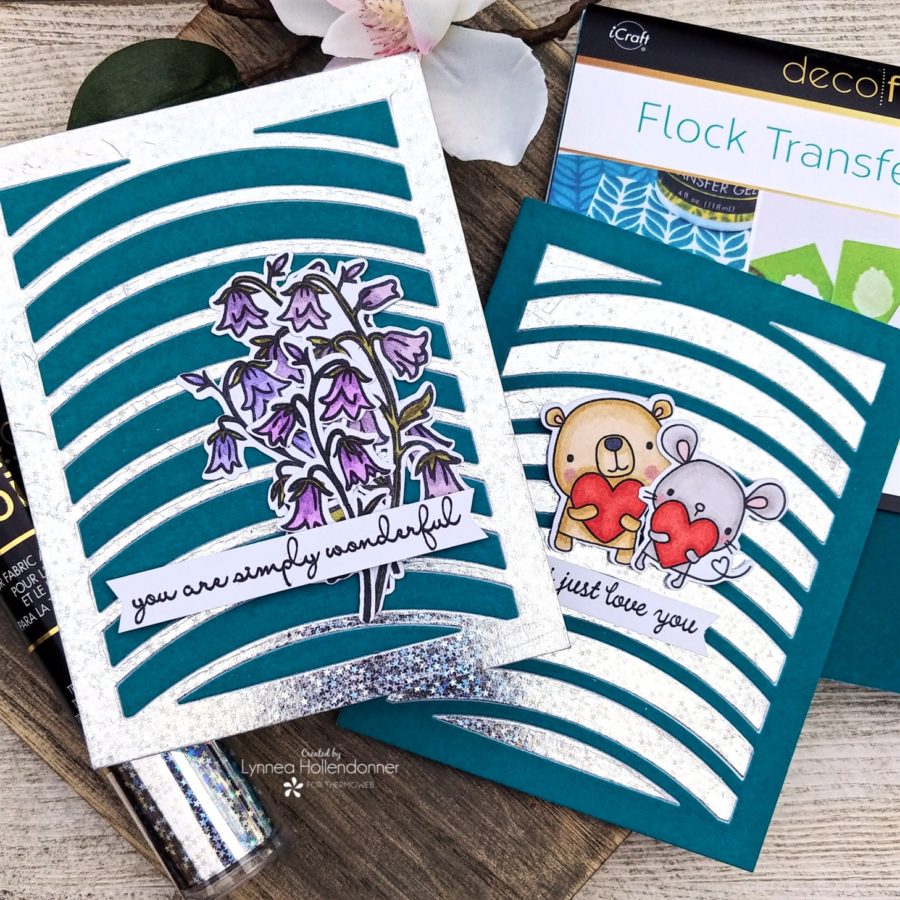

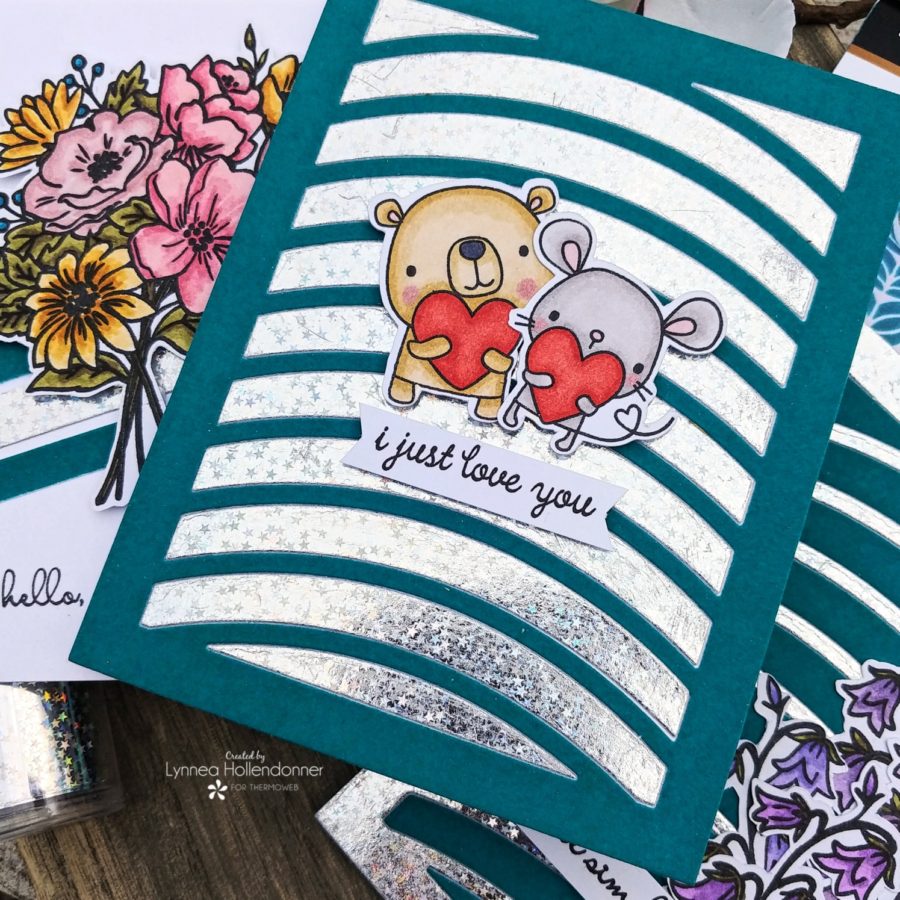
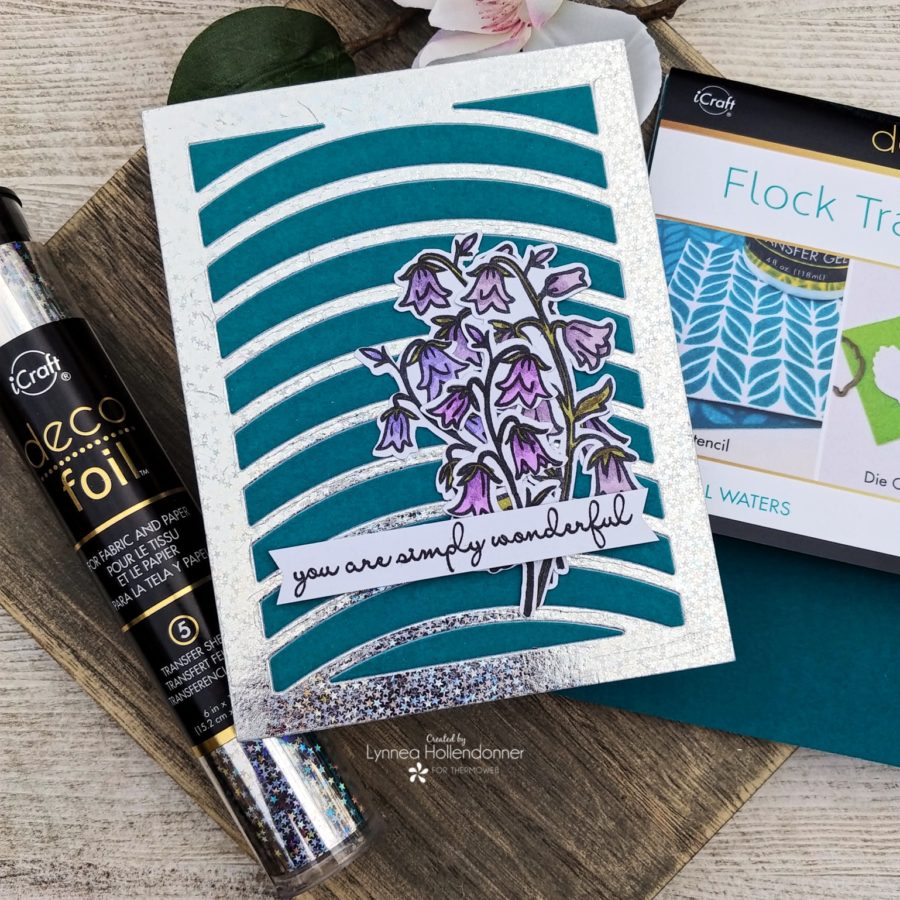
You could totally skip this next step if you wanted – but it made my life a lot easier! I used the same piece of computer paper that I used as my carrier sheet and cut it in half and added a piece of iCraft 6×6 Double Sided Adhesive to each piece and used it as a backing piece to puzzle piece my die cuts together. I added the Silver Stars Deco Foil frame to one of the adhesive covered sheets and the Teal Waters Deco Foil Flock frame to the other. Then I puzzle pieced in the opposite centerpieces to each frame. I didn’t have to fuss with adhesive since I already had a piece of paper fully covered in the double-sided adhesive behind my die cuts. I just love the mix of textures!
I colored a bunch of images from some new stamp sets from Reverse Confetti. I used The Best Days, Huggable, and Beautiful Memories. I used alcohol markers to color each image and then I cut them out and adhered them to my cards with iCraft Ultra Bond Liquid Adhesive. If you’ve watched my videos then you know this is my absolute favorite liquid adhesive! And make sure you watch my video to see a quick tip on adding multiple images with Purple Tape! It’s a lifesaver for me!
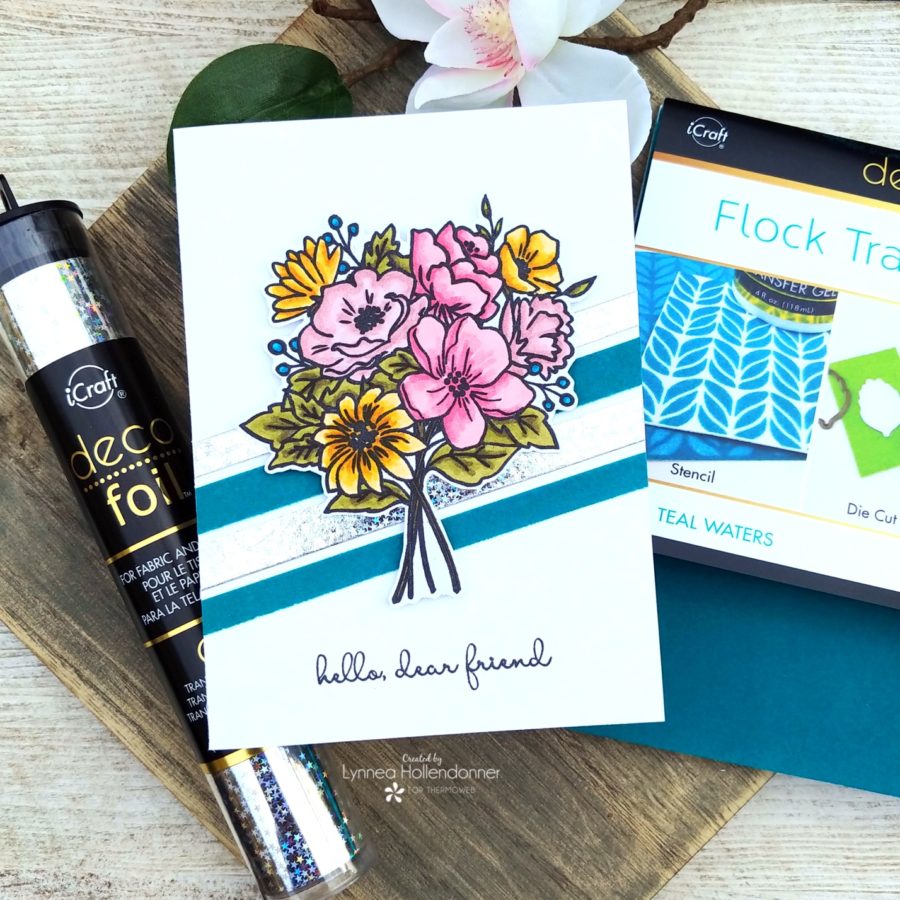
Remember that I mentioned I die cut the On The Curve Cover Panel die from panels larger than the size of the die? I had strips of cardstock covered in the Silver Stars Deco Foil and Teal Waters Deco Foil Flock left over. I just glued them onto a card with iCraft Ultra Bond Liquid Adhesive and added a bouquet and sentiment from The Best Days stamp set from Reverse Confetti. And just like that, I have three cards from one technique!
Be sure to watch my new video to show you step by step how I created each of my cards today! While there…make sure to SUBSCRIBE to the ThermOWeb Channel to keep updated on new videos! (and new product releases too!)
Silver Stars Deco Foil Transfer Sheets
Teal Waters Deco Foil Flock Transfer Sheets
iCraft Ultra Bond Liquid Adhesive
Reverse Confetti Products Used –
The Best Days stamp set
Huggable stamp set
Beautiful Memories stamp set
Reverse Confetti Inspiration
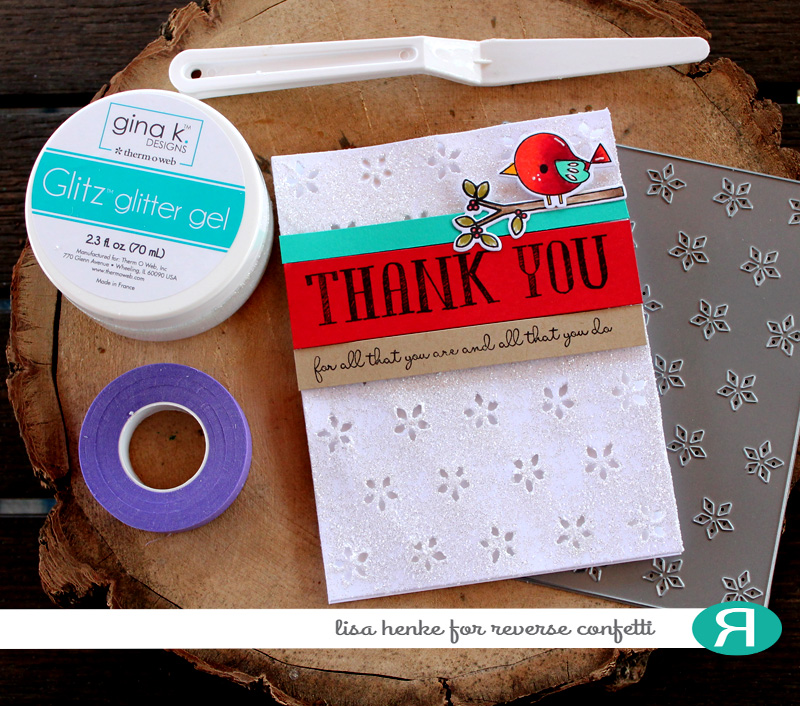
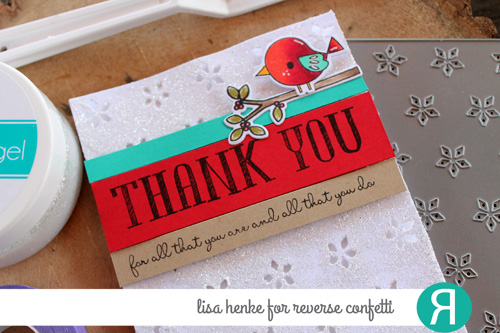
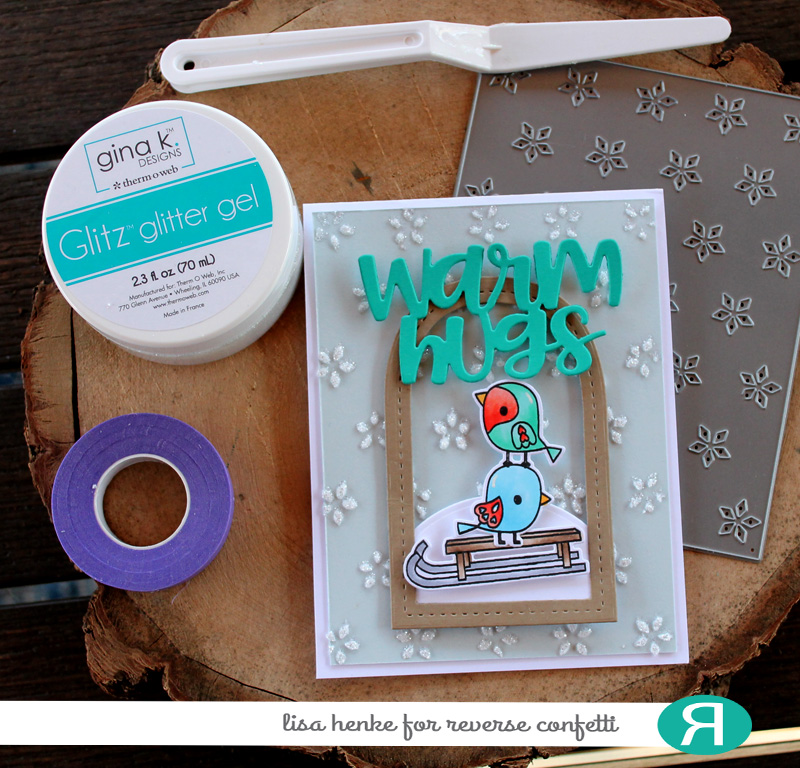
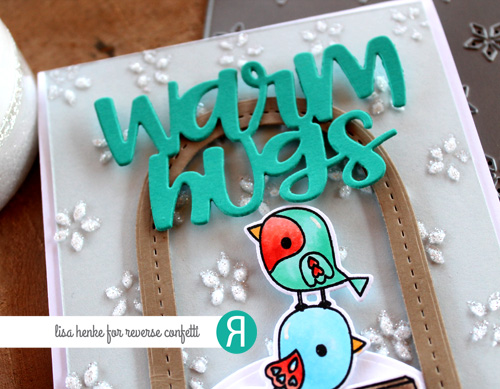
Each day we’re also going to shine the spotlight on the Reverse Confetti teams amazing projects made with our two companies’ products! Today we’re sharing designer Lisa Henke’s beautiful holiday cards made with our Gina K. Designs Glitz Glitter Gel and Reverse Confetti – Confetti Cuts! We love that Lisa thought outside the box and used the die cut as a stencil as well. Brilliant! And you can’t work with these products without some of our Purple Tape on hand too! They’re the perfect combination when paired with Reverse Confetti stamps and Confetti Cuts!
Lisa’s Supply List:
Holiday Cards
Birdie Buddies Stamp Set
Birdie Buddies Confetti Cuts
Snow Star Confetti Cuts
Thank You Stamp set
Warm Hugs Confetti Cuts
½ purple tape
White Gina K. Designs Glitz Glitter Gel
Premium Polar White card stock
Sand Card Stock
Salsa Card stock
RC Aqua Card stock
Mist Card Stock
Midnight ink
Be sure to see more of Lisa’s work on Instagram HERE!
Before you go today and stop by the Reverse Confetti blog….how about a chance to win some goodies from both US and our friends at Reverse Confetti! We’re EACH giving away a $25 gift card to shop with us! That means you’ll be able to select from our NEW Glitz Glitter Gel colors along with our Deco Foil Flock Transfer Sheets in the perfect holiday colors! And Reverse Confetti has NEW Stamps and Confetti Cuts we know you’re going to love. Follow the Rafflecopter steps to get yourself entered! Then go HERE to see more!
Mary Holshouser
November 12, 2019 at 8:10 am (4 years ago)Sweet cards. thanks for the tip on
putting the pieces together after
cutting. Getting two cards, with no
leftovers, is always a great idea.
thanks for sharing.
txmlhl9at)yahoo(dot)com
Andre M.
November 12, 2019 at 8:34 am (4 years ago)These cards are so sweet, thanks for sharing the technique video.
Meghan Kennihan
November 12, 2019 at 9:03 am (4 years ago)I love the huggables set! TOO CUTE!
mjmarmo
November 12, 2019 at 12:56 pm (4 years ago)Darling cards!!
Denise Bryant
November 12, 2019 at 2:56 pm (4 years ago)Fabulous cards! Love all the stamps and dies, and the way the foils and flock sheets accentuate the cards!
Janet Mack
November 12, 2019 at 4:41 pm (4 years ago)Cute cards, RC has a couple cover plates in the new release that are on my wish list.
Sharon Gullikson
November 13, 2019 at 6:58 am (4 years ago)The little birds are precious. I love the extra details on them.
Darlene De Sario
November 13, 2019 at 7:47 am (4 years ago)Love the flock hearts
Amy Cooley
November 13, 2019 at 12:17 pm (4 years ago)I really love the cute Birdie Buddies stamp set from the new RC release. The printed paper pack is so cute also.
Becca Yahrling
November 15, 2019 at 8:13 am (4 years ago)Love all the pretty shine! And I love those birdies. The two new cover
plates are both on my wish list!