


There’s something about a butterfly that makes me feel a sense of peace and joy. Their wings are so delicate, and their colors are so amazing. There’s an Irish blessing that says:
“May the wings of the butterfly kiss the sun.
And find your shoulder to light on.
To bring you luck, happiness, and riches.
Today, tomorrow, and beyond.”
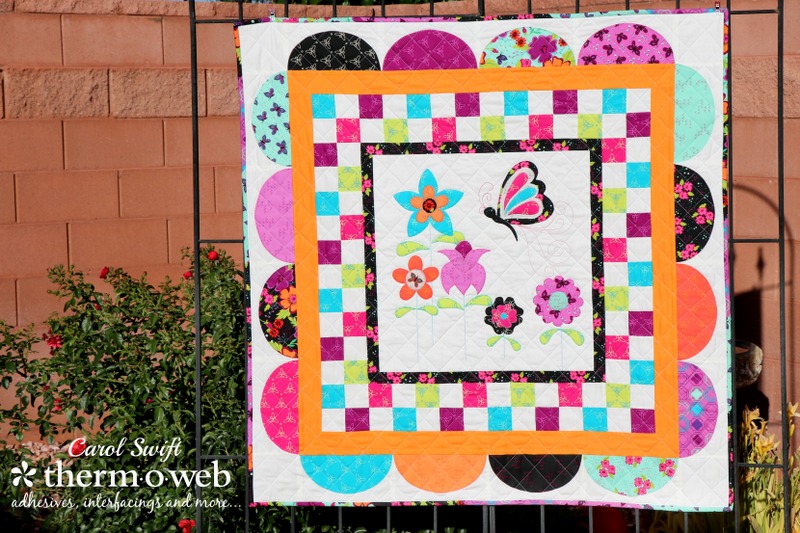
Wings of A Butterfly, by Carol Swift, Just Let Me Quilt
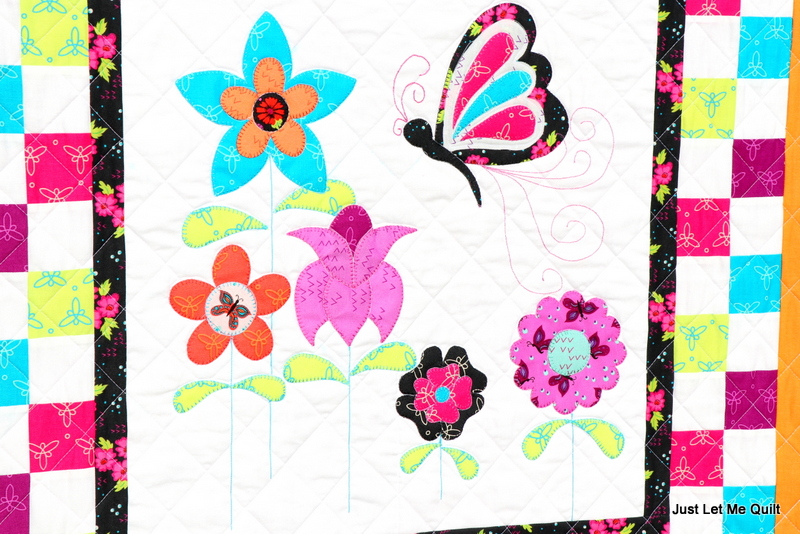
What a beautiful blessing! Creating this small butterfly and flower quilt using the gorgeous Windham fabric, Gypsy, by Jennifer VanDenburgh definitely brought me happiness with its bright and cheerful colors! I felt lucky to sew with it and to use the amazing ThermOWeb products to create it.
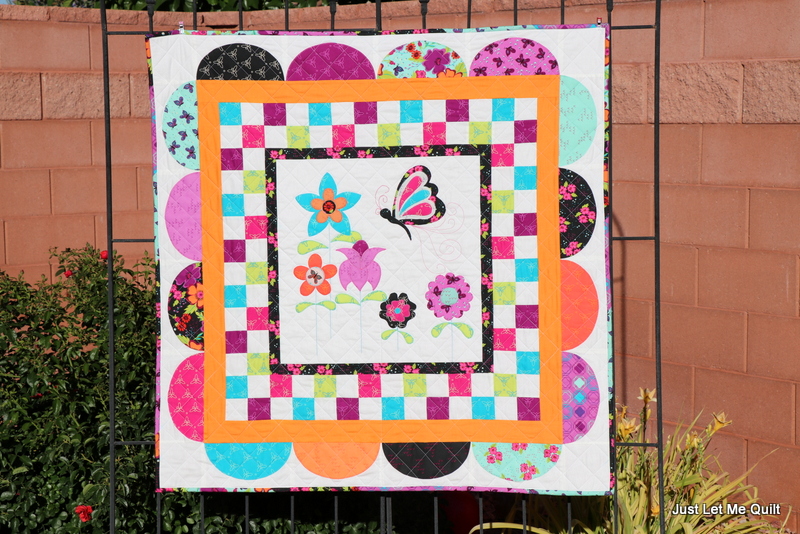
Wings of a Butterfly, Finished size: 40” x 40”
By Carol Swift, Just Let Me Quilt
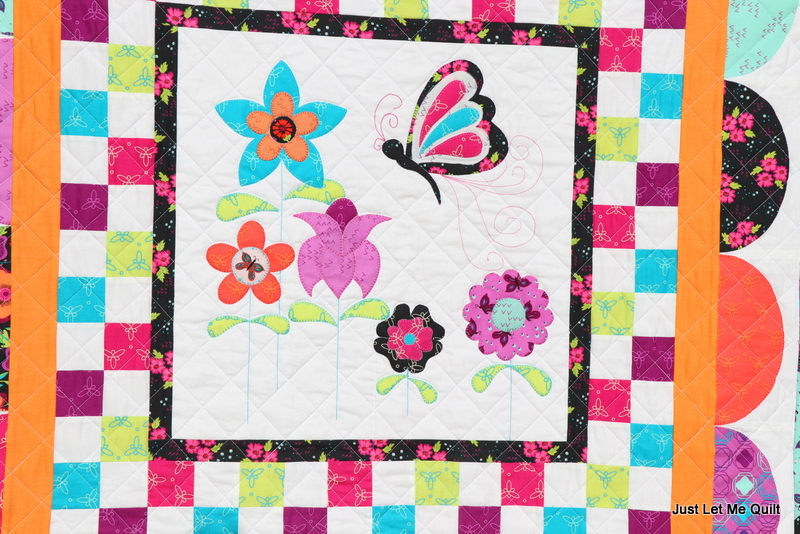
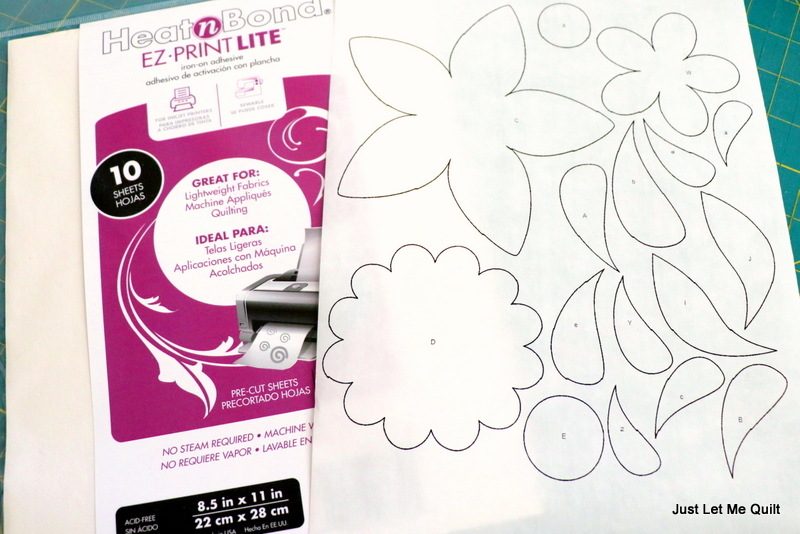
Creating the applique pieces was so easy because I used Therm O Web’s HeatnBond EZ Print Lite Sheets to print them (no tracing.) Each page prints out on your inkjet printer and then they are ready to iron on your fabric…you’ll love it!
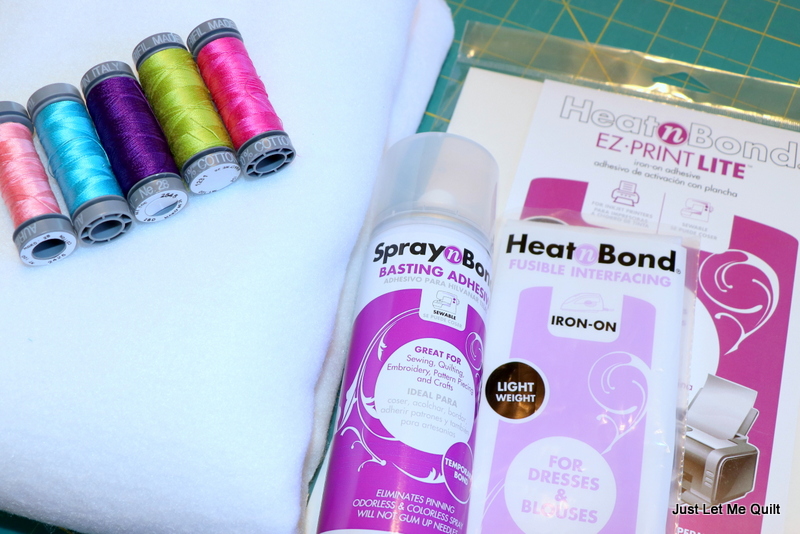
What you’ll need:
Therm O Web StitchnSew Fleece Sew-in High Loft/Batting
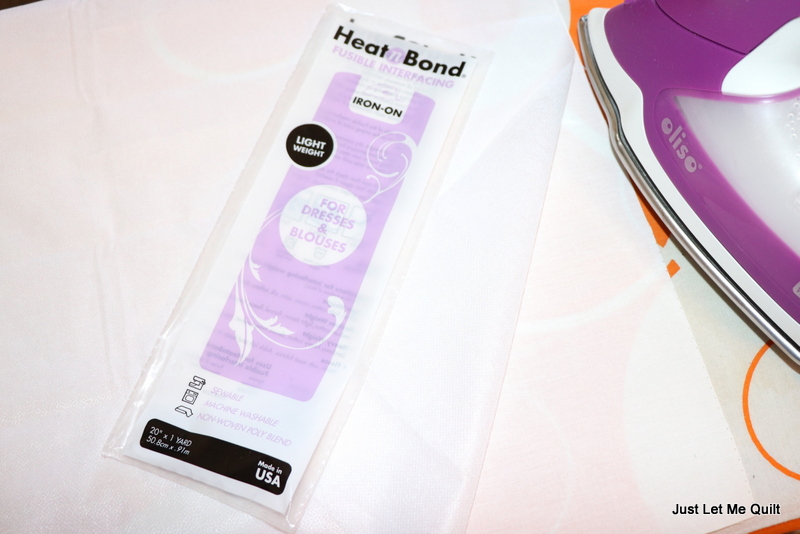
Therm O Web HeatnBond EZ Print Lite Sheets
Heat n Bond Fusible Interfacing (optional)
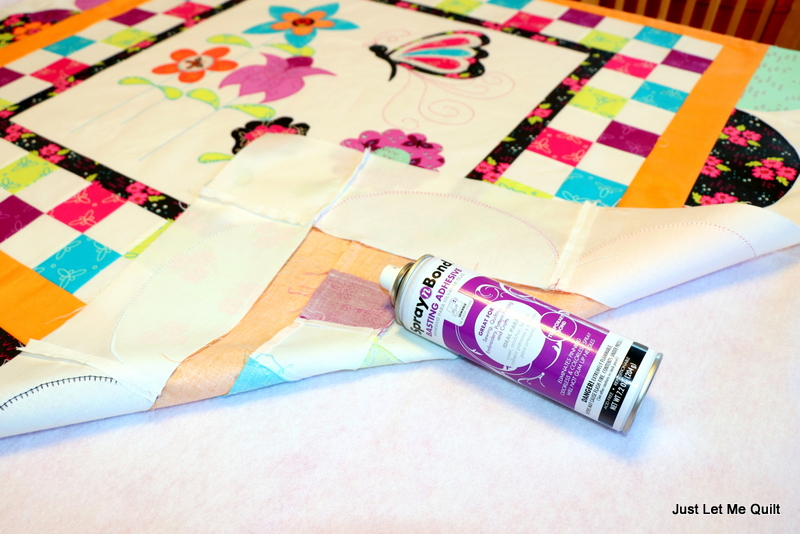
Therm O Web SpraynBond Basting Adhesive
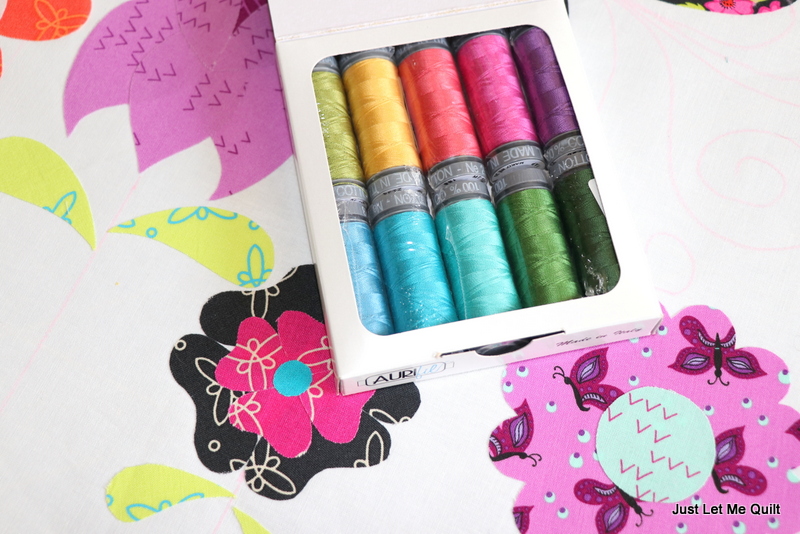
Aurifil Thread – 28 wt, Nancy Rink Collection, Getting to Know Hue
Oliso Purple Iron
Wings of a Butterfly Instructions
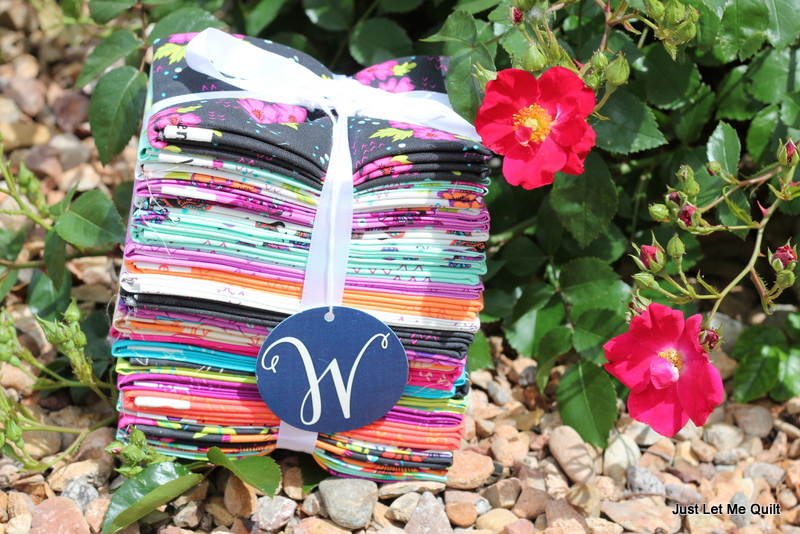
Fabric needed: (Windham fabric, Gypsy, by Jennifer VanDenburgh was used for this quilt.)
20-22 fat quarters (borders will be pieced or use yardage)
2 yards background fabric
1 yard backing
Cut 1 – 18½” x 18½” square, center block
Cut 2 – 1½” x 18½” strips, left and right Border A
Cut 2 – 1½” x 20½” strips, top and bottom Border A
Cut 48 – 2½” x 2½” squares, light fabric, Border B
Cut 48 – 2½” x 2½” squares, dark fabric, Border B
Cut 2 – 2½” x 28½” strips, left and right Border C
Cut 2 – 2½” x 32½” strips, top and bottom Border C
Cut 16 – 4½” x 8½” rectangles, Border D
Cut 4 – 4½” x 4½” squares, corners Border D
Cut 4 – 2 ½” x 43” strips, Binding
Cut 1 – Backing to fit 40” x 40” quilt
Wings of a Butterfly Quilt with HeatnBond Instructions:
Sewing/Applique Instructions: Seam allowances are sewn at 1/4″
Step 1: Prepare the applique patterns following applique instructions below or using your favorite iron-on adhesive:
Appliqueing with printable Heat n Bond EZ Print Lite sheets: Using your inkjet printer, print out applique pattern pieces using Heat n Bond EZ Print Lite sheets. Load one sheet at a time into the paper tray. The sheet should be placed so printing is on the smooth side of the paper. Print quality at the normal setting and for plain paper. Allow 5-10 seconds for ink to dry.
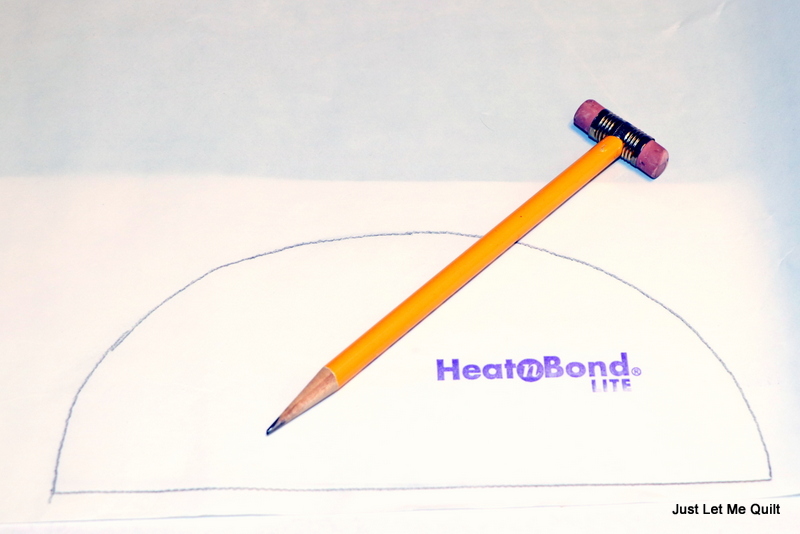
Appliqueing with HeatnBond Lite: Trace applique designs on the smooth side of HeatnBond Lite.
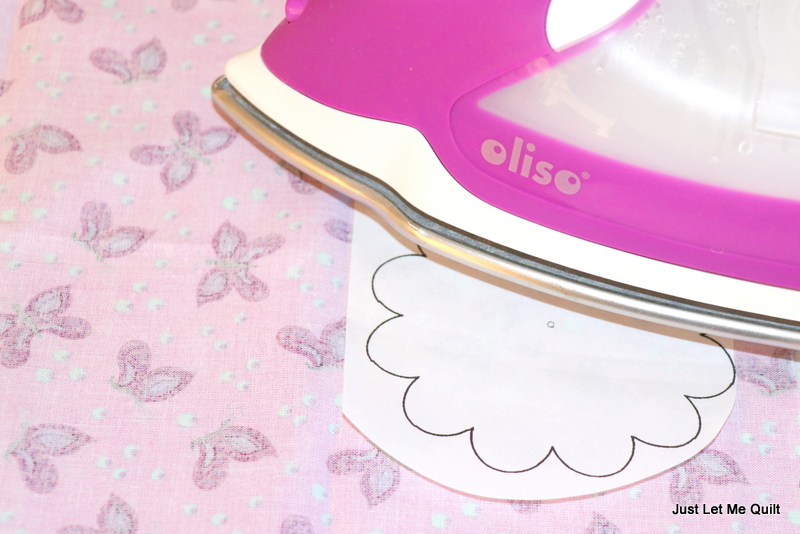
Step 2: Iron adhesive pieces to wrong sides of fabrics with a medium heat iron, no steam. Press for 2 seconds. Repeat until all surfaces have been bonded to the fabric. Let cool. Cut out applique pieces.
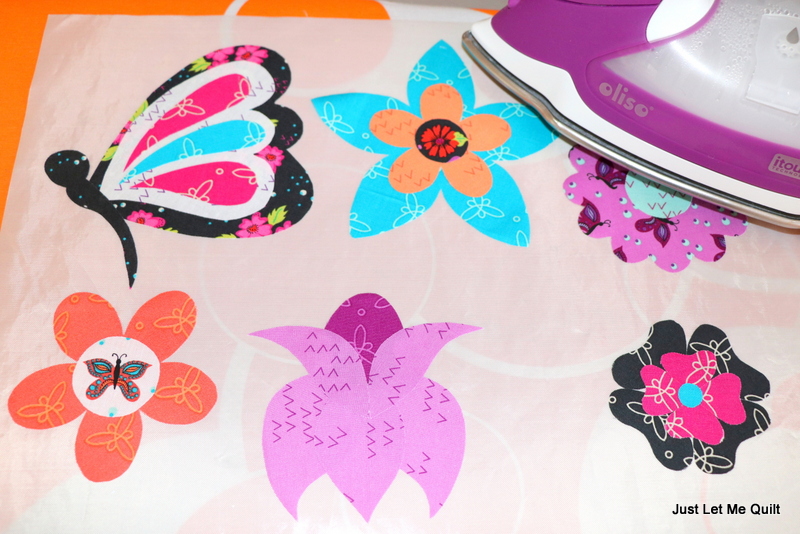
Step 3: Peel off paper liner. Place flowers and butterfly, adhesive side down, on top of right side of the fabric on Center Block. Press and hold iron for 6 seconds on each section until the entire piece is bonded. Place flat side of Border D’s scallop along a long raw edge of 4½” x 8½” rectangle. Press and hold iron for 6 seconds on each section until the entire piece is bonded. Let cool.
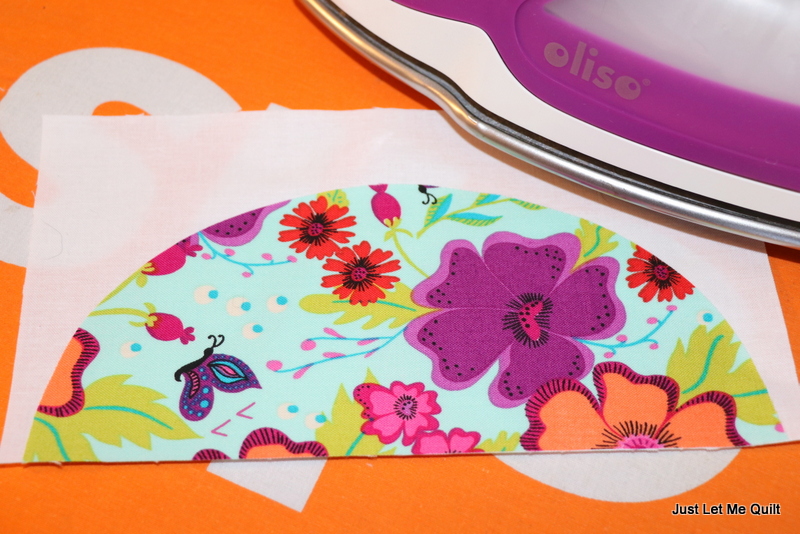
The backing peels off so easy!
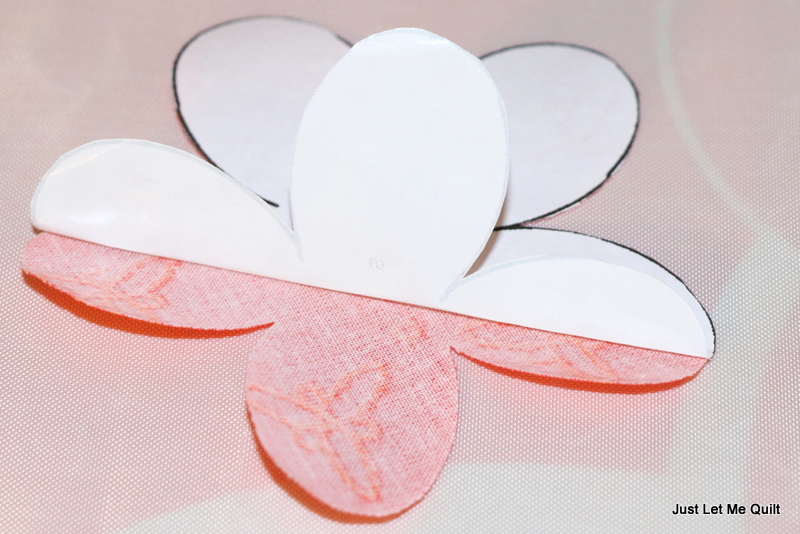
 Using an applique sheet to prearrange pieces before applying them to fabric is a great way to avoid mistakes. Lay the pieces in the correct position and lightly iron to hold in place. Let cool and peel off applique sheet. Apply to fabric following iron-on adhesive following package directions.
 Step 4: Sew around edges of applique pieces using a straight, zig-zag, or blanket stitch.
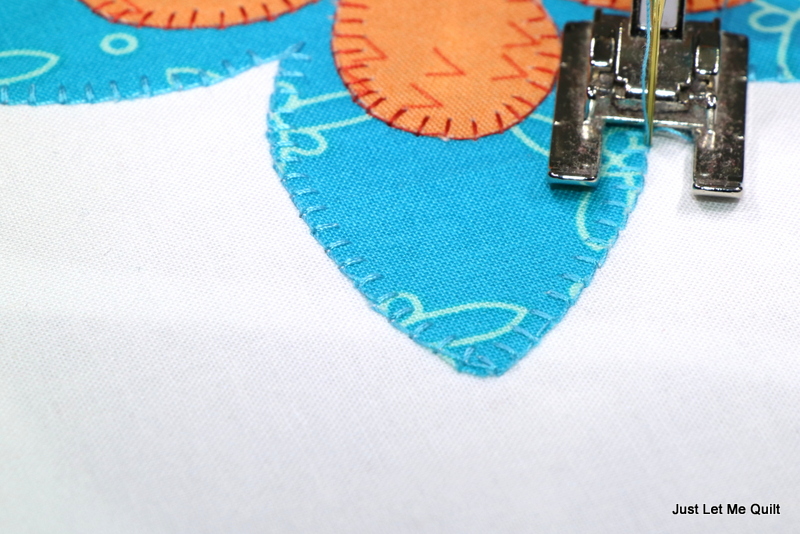 Aurifil Thread’s collection, Nancy Rink’s Getting to Know Hue, works great with Windham’s Gypsy fabrics.
Step 5: Embroider butterfly accents (use butterfly key) and stems by hand or with your sewing machine. For stems, use a ruler to draw straight lines from flower to just above the bottom of Center Block; varying lengths.
Step 6: Border A – Sew 1½” x 18½” strips to right and left the side of Center Block. Press seams towards the border. Sew 1½” x 20½” strips to top and bottom of Center Block. Press seams towards border.
Step 7: Border B – Sew a 2½” x 2½” light fabric square to a 2½” x 2½” dark fabric square. Press seam to the dark side. Repeat to make 48 sets. Sew 10 sets together to make one row, matching and nesting seams. Repeat to make two rows. Sew to left and right side of Border A. Press seams towards Border A. Sew 14 sets together to make one row, matching and nesting seams. Repeat to make two rows. Sew to top and bottom of the side of Border A. Press seams towards the border. *Be sure to note color direction of squares so they match up.
Step 8: Border C – Sew 2½” x 28½” strips to right and left side of Border B. Press seams towards the border. Sew ½” x 20½” strips to top and bottom of Border B. Press seams towards the border.
Step 9: Border D -Sew four sets of four scalloped blocks together. Press seams open. Sew a 4½” x 4½” square to each end of two scalloped rows. Press seams towards corners. Sew scallop rows without corner blocks to left and right of Border C. Press seams towards Border C. Sew scallop rows with corner blocks to top and bottom of Border C, matching seams. Press seams towards Border C.
Step 13: Finish quilt and add binding using your favorite method.
An optional way to finish quilt: Lay quilt backing with right side down on protective cloth or paper (to prevent overspray.) Spray the wrong side of backing with Therm O Web Spray and Bond Basting Adhesive following manufacturer’s directions. Lay batting on backing and smooth to remove wrinkles and creases. Spray batting with Therm O Web Spray and Bond Basting Adhesive. Lay quilt top, wrong side down, on sprayed batting. Smooth to remove wrinkles and creases. Quilt as desired. Add binding using your favorite method.
Tip: Working in small amounts, about 12” x WOF, helps to keep quilt smooth.[/tooltip]
You can find the PDF instructions for Wings of a Butterfly HERE.
shadesofrandom
June 20, 2018 at 6:38 pm (6 years ago)Thank you, Carol. That quilt is simply beautiful.